


React is an open-sourced JavaScript library made by Facebook for building UI applications. The project has a strong emphasis on the component-based approach and utilizes the full power of JavaScript for constructing all elements. The React Native project was introduced during the first React conference in January 2015. It allows you to build native mobile applications using the same concepts from React. In this post I am going to explain the main building blocks of React Native through the example of an iOS demo application. I assume that you have previous experience in writing web applications with React.
Setup
Please go through getting started section on the React Native website if you would like to build an application on your machine.
Quick start
When all of the necessary tools are installed, let’s initialize the new React application with the following command:
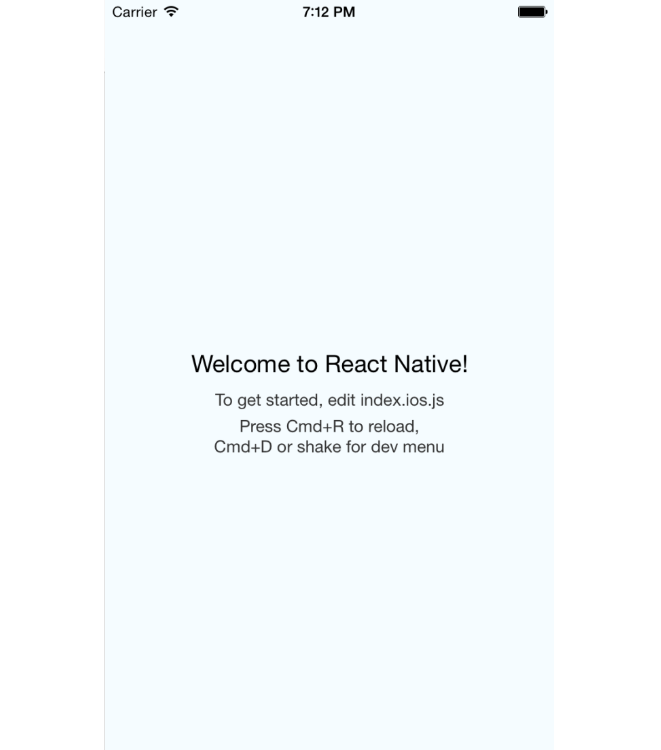
react-native init LastFmTopArtistsAfter the command fetches the code and the dependencies, you can open the new project (LastFmTopArtists/LastFmTopArtists.xcodeproj) in Xcode. Then you can build and run the app with cmd+R. You will see a similar screen on the iOS simulator:
You can make changes in index.ios.js, then press cmd+R and see instant changes in the simulator.
Demo app
In this post I will show you how to build a list of popular artists using the Last.fm api. We will display them with help of ListView component and redirect on the artist page using WebView.
First screen
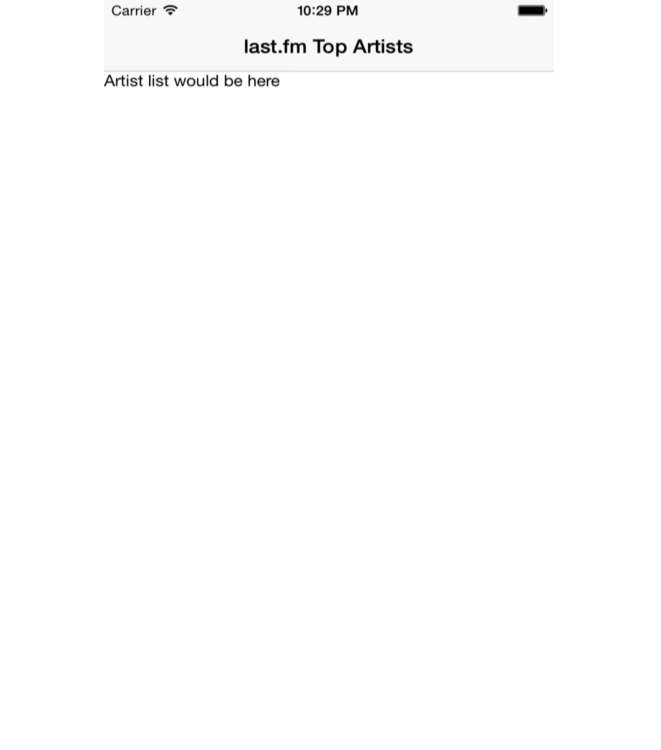
Let’s start with adding a new screen into our application. For now it will contain dump text. Create file ArtistListScreen with the following code:
var React = require('react-native');

var {
ListView,
StyleSheet,
Text,
View,
} = React;

class ArtistListScreen extendsReact.Component {
render() {
   return (
     <View style={styles.container}>
     <Text>Artist list would be here</Text>
     </View>
   );
}
}

var styles = StyleSheet.create({
container: {
   flex: 1,
   backgroundColor: 'white',
   marginTop: 64
}
})

module.exports = ArtistListScreen;
Here are some things to note:
- I declare react components with ES6 Classes syntax.
- ES6 Destructuring assignment syntax is used for React objects declaration.
- FlexBox is a default layout system in React Native. Flex values can be either integers or doubles, indicating the relative size of the box. So, when you have multiple elements they will fill the relative proportion of the view based on their flex value.
- ListView is declared but will be used later.
From index.ios.js we call ArtistListScreen using NavigatorIOS component:
var React = require('react-native');
var ArtistListScreen = require('./ArtistListScreen');

var {
AppRegistry,
NavigatorIOS,
StyleSheet
} = React;

var LastFmArtists = React.createClass({
render: function() {
   return (
     <NavigatorIOS
     style={styles.container}
     initialRoute={{
       title: "last.fm Top Artists",
       component: ArtistListScreen
     }}
     />
   );
}
});

var styles = StyleSheet.create({
container: {
   flex: 1,
   backgroundColor: 'white',
},
});
Switch to iOS Simulator, refresh with cmd+R and you will see:
ListView
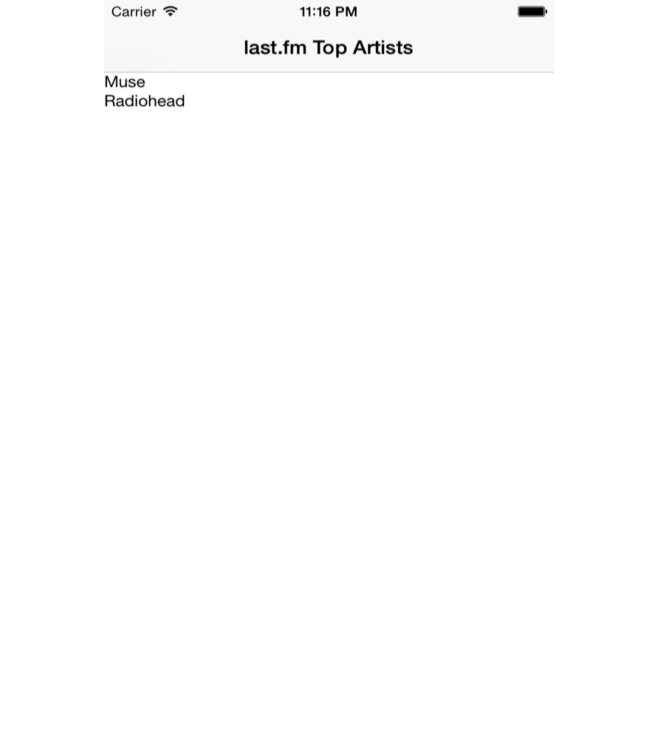
After we have got the empty screen, let’s render some mock data in a ListView component. This component has a number of performance improvements such as rendering of only visible elements and removing which are off screen. The new version of ArtistListScreen looks like the following:
class ArtistListScreen extendsReact.Component {
constructor(props) {
     super(props)
     this.state = {
       isLoading: false,
       dataSource: newListView.DataSource({
         rowHasChanged: (row1, row2) => row1 !== row2
       })
     }
   }

componentDidMount() {
   this.loadArtists();
}

loadArtists() {
   this.setState({
     dataSource: this.getDataSource([{name: 'Muse'}, {name: 'Radiohead'}])
   })
}

getDataSource(artists: Array<any>): ListView.DataSource {
   returnthis.state.dataSource.cloneWithRows(artists);
}

renderRow(artist) {
   return (
     <Text>{artist.name}</Text>
   );
}

render() {
   return (
     <View style={styles.container}>
       <ListView
         dataSource={this.state.dataSource}
         renderRow={this.renderRow.bind(this)}
         automaticallyAdjustContentInsets={false}
       />
     </View>
   );
}
}
Side notes:
- The DataSource is an interface that ListView is using to determine which rows have changed over the course of updates.
- ES6 constructor is an analog of getInitialState.
The end result of the changes:
Api token
The Last.fm web api is free to use but you will need a personal api token in order to access it. At first it is necessary to join Last.fm and then get an API account.
Fetching real data
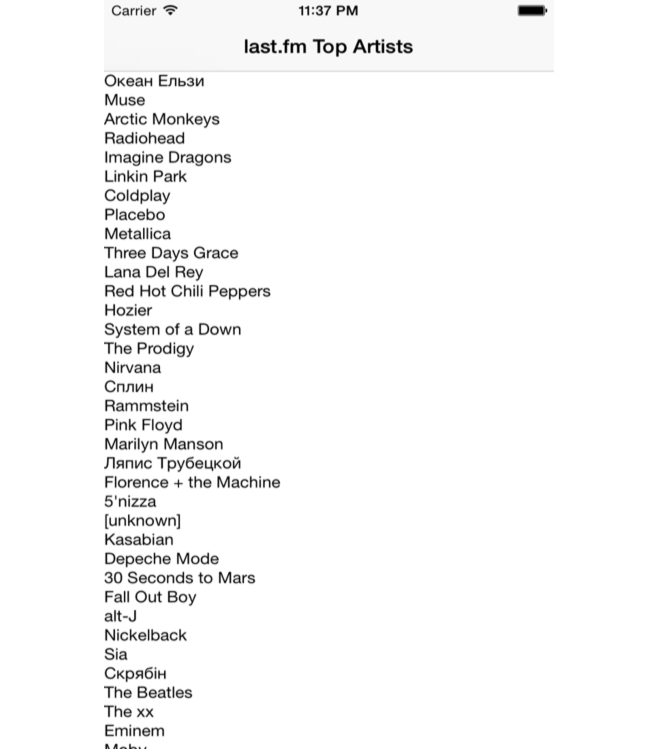
I assume you have successfully set up the API account. Let’s call a real web service using fetch API:
const API_KEY='put token here';
const API_URL = 'http://ws.audioscrobbler.com/2.0/?method=geo.gettopartists&country=ukraine&format=json&limit=40';
const REQUEST_URL = API_URL + '&api_key=' + API_KEY;

loadArtists() {
     this.setState({
       isLoading: true
     });

     fetch(REQUEST_URL)
       .then((response) => response.json())
       .catch((error) => {
         console.error(error);
       })
       .then((responseData) => {
         this.setState({
           isLoading: false,
           dataSource: this.getDataSource(responseData.topartists.artist)
         })
       })
       .done();
   }
After a refresh, the iOS simulator should display:
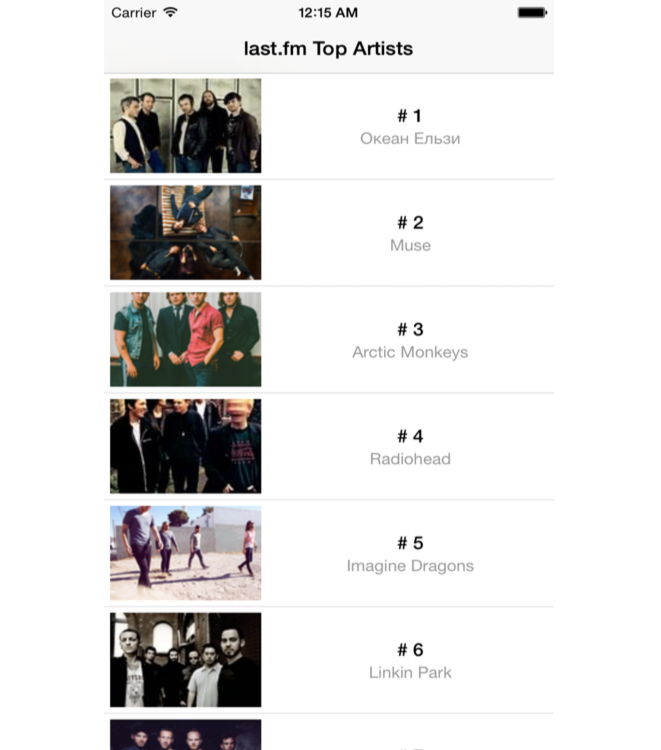
ArtistCell
Since we have real data, it is time to add artist’s images and rank them on the display. Let’s move artist cell display logic into separate component ArtistCell:
'use strict';

var React = require('react-native');

var {
Image,
View,
Text,
TouchableHighlight,
StyleSheet
} = React;

class ArtistCell extendsReact.Component {
render() {
   return (
     <View>
       <View style={styles.container}>
         <Image
           source={{uri: this.props.artist.image[2]["#text"]}}
           style={styles.artistImage}
         />
          <View style={styles.rightContainer}>
           <Text style={styles.rank}>## {this.props.artist["@attr"].rank}</Text>
           <Text style={styles.name}>{this.props.artist.name}</Text>
         </View>
       </View>
       <View style={styles.separator}/>
     </View>
   );
}
}

var styles = StyleSheet.create({
container: {
   flex: 1,
   flexDirection: 'row',
   justifyContent: 'center',
   alignItems: 'center',
   padding: 5
},
artistImage: {
   height: 84,
   width: 126,
   marginRight: 10
},
rightContainer: {
   flex: 1
},
name: {
   textAlign: 'center',
   fontSize: 14,
   color: '#999999'
},
rank: {
   textAlign: 'center',
   marginBottom: 2,
   fontWeight: '500',
   fontSize: 16
},
separator: {
   height: 1,
   backgroundColor: '#E3E3E3',
   flex: 1
}
})

module.exports = ArtistCell;
Changes in ArtistListScreen:
// declare new component
var ArtistCell = require('./ArtistCell');

// use it in renderRow method:
renderRow(artist) {
   return (
       <ArtistCell
         artist={artist}
       />
     );
}
Press cmd+R in iOS Simulator:
WebView
The last piece of the application would be to open a web page by clicking in ListView. Declare new component WebView:
'use strict';

var React = require('react-native');

var {
View,
WebView,
StyleSheet
} = React;

class Web extendsReact.Component {
render() {
   return (
     <View style={styles.container}>
       <WebView url={this.props.url}/>
     </View>
   );
}
}

var styles = StyleSheet.create({
container: {
   flex: 1,
   backgroundColor: '#F6F6EF',
   flexDirection: 'column',
},
});

Web.propTypes = {
url: React.PropTypes.string.isRequired
};

module.exports = Web;
Then by using TouchableHighlight we will call onOpenPage from ArtistCell:
class ArtistCell extendsReact.Component {
render() {
   return (
     <View>
       <TouchableHighlight
         onPress={this.props.onOpenPage}
         underlayColor='transparent'>
         <View style={styles.container}>
           <Image
             source={{uri: this.props.artist.image[2]["#text"]}}
             style={styles.artistImage}
           />
           <View style={styles.rightContainer}>
             <Text style={styles.rank}>## {this.props.artist["@attr"].rank}</Text>
             <Text style={styles.name}>{this.props.artist.name}</Text>
           </View>
          </View>
       </TouchableHighlight>
       <View style={styles.separator}/>
     </View>
   );
}
}
Finally open web page from ArtistListScreen component:
// declare new component
var WebView = require('WebView');


class ArtistListScreen extendsReact.Component {
// will be called on touch from ArtistCell
openPage(url) {
   this.props.navigator.push({
     title: 'Web View',
     component: WebView,
     passProps: {url}
   });
}

renderRow(artist) {
   return (
       <ArtistCell
         artist={artist}
         // specify artist's url on render
         onOpenPage={this.openPage.bind(this, artist.url)}
       />
     );
}

}
Now a touch on any cell in ListView will load a web page for selected artist:

Conclusion
You can explore source code of the app on Github repo. For me it was a real fun to play with React Native. I found debugging in Chrome and error stack messages extremely easy to work with. By using React’s component-based approach you can build complex UI without much effort. I highly recommend to explore this technology for rapid prototyping and maybe for your next awesome project.
Useful links
- Building a flashcard app with React Native
- Examples of React Native apps
- React Native Videos
- Video course on React Native
Want more JavaScript? Visit our dedicated page here.
About the author
Eugene Safronov is a software engineer with a proven record of delivering high quality software. He has an extensive experience building successful teams and adjusting development processes to the project’s needs. His primary focuses are Web (.NET, node.js stacks) and cross-platform mobile development (native and hybrid). He can be found on Twitter @sejoker.


