


To create a model a custom news feed, we need data which can be trained. This training data will be fed into a model in order to teach it to discriminate between the articles that we’d be interested in and the ones that we would not.
This article is an excerpt from a book written by Alexander T. Combs titled Python Machine Learning Blueprints: Intuitive data projects you can relate to.
In this article, we will learn to build a custom news corpus and annotate a large number of articles corresponding to the interests respectively.
You can download the code and other relevant files used in this article from this GitHub link.
Creating a supervised training dataset
Before we can create a model of our taste in news articles, we need training data. This training data will be fed into our model in order to teach it to discriminate between the articles that we’d be interested in and the ones that we would not. To build this corpus, we will need to annotate a large number of articles that correspond to these interests. For each article, we’ll label it either “y” or “n”. This will indicate whether the article is the one that we would want to have sent to us in our daily digest or not.
To simplify this process, we will use the Pocket app. Pocket is an application that allows you to save stories to read later. You simply install the browser extension, and then click on the Pocket icon in your browser’s toolbar when you wish to save a story. The article is saved to your personal repository. One of the great features of Pocket for our purposes is its
ability to save the article with a tag of your choosing. We’ll use this feature to mark interesting articles as “y” and non-interesting articles as “n”.
Installing the Pocket Chrome extension
We use Google Chrome here, but other browsers should work similarly. For Chrome, go into the Google App Store and look for the Extensions section:
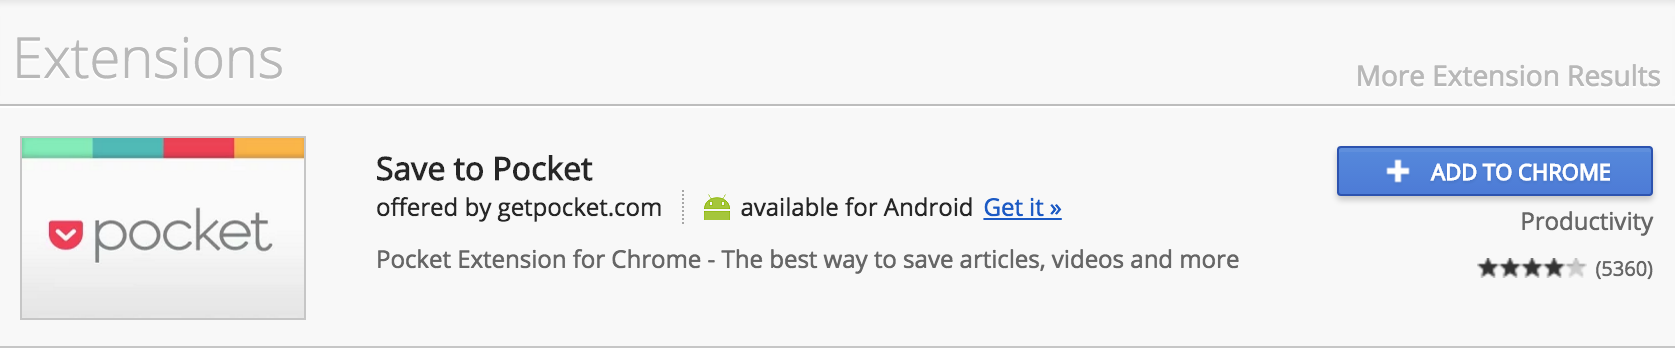
Image from https://chrome.google.com/webstore/search/pocket
Click on the blue Add to Chrome button. If you already have an account, log in, and if you do not have an account, go ahead and sign up (it’s free). Once this is complete, you should see the Pocket icon in the upper right-hand corner of your browser. It will be greyed out, but once there is an article you wish to save, you can click on it. It will turn red once the article has been saved as seen in the following images.
The greyed out icon can be seen in the upper right-hand corner.

Image from https://news.ycombinator.com
When the icon is clicked, it turns red to indicated the article has been saved.
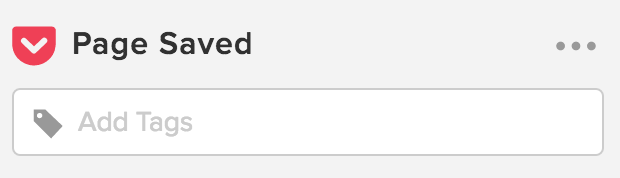
Image from https://www.wsj.com
Now comes the fun part! Begin saving all articles that you come across. Tag the interesting ones with “y”, and the non-interesting ones with “n”. This is going to take some work. Your end results will only be as good as your training set, so you’re going to to need to do this for hundreds of articles. If you forget to tag an article when you save it, you can always go to the site, http://www.get.pocket.com, to tag it there.
Using the Pocket API to retrieve stories
Now that you’ve diligently saved your articles to Pocket, the next step is to retrieve them. To accomplish this, we’ll use the Pocket API. You can sign up for an account at https://getpocket.com/developer/apps/new. Click on Create New App in the upper left-hand side and fill in the details to get your API key. Make sure to click all of the permissions so that you can add, change, and retrieve articles.
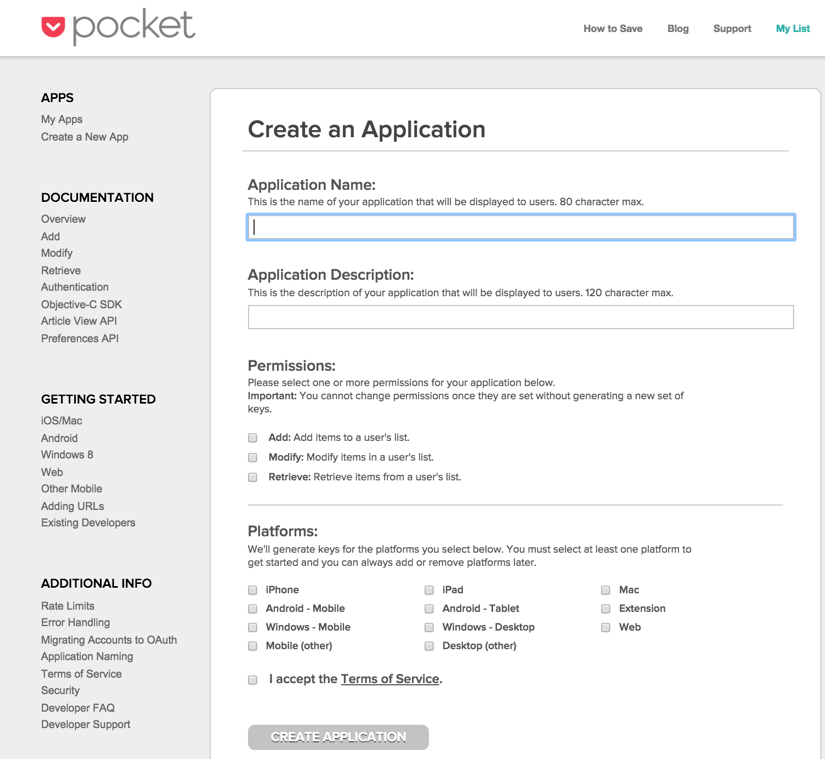
Image from https://getpocket.com/developer
Once you have filled this in and submitted it, you will receive your CONSUMER KEY. You can find this in the upper left-hand corner under My Apps. This will look like the following screen, but obviously with a real key:
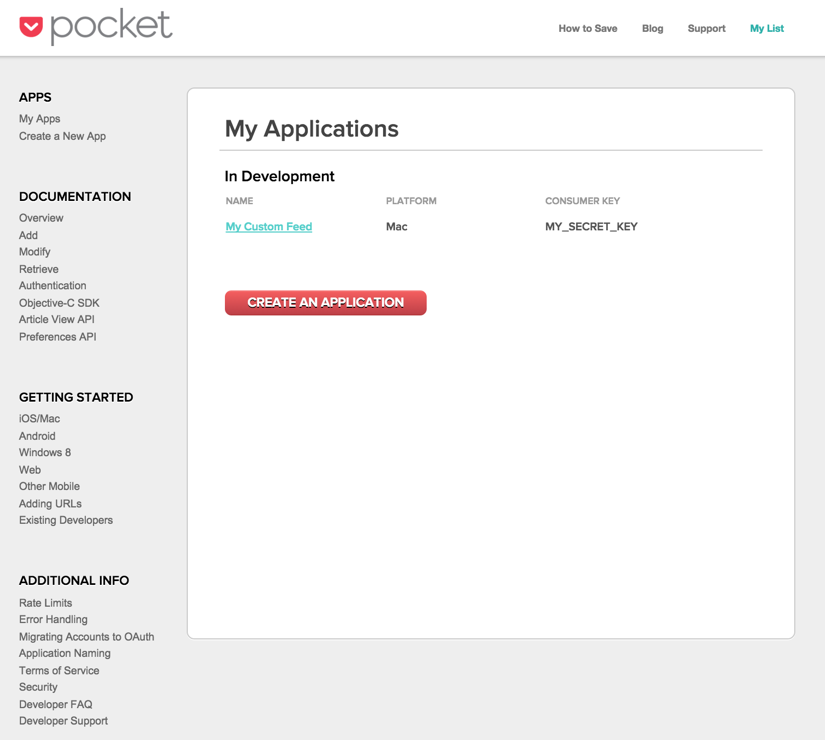
Image from https://getpocket.com/developer
Once this is set, you are ready to move on the the next step, which is to set up the authorizations. It requires that you input your consumer key and a redirect URL. The redirect URL can be anything. Here I have used my Twitter account:
import requests

auth_params = {'consumer_key': 'MY_CONSUMER_KEY', 'redirect_uri':

'https://www.twitter.com/acombs'}

tkn = requests.post('https://getpocket.com/v3/oauth/request',

data=auth_params)

tkn.content
You will see the following output:
![]()
The output will have the code that you’ll need for the next step. Place the following in your browser bar:
https://getpocket.com/auth/authorize?request_token=some_long_code&redir ect_uri=https%3A//www.twitter.com/acombs
If you change the redirect URL to one of your own, make sure to URL encode it. There are a number of resources for this. One option is to use the Python library urllib, another is to use a free online source.
At this point, you should be presented with an authorization screen. Go ahead and approve it, and we can move on to the next step:
usr_params = {'consumer_key':'my_consumer_key', 'code':

'some_long_code'}

usr = requests.post('https://getpocket.com/v3/oauth/authorize',

data=usr_params)

usr.content
We’ll use the following output code here to move on to retrieving the stories:
![]()
First, we retrieve the stories tagged “n”:
no_params = {'consumer_key':'my_consumer_key', 'access_token':

'some_super_long_code',

'tag': 'n'}

no_result = requests.post('https://getpocket.com/v3/get',

data=no_params)

no_result.text
The preceding code generates the following output:
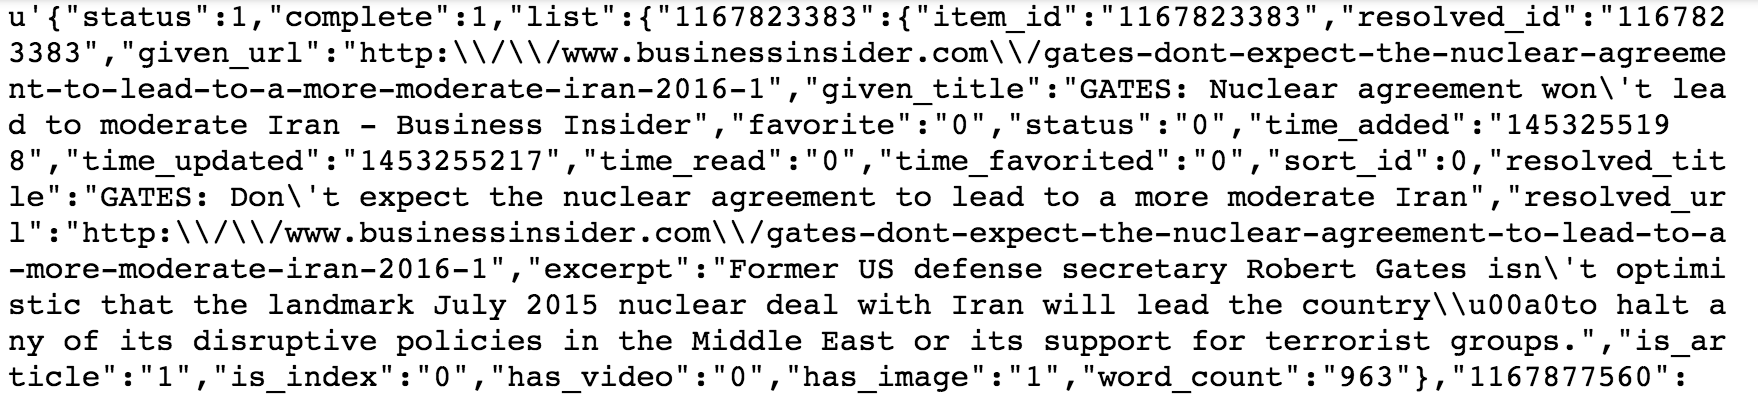
Note that we have a long JSON string on all the articles that we tagged “n”. There are several keys in this, but we are really only interested in the URL at this point. We’ll go ahead and create a list of all the URLs from this:
no_jf = json.loads(no_result.text)
no_jd = no_jf['list']
no_urls=[]
for i in no_jd.values():
no_urls.append(i.get('resolved_url'))
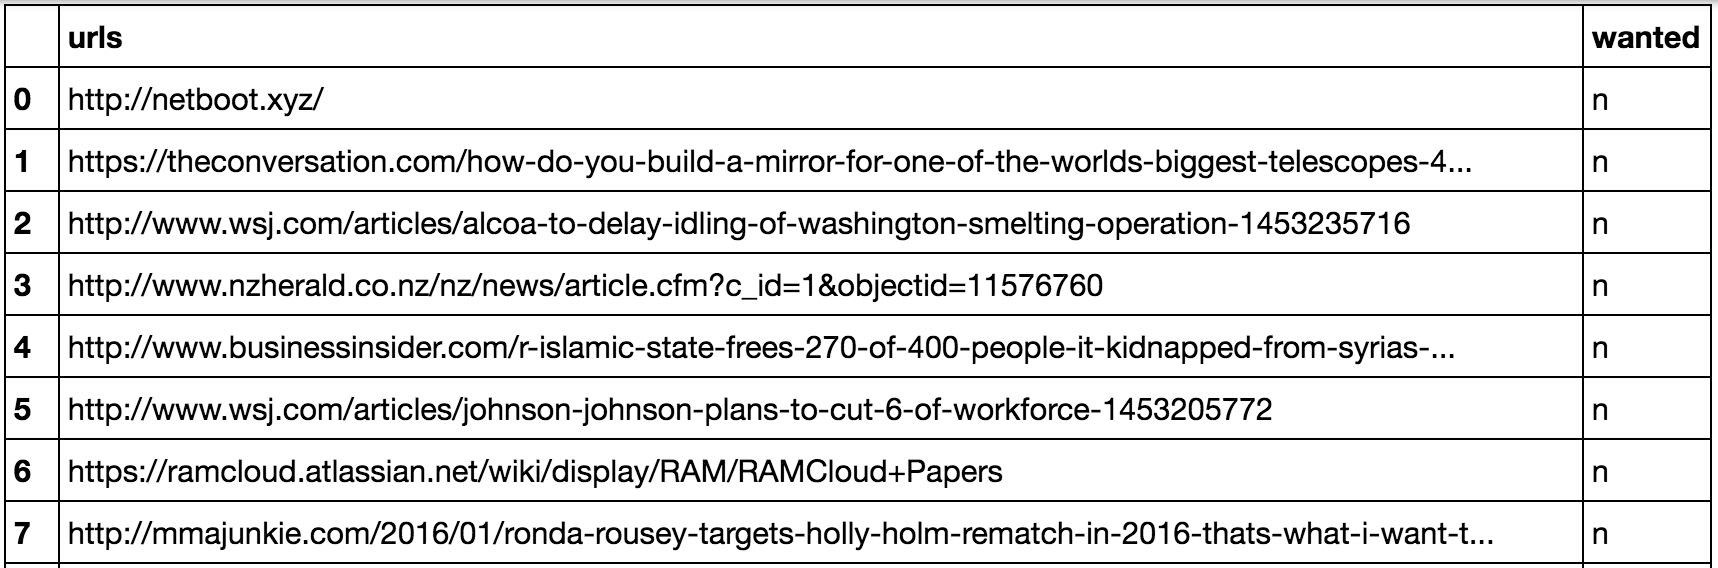
no_urlsThe preceding code generates the following output:

This list contains all the URLs of stories that we aren’t interested in. Now, let’s put this in a
DataFrame object and tag it as such:
import pandas

no_uf = pd.DataFrame(no_urls, columns=['urls'])

no_uf = no_uf.assign(wanted = lambda x: 'n')

no_uf
The preceding code generates the following output:
Now, we’re all set with the unwanted stories. Let’s do the same thing with the stories that we are interested in:
ye_params = {'consumer_key': 'my_consumer_key', 'access_token':

'some_super_long_token',

'tag': 'y'}

yes_result = requests.post('https://getpocket.com/v3/get',

data=yes_params)

yes_jf = json.loads(yes_result.text)

yes_jd = yes_jf['list']

yes_urls=[]

for i in yes_jd.values():

yes_urls.append(i.get('resolved_url'))

yes_uf = pd.DataFrame(yes_urls, columns=['urls'])

yes_uf = yes_uf.assign(wanted = lambda x: 'y')

yes_uf
The preceding code generates the following output:

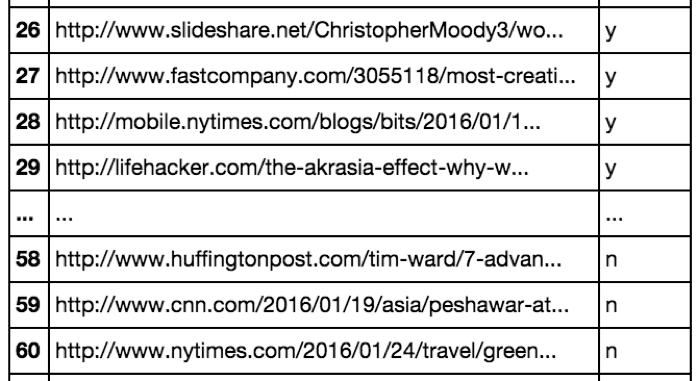
Now that we have both types of stories for our training data, let’s join them together into a single DataFrame:
df = pd.concat([yes_uf, no_uf])

df.dropna(inplace=1)

df
The preceding code generates the following output:
Now that we’re set with all our URLs and their corresponding tags in a single frame, we’ll move on to downloading the HTML for each article. We’ll use another free service for this called embed.ly.
Using the embed.ly API to download story bodies
We have all the URLs for our stories, but unfortunately this isn’t enough to train on. We’ll need the full article body. By itself, this could become a huge challenge if we wanted to roll our own scraper, especially if we were going to be pulling stories from dozens of sites. We would need to write code to target the article body while carefully avoiding all the othersite gunk that surrounds it. Fortunately, there are a number of free services that will do this for us. We’re going to use embed.ly to do this, but there are a number of other services that you also could use.
The first step is to sign up for embed.ly API access. You can do this at https://app.embed.ly/signup. This is a straightforward process. Once you confirm your registration, you will receive an API key.. You need to just use this key in your HTTPrequest. Let’s do this now:
import urllib
def get_html(x):
qurl = urllib.parse.quote(x)
rhtml = requests.get('https://api.embedly.com/1/extract?url=' +
qurl + '&key=some_api_key')
ctnt = json.loads(rhtml.text).get('content')
return ctnt
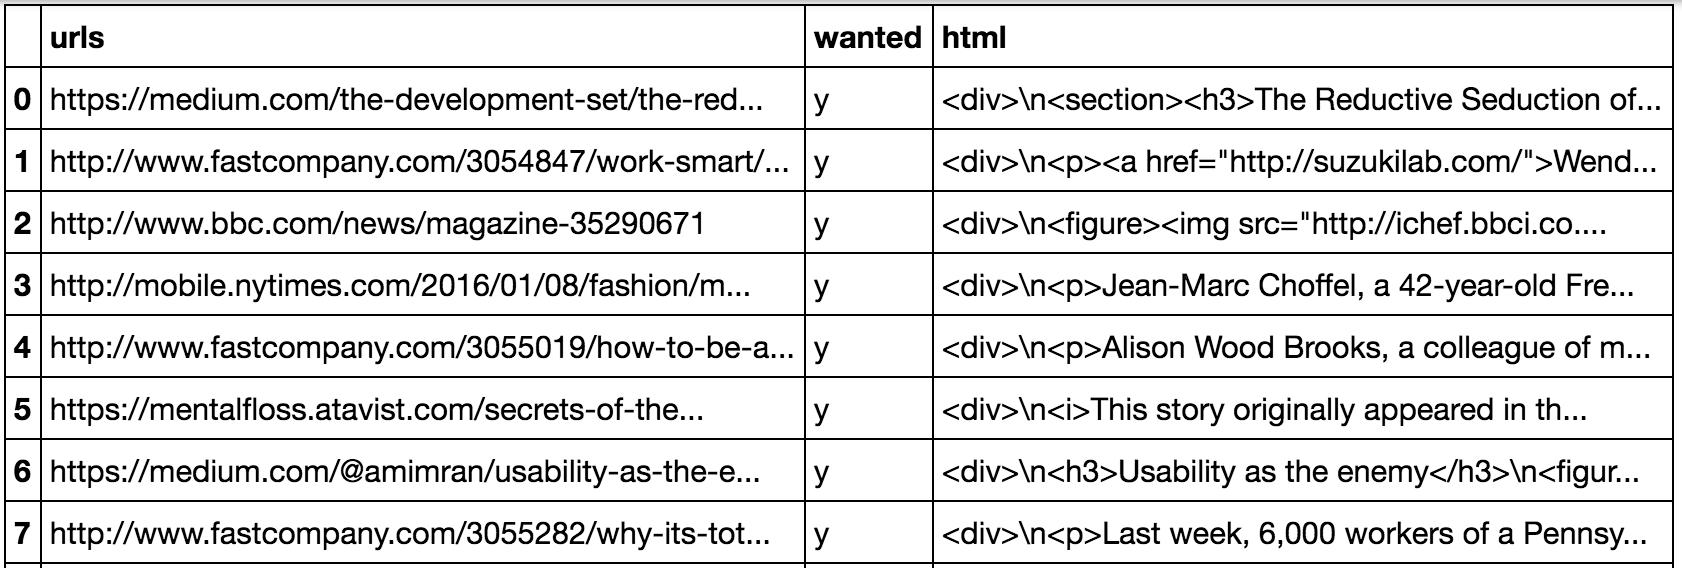
df.loc[:,'html'] = df['urls'].map(get_html)
df.dropna(inplace=1)
dfThe preceding code generates the following output:
With that, we have the HTML of each story. As the content is embedded in HTML markup, and we want to feed plain text into our model, we’ll use a parser to strip out the markup tags:
from bs4 import BeautifulSoup def get_text(x):

soup = BeautifulSoup(x, 'lxml')

text = soup.get_text()

return text

df.loc[:,'text'] = df['html'].map(get_text)

df
The preceding code generates the following output:
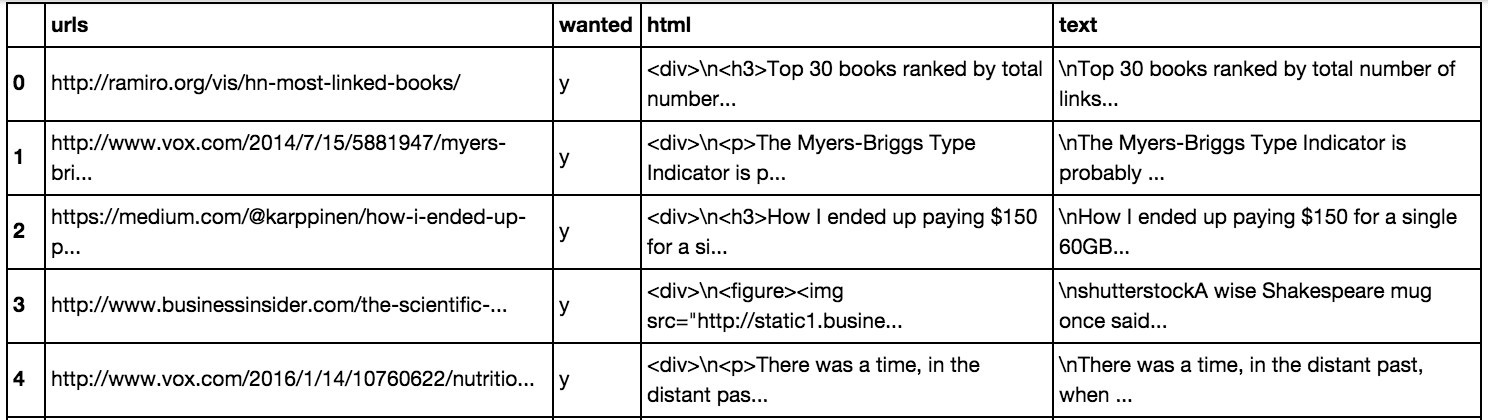
With this, we have our training set ready. We can now move on to a discussion of how to transform our text into something that a model can work with.
Setting up your daily personal newsletter
In order to set up a personal e-mail with news stories, we’re going to utilize IFTTT again. Build an App to Find Cheap Airfares, we’ll use the Maker Channel to send a POST request. However, this time the payload will be our news stories. If you haven’t set up the Maker Channel, do this now. Instructions can be found in Chapter
3, Build an App to Find Cheap Airfares. You should also set up the Gmail channel. Once that is complete, we’ll add a recipe to combine the two.
First, click on Create a Recipe from the IFTTT home page. Then, search for the Maker
Channel:
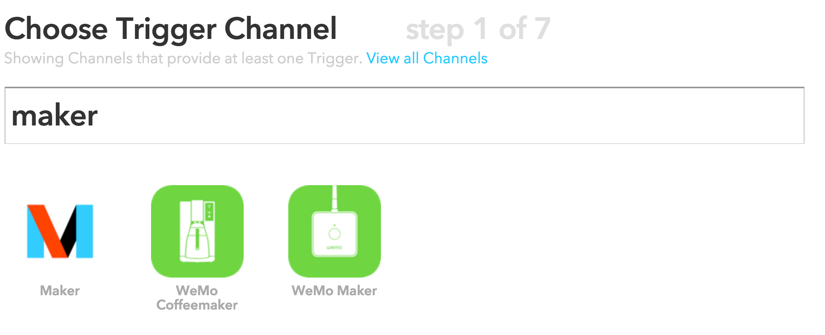
Image from https://www.iftt.com
Select this, then select Receive a web request:
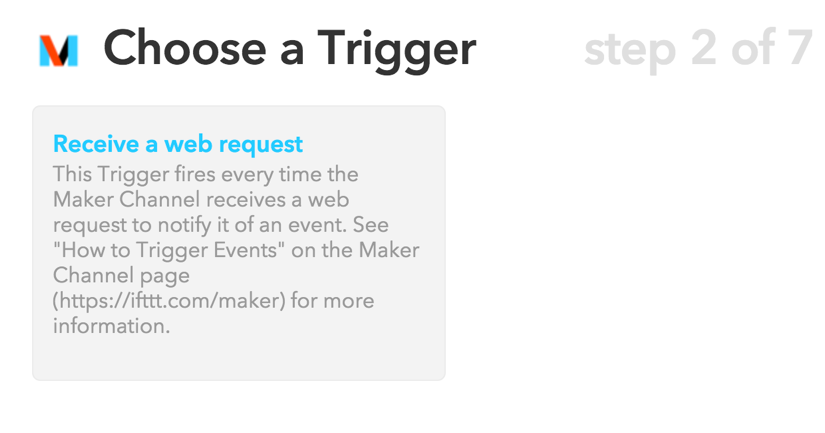
Image from https://www.iftt.com
Then, give the request a name. I’m using news_event:
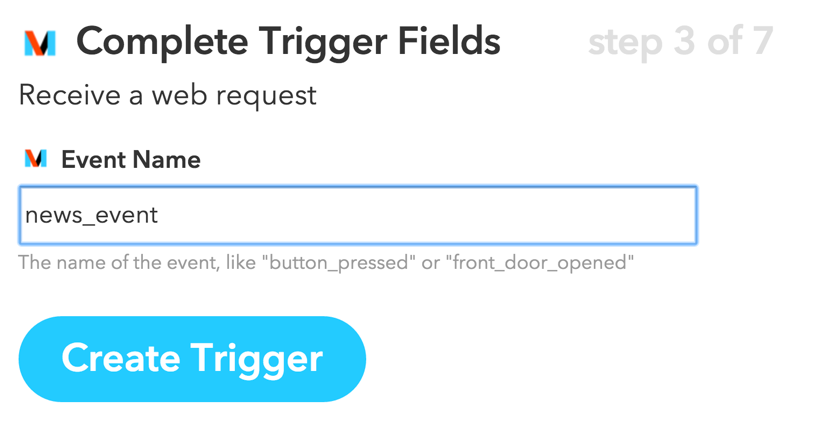
Image from https://www.iftt.com
Finish by clicking on Create Trigger. Next, click on that to set up the e-mail piece. Search for Gmail and click on the icon seen as follows:
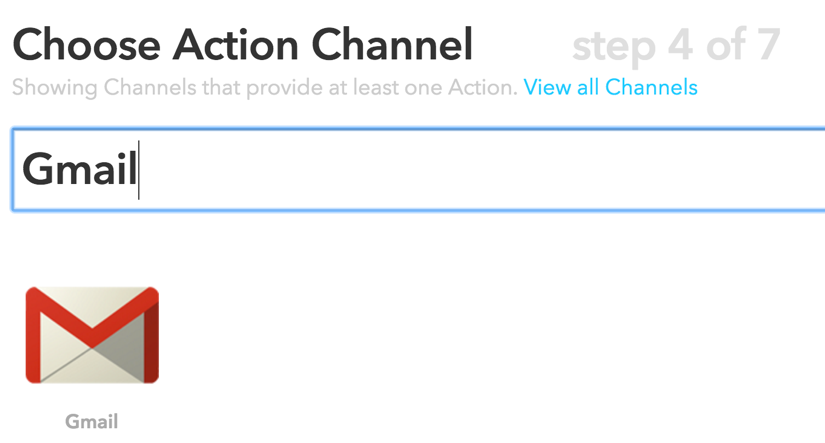
Image from https://www.iftt.com
Once you have clicked on Gmail, click on Send an e-mail. From here, you can customize your e-mail message.
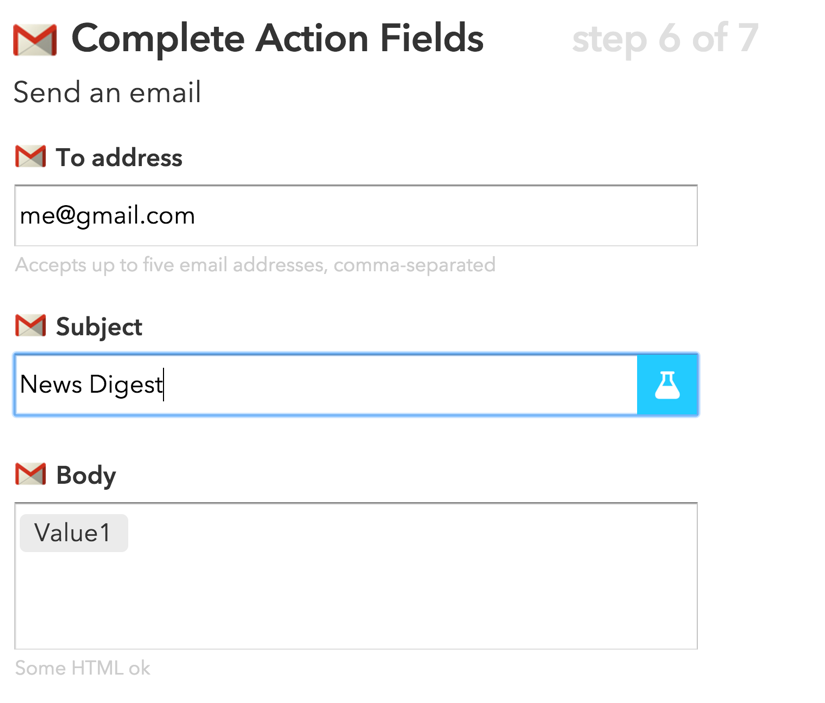
Image from https://www.iftt.com
Input your e-mail address, a subject line, and finally, include Value1 in the e-mail body. We will pass our story title and link into this with our POST request. Click on Create Recipe to finalize this.
Now, we’re ready to generate the script that will run on a schedule automatically sending us articles of interest. We’re going to create a separate script for this, but one last thing that we need to do in our existing code is serialize our vectorizer and our model:
import pickle pickle.dump(model, open (r'/Users/alexcombs/Downloads/news_model_pickle.p', 'wb')) pickle.dump(vect, open (r'/Users/alexcombs/Downloads/news_vect_pickle.p', 'wb'))With this, we have saved everything that we need from our model. In our new script, we will read these in to generate our new predictions. We’re going to use the same scheduling library to run the code that we used in Chapter 3, Build an App to Find Cheap Airfares. Putting it all together, we have the following script:
# get our imports. import pandas as pd

from sklearn.feature_extraction.text import TfidfVectorizer from sklearn.svm import LinearSVC

import schedule import time
import pickle import json import gspread import requests
from bs4 import BeautifulSoup

from oauth2client.client import SignedJwtAssertionCredentials


# create our fetching function def fetch_news():
try:
vect =
pickle.load(open(r'/Users/alexcombs/Downloads/news_vect_pickle.p', 'rb'))
model =
pickle.load(open(r'/Users/alexcombs/Downloads/news_model_pickle.p', 'rb'))

json_key =
json.load(open(r'/Users/alexcombs/Downloads/APIKEY.json'))
scope = ['https://spreadsheets.google.com/feeds']


credentials = SignedJwtAssertionCredentials(json_key['client_email'], json_key['private_key'].encode(), scope)
gc = gspread.authorize(credentials)

ws = gc.open("NewStories")
sh = ws.sheet1
zd = list(zip(sh.col_values(2), sh.col_values(3),
sh.col_values(4)))
zf = pd.DataFrame(zd, columns=['title', 'urls', 'html'])
zf.replace('', pd.np.nan, inplace=True)
zf.dropna(inplace=True)

def get_text(x):
soup = BeautifulSoup(x, 'lxml')
text = soup.get_text()
return text

zf.loc[:, 'text'] = zf['html'].map(get_text)

tv = vect.transform(zf['text'])
res = model.predict(tv)

rf = pd.DataFrame(res, columns=['wanted'])
rez = pd.merge(rf, zf, left_index=True, right_index=True)

news_str = ''
for t, u in zip(rez[rez['wanted'] == 'y']['title'],
rez[rez['wanted'] == 'y']['urls']):
news_str = news_str + t + '\n' + u + '\n'

payload = {"value1": news_str}
r =
requests.post('https://maker.ifttt.com/trigger/news_event/with/key/IFTTT_KE
Y', data=payload)

# cleanup worksheet
lenv = len(sh.col_values(1))
cell_list = sh.range('A1:F' + str(lenv))
for cell in cell_list:
cell.value = ""
sh.update_cells(cell_list)
print(r.text)
except:
print('Failed')

schedule.every(480).minutes.do(fetch_news)


while 1: schedule.run_pending() time.sleep(1)
What this script will do is run every 4 hours, pull down the news stories from Google Sheets, run the stories through the model, generate an e-mail by sending a POST request to IFTTT for the stories that are predicted to be of interest, and then finally, it will clear out the stories in the spreadsheet so that only new stories get sent in the next e-mail.
Congratulations! You now have your own personalize news feed!
In this tutorial we learned how to create a custom news feed, to know more about setting it up and other intuitive Python projects, check out Python Machine Learning Blueprints: Intuitive data projects you can relate to.
Read next
Writing web services with functional Python programming [Tutorial]
Visualizing data in R and Python using Anaconda [Tutorial]
Python 3.7 beta is available as the second generation Google App Engine standard runtime


