(For more resources on Mobile Development, see here.)
iOS, Android, or both?
It could be that you only have an interest in iOS or only in Android. You should be able to easily see where to skip ahead to, unless you're intrigued about how the other half lives! If, like me, you're a capitalist, then you should be interested in both OSes. Far fewer steps are needed to get the Android SDK than to get the iOS developer tools, because of having to sign up as a developer with Apple, but the configuraton for Android is more involved. We'll go through all the steps for Android and then the ones for iOS. If you're an iOS-only kind of person, skip the next few sections, picking up again at the Becoming an iOS Developer section.
Becoming an Android developer
It is possible to develop Android OS apps without having to sign up for anything, but we'll try to be optimistic and assume that within the next 12 months, you will find time to make an awesome app that will make you rich! To that end, we'll go over what is involved in signing up to publish your apps in both the Android Market and the Amazon Appstore.
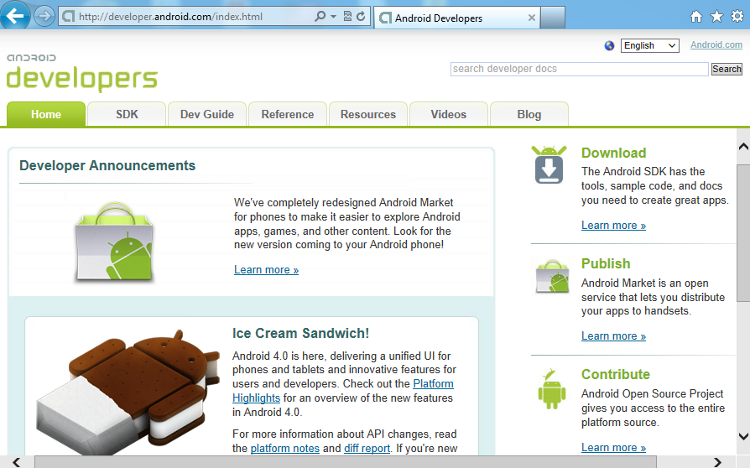
You will be back here shortly to download the Android SDK, but for now, click on the Learn More link in the Publish area. There will be a sign-in screen; sign in using your usual Google details.
Which e-mail address to use? Some Google services are easier to sign up for, if you have a Gmail account. Creating a Google+ account, or signing up for some of their Cloud services, requires a Gmail address (or so it seemed to me at the time!). If you have previously set up Google Checkout as part of your account, some of the steps in signing up process become simpler. So, use your Gmail address, and if you don't have one, create one!
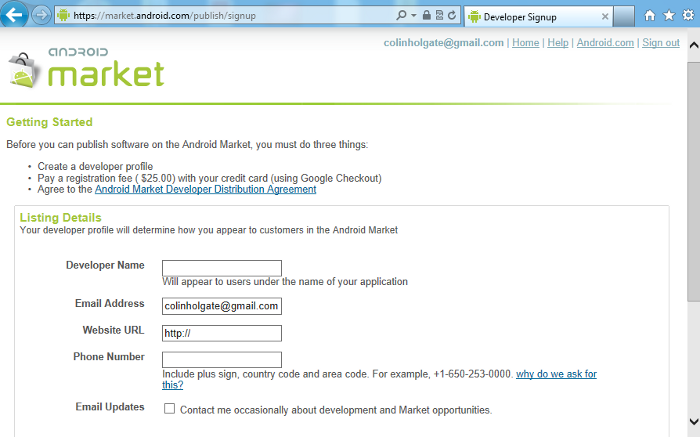
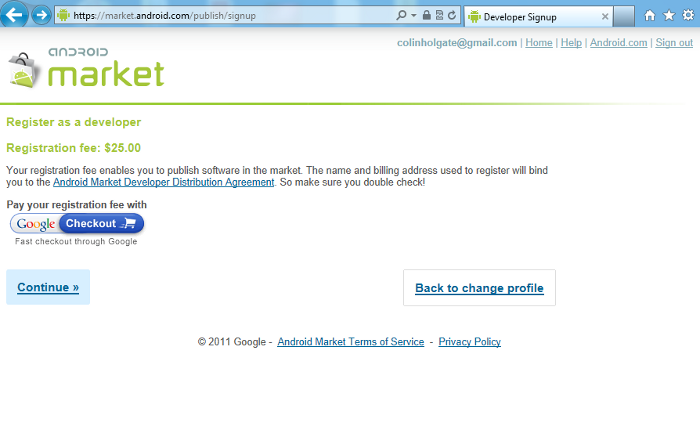
Google charges a $25 fee for you to sign up for Android Market. At least you find out about this right away! Enter the values for Developer Name, Email Address, Website URL (if you have one), and Phone Number.
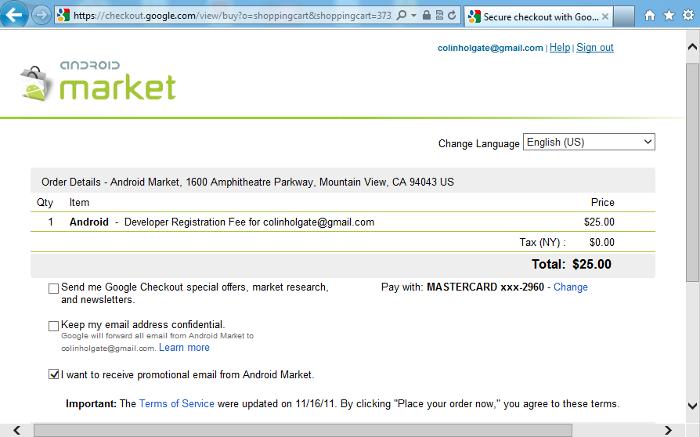
The payment of the $25 can be done through Google Checkout.
Using Google Checkout saves you from having to enter in your billing details, each time. Hopefully you won't guess the other 12 digits of my credit card number!
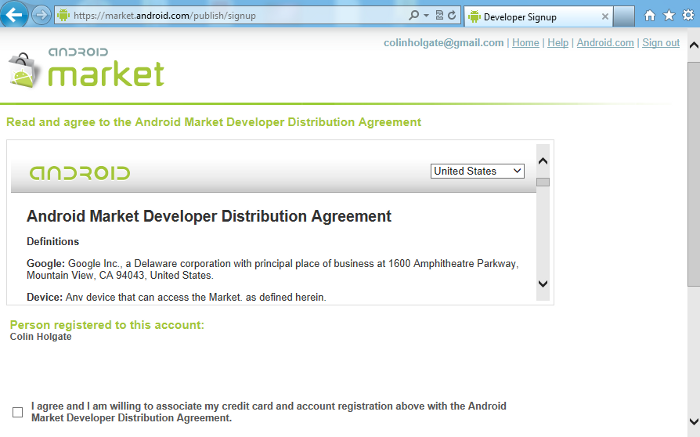
Finally, you need to agree to the Android Market Developer Distribution Agreement.
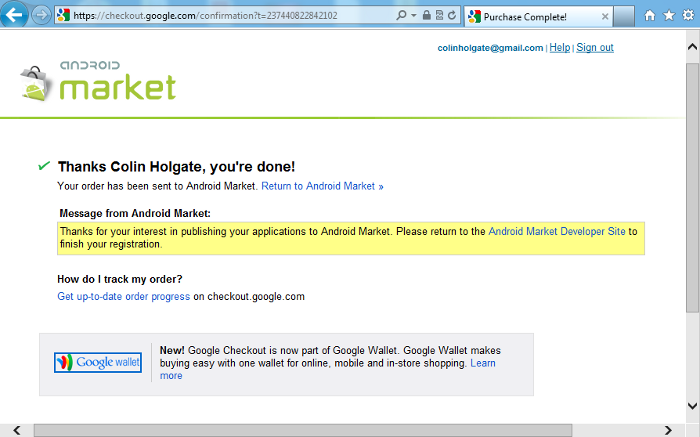
You're given an excuse to go and make some coffee…
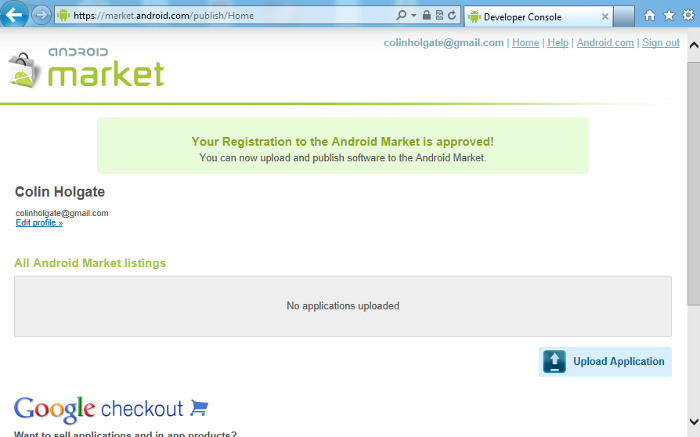
Some time later, you're all signed up and ready to make your fortune!
Amazon Appstore
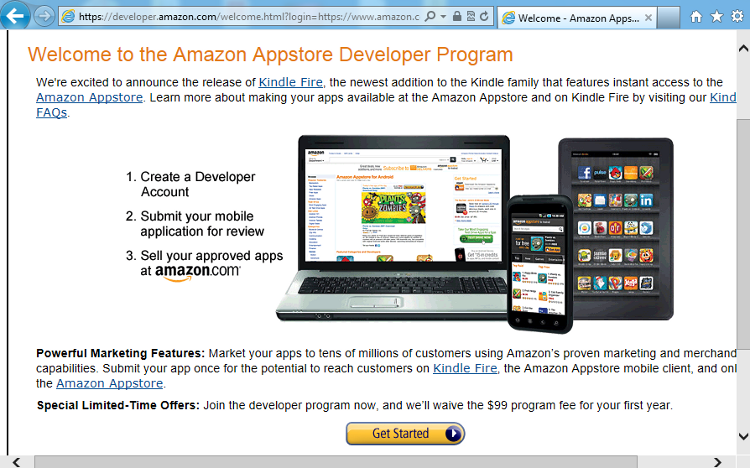
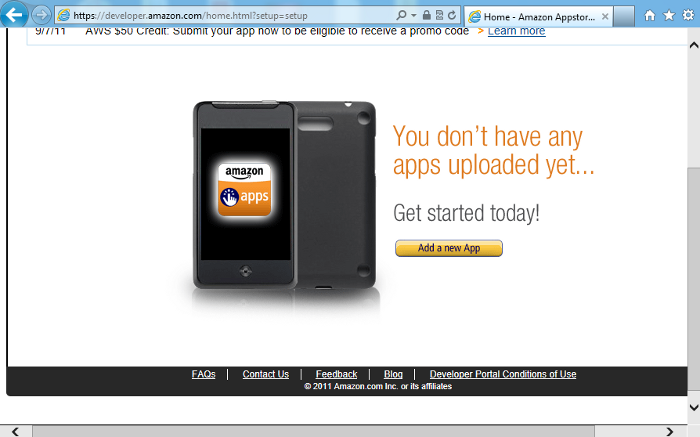
Whereas the rules and costs for the Google Android Market are fairly relaxed, Amazon has taken a more Apple-like approach, both in the amount they charge you to register and in the review process for accepting app submissions. The starting page is http://developer.amazon.com/home.html.
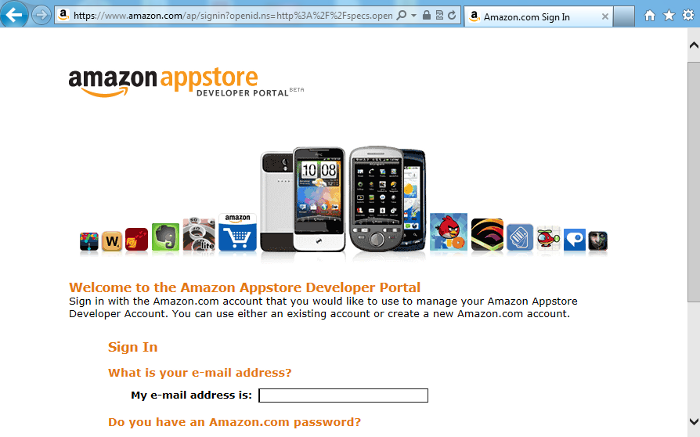
When you click on Get Started, you will be asked to sign into your Amazon account.
Which e-mail address to use? This feels like déjà vu! There is no real advantage in using your Google e-mail address when signing up for the Amazon Appstore Developer Program, but if you happen to have an account with Amazon, sign in with that one. It will simplify the payment stage, and your developer account and general Amazon account will be associated with each other.
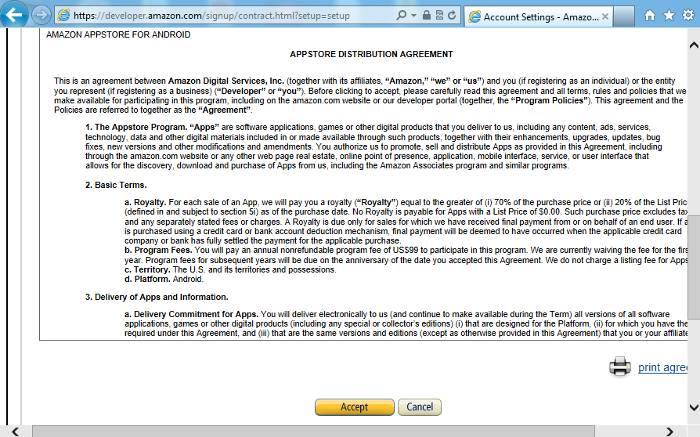
You are asked to agree to the APPSTORE DISTRIBUTION AGREEMENT terms before learning about the costs.
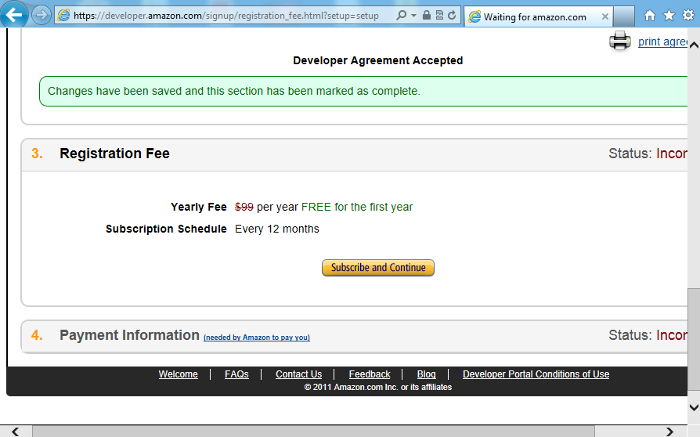
Those costs are $99 per year, but the first year is free. So that's good!
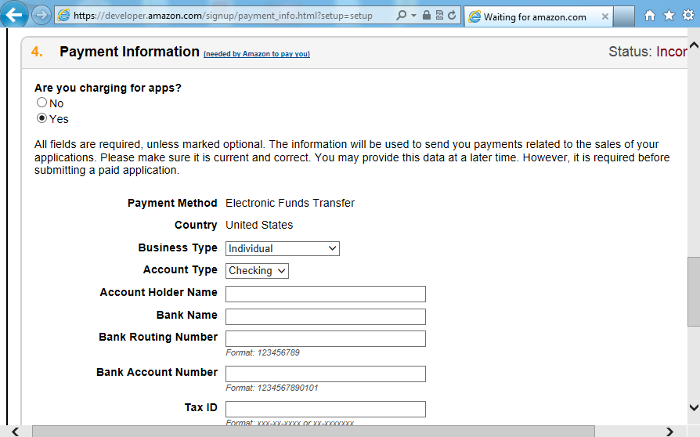
Unlike the Google Android Market, Amazon asks for your bank details upfront, ready to send you lots of money later, we hope!
That's it; you're ready to make another fortune, to go along with the one that Google sends you!
Unlock access to the largest independent learning library in Tech for FREE!
Get unlimited access to 7500+ expert-authored eBooks and video courses covering every tech area you can think of.
In the book previously mentioned, we're only going to cover Windows and Mac OS X (Intel), and only as much as is needed to make LiveCode work with the Android and iOS SDKs. If you intend to do native Java-based applicatons, then you may be interested in reading through all of the steps that are described in the web page: http://developer.android.com/sdk/installing.html
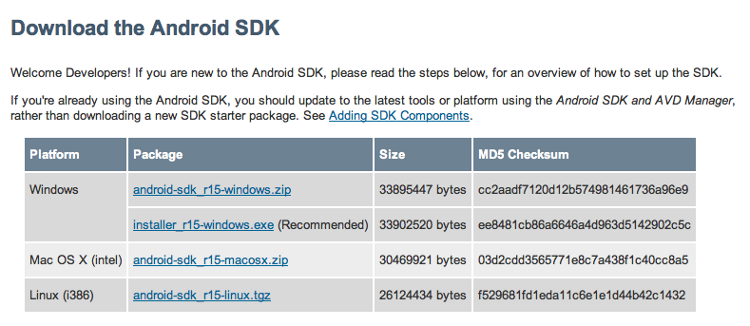
Click on the Download link for your platform. The steps you'll have to go through are different for Mac and Windows. Let's start with Mac.
Installing Android SDK on Mac OS X (Intel)
LiveCode itself doesn't require an Intel Mac; you can develop stacks using a PowerPC-based Mac, but both the Android SDK and some of the iOS tools require an Intel-based Mac, which sadly means that if you're reading this as you sit next to your Mac G4 or G5, then you're not going to get too far!
The file that you just downloaded will automatically expand to show a folder named android-sdk-macosx. It may be in your downloads folder right now; a more natural place for it would be in your Documents folder, so move it there before performing the next steps.
There is an SDK Readme text file that lists the steps you will need to take. If those steps are different to what we have here, then follow the steps in the Readme, in case they have been updated since the steps shown here were written.
Open the application Terminal, which is in Applications/Utilities. You need to change the directories to be located in the android-sdk-macosx folder. One handy trick in Terminal is that you can drag the items into the Terminal window to get the file path to that item. Using that trick, you can type cd and a space into the Terminal window, then drag the android-sdk-macosx folder just afer the space character. You'll end up with this line:
new-host-3:~ colin$ cd /Users/colin/Documents/android-sdk-macosx
Of course, the first part of the line and the user folder will match yours, not mine! The rest will look the same. Here's how it would look for a user named fred:
new-host-3:~ fred$ cd /Users/fred/Documents/android-sdk-macosx
Whatever your name is, press the Return or Enter key after entering that line. The location line changes to look similiar to the following:
new-host-3:android-sdk-macosx colin$
Either type carefully or copy and paste this line from the read me file:
tools/android update sdk --no-ui
Press Return or Enter again. How long the downloads take will depend on your Internet connection. Even with a very fast Internet connection, it will still take over an hour.
Installing Android SDK on Windows
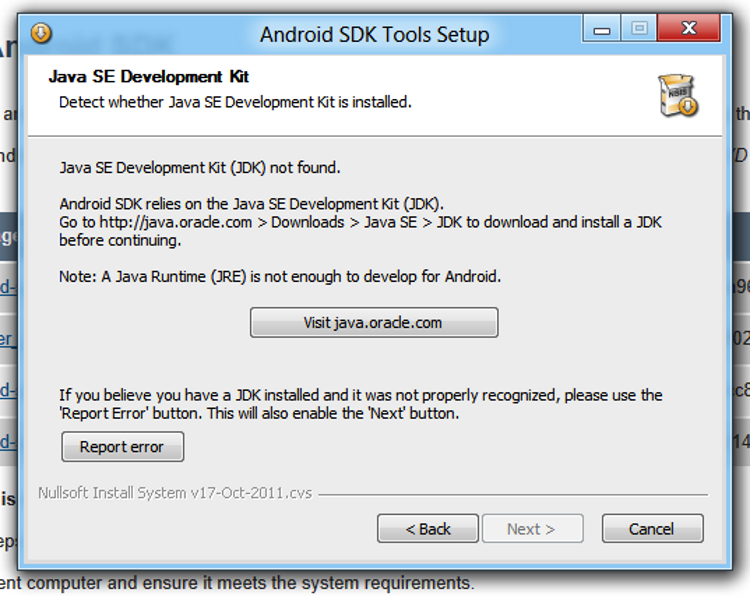
The downloads page recommends using the exe download link, and that will do extra things, such as check whether you have the Java Development Kit (JDK) installed. When you click on the link, use either the Run or Save options as you would with any download of a Windows installer. Here we opted to use Run. If you do use Save, then you will need to open the file after it has saved to your hard drive. In the following case, as the JDK wasn't installed, a dialog box appears saying go to Oracle's site to get the JDK:
If you see this, then you can leave the dialog box open and click on the Visit java.oracle.com button. On the Oracle page, you have to click on a checkbox to agree to their terms, and then on the Download link that corresponds with your platform. Choose the 64-bit option if you are running a 64-bit version of Windows, or the x86 option if you are running 32-bit Windows.
Either way, you're greeted with another installer to Run or Save, as you prefer. Naturally, it takes a while for that installer to do its thing too! When the installation completes, you will see a JDK registration page; it's up to you if you register or not.
Back at the Android SDK installer dialog box, you can click on the Back button, and then the Next button to get back to that JDK checking stage; only now it sees that you have the JDK installed. Complete the remaining steps of the SDK installer, as you would with any Windows installer.
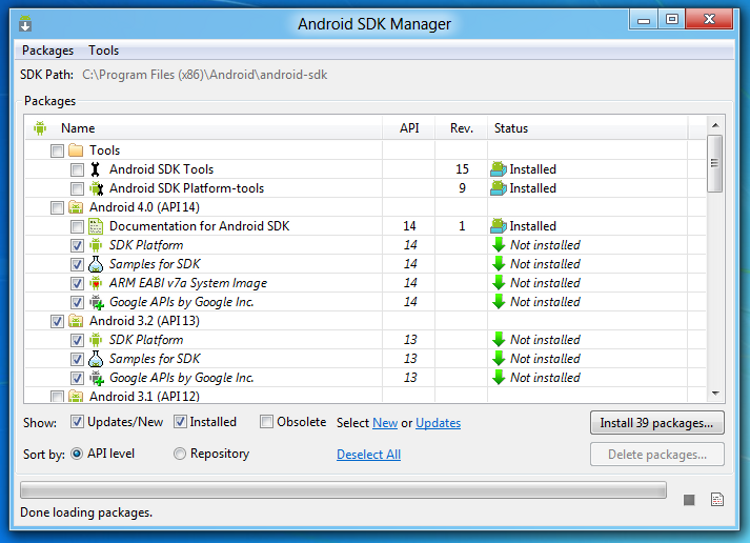
One important thing to notice; the last screen of the installer offers to open the SDK Manager. You do want to do that, so resist the temptation to uncheck that box! Click on Finish, and you'll be greeted with a command-line window for a few moments, then the Android SDK Manager will appear and do its thing.
As with the Mac version, it takes a very long time for all these add-ons to download.
Pointing LiveCode to the Android SDK
After all that installation and command-line work, it's a refreshing change to get back into LiveCode!
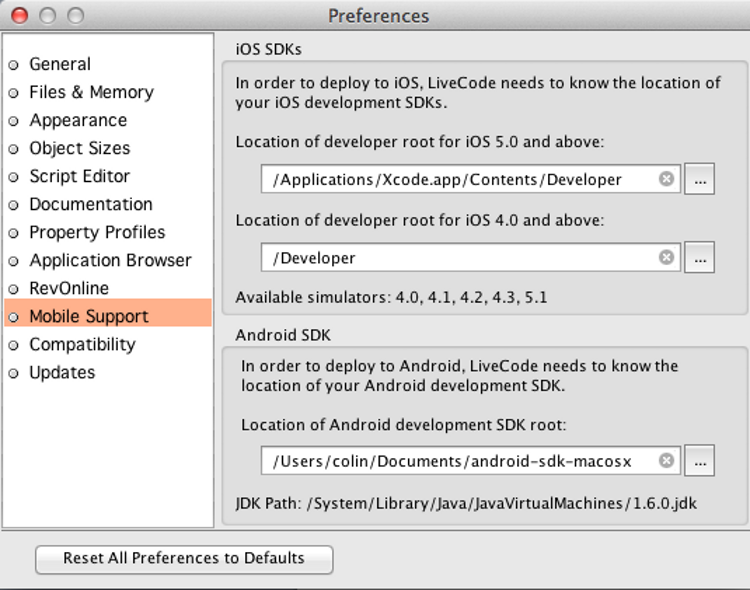
Open the LiveCode Preferences, and choose Mobile Support.
We will set the two iOS entries after getting iOS going (on Mac that is, these options will be grayed out on Windows). For now, click on the … button next to the Android development SDK root field, and navigate to where the SDK has been installed. If you followed the earlier steps correctly, then it will be in the Documents folder on Mac, or in C:Program Files (x86)Android on Windows (or somewhere else if you chose to use a custom location).

 United States
 Great Britain
 India
India
 Germany
 France
 Canada
 Russia
 Spain
Spain
 Brazil
 Australia
 Singapore
 Canary Islands
 Hungary
 Ukraine
 Luxembourg
 Estonia
 Lithuania
 South Korea
 Turkey
 Switzerland
 Colombia
 Taiwan
 Chile
Chile
 Norway
 Ecuador
 Indonesia
 New Zealand
 Cyprus
 Denmark
 Finland
 Poland
 Malta
Malta
 Czechia
 Austria
 Sweden
 Italy
Italy
 Egypt
Egypt
 Belgium
 Portugal
 Slovenia
 Ireland
 Romania
 Greece
 Argentina
 Netherlands
 Bulgaria
 Latvia
 South Africa
 Malaysia
 Japan
Japan
 Slovakia
 Philippines
 Mexico
 Thailand