


In this post, we will build a mobile game using HTML5, CSS, and JavaScript. To make things easier, we are going to make use of the Crafty.js JavaScript game engine, which is both free and open source. In this first part of a two-part series, we will look at making a simple turn-based RPG-like game based on Pascal Rettig’s Crafty Workshop presentation. You will learn how to add sprites to a game, control them, and work with mouse/touch events.
Setting up
To get started, first create a new PhoneGap project wherever you want in which to do your development. For this article, let’s call the project simplerpg.
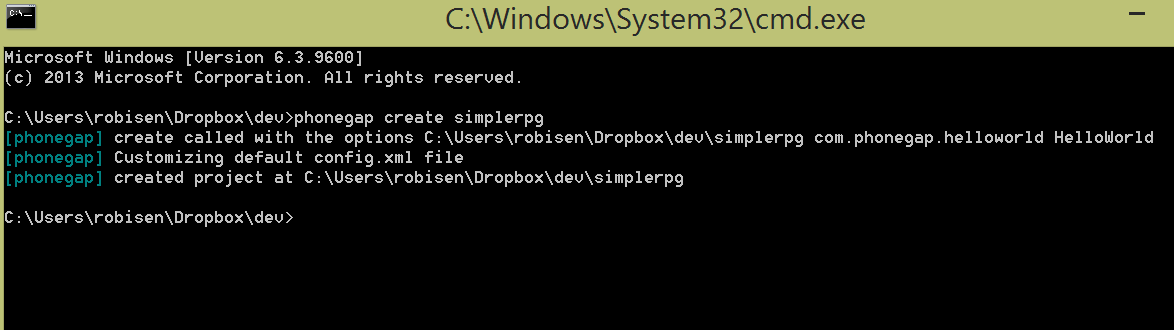
Figure 1: Creating the simplerpg project in PhoneGap.
Navigate to the www directory in your PhoneGap project and then add a new director called lib. This is where we are going to put several JavaScript libraries we will use for the project.
Now, download the JQuery library to the lib directory. For this project, we will use JQuery 2.1. Once you have downloaded JQuery, you need to download the Crafty.js library and add it to your lib directory as well.
For later parts of this series,you will want to be using a web server such as Apache or IIS to make development easier. For the first part of the post, you can just drag-and-drop the HTML files into your browser to test, but later, you will need to use a web browser to avoid Same Origin Policy errors.
This article assumes you are using Chrome to develop in. While IE or FireFox will work just fine, Chrome is used in this article and its debugging environment.
Finally, the source code for this article can be found here on GitHub. In the lessons directory, you will see a series of index files with a listing number matching each code listing in this article.
Crafty
PhoneGap allows you to take almost any HTML5 application and turn it into a mobile app with little to no extra work. Perhaps the most complex of all mobile apps are videos. Video games often have complex routines, graphics, and controls. As such, developing a video game from the ground up is very difficult. So much so that even major video game companies rarely do so. What they usually do, and what we will do here, is make use of libraries and game engines that take care of many of the complex tasks of managing objects, animation, collision detection, and more. For our project, we will be making use of the open source JavaScript game engine Crafty. Before you get started with the code, it’s recommended to quickly review the website here and review the Crafty API here.
Bootstrapping Crafty and creating an entity
Crafty is very simple to start working with. All you need to do is load the Crafty.js library and initialize Crafty. Let’s try that. Create an index.html file in your www root directory, if one does not exist; if you already have one, go ahead and overwrite it. Then, cut and paste listing 1 into it.
Listing 1: Creating an entity
<!DOCTYPE html>
<html>
<head></head>
<body>
<div id="game"></div>
<script type="text/javascript" src="lib/crafty.js"></script>
<script>
                                // Height and Width
                                var WIDTH = 500, HEIGHT = 320;
                                // Initialize Crafty
                                Crafty.init(WIDTH, HEIGHT);
                                var player = Crafty.e();
                                player.addComponent("2D, Canvas, Color")
                                player.color("red").attr({w:50, h:50});
                </script>
</body>
</html>
As you can see in listing 1, we are creating an HTML5 document and loading the Crafty.js library. Then, we initialize Crafty and pass it a width and height. Next, we create a Crafty entity called player. Crafty, like many other game engines, follows a design pattern called Entity-Component-System or (ECS). Entities are objects that you can attach things like behaviors and data to. For ourplayerentity, we are going to add several components including 2D, Canvas, and Color. Components can be data, metadata, or behaviors. Finally, we will add a specific color and position to our entity.
If you now save your file and drag-and-drop it into the browser, you should see something like figure 2.
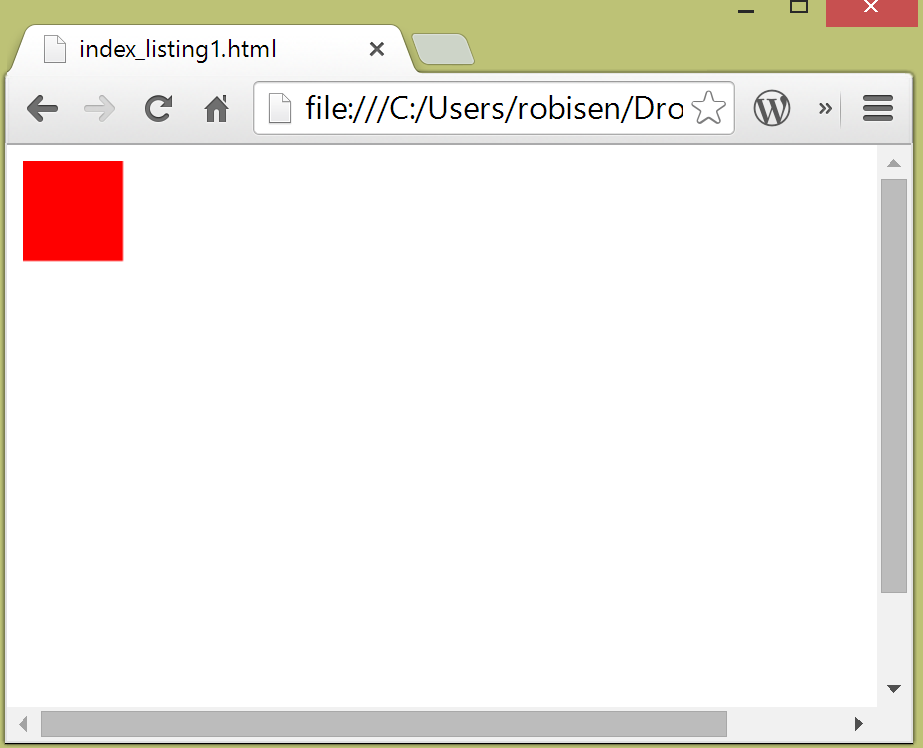
Figure 2: A simple entity in Crafty.
Moving a box
Now,let’s do something a bit more complex in Crafty. Let’s move the red box based on where we move our mouse, or if you have a touch-enabled device, where we touch the screen. To do this, open your index.html file and edit it so it looks like listing 2.
Listing 2: Moving the box
<!DOCTYPE html>
   <html>
   <head></head>
   <body>
   <div id="game"></div>
		 <script type="text/javascript" src="lib/crafty.js"></script>
	<script>
	                                var WIDTH = 500, HEIGHT = 320;
	                                Crafty.init(WIDTH, HEIGHT);
	                                // Background
                                Crafty.background("black");
                                   //add mousetracking so block follows your mouse
                                Crafty.e("mouseTracking, 2D, Mouse, Touch, Canvas")
            .attr({ w:500, h:320, x:0, y:0 })
            .bind("MouseMove", function(e)
	         {
	console.log("MouseDown:"+ Crafty.mousePos.x +", "+ Crafty.mousePos.y);
	               // when you touch on the canvas redraw the player
player.x = Crafty.mousePos.x;
	      player.y = Crafty.mousePos.y;

			               });
                                   // Create the player entity
                                var player = Crafty.e();
	                                player.addComponent("2D, DOM");
	                                //set where your player starts
                                player.attr({ x : 10, y : 10, w : 50, h : 50
	                                });
                                   player.addComponent("Color").color("red");
   </script>
   </body>
   </html>
As you can see, there is a lot more going on in this listing. The first difference is that we are using Crafty.background to set the background to black, but we are also creating a new entity called mouseTracking that is the same size as the whole canvas. We assign several components to the entity so that it can inherit their methods and properties. We then use .bind to bind the mouse’s movements to our entity. Then, we tell Crafty to reposition our player entity to wherever the mouse’s x and y position is. So, if you save this code and run it, you will find that the red box will go wherever your mouse moves or wherever you touch or drag as in figure 3.

Figure 3: Controlling the movement of a box in Crafty.
Summary
In this post, you learned about working with Crafty.js. Specifically, you learned how to work with the Crafty API and create entities. In Part 2, you will work with sprites, create components, and control entities via mouse/touch.
About the author
Robi Sen, CSO at Department 13, is an experienced inventor, serial entrepreneur, and futurist whose dynamic twenty-plus-year career in technology, engineering, and research has led him to work on cutting edge projects for DARPA, TSWG, SOCOM, RRTO, NASA, DOE, and the DOD. Robi also has extensive experience in the commercial space, including the co-creation of several successful start-up companies. He has worked with companies such as UnderArmour, Sony, CISCO, IBM, and many others to help build new products and services. Robi specializes in bringing his unique vision and thought process to difficult and complex problems, allowing companies and organizations to find innovative solutions that they can rapidly operationalize or go to market with.