


| Read more about this book |
(For more resources related to this subject, see here.)
Introduction
The core functionality of any firewall involves creating port forward and firewall security rules, and pfSense is no different. These core features, plus others, can all be found on the main Firewall menu of the pfSense web interface.
This article explains how to configure these rules and the features associated with them. Once you’ve done a few, you’ll realize just how easy it is with pfSense.
Creating an alias
This recipe describes how to use, create, edit, and delete aliases. Aliases provide a degree of separation between our rules and values that may change in the future (for example, IP addresses, ports, and so on). It’s best to use aliases whenever possible.
How to do it…
- Browse to Firewall | Aliases.
- Click on the “plus” button to add a new alias.
- Add a Name for the alias.
- Add an optional Description.
- Select an alias Type and finish the configuration based on that selection.
See the following There’s more section for details on each alias type (Hosts, Networks, Ports, OpenVPN Users, URL, and URL Table).(Move the mouse over the image to enlarge it.)
- Save the changes.
- Apply changes, if necessary.
How it works…
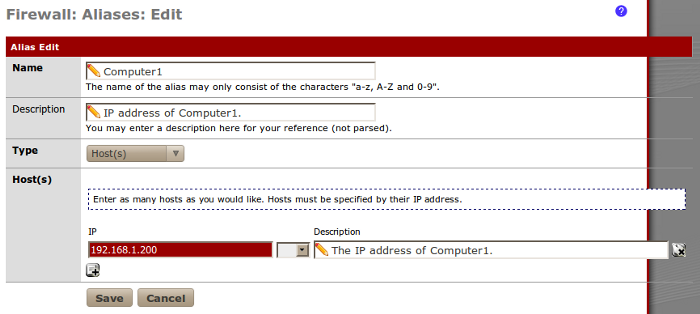
An alias is a place-holder (that is a variable) for information that may change. A host alias is a good example; we can create a host alias called Computer1 and have it store an IP address of 192.168.1.200.
We can then create firewall and NAT rules that use the Computer1 alias instead of explicitly specifying the IP address of Computer1, which may change. If the IP address of Computer1 does change, then we simply edit the alias instead of modifying numerous rules.
Aliases allow for the flexibility and simplification of future changes. It’s best to use aliases whenever possible.
There’s more…
Adding aliases within aliases is a great way to manage and simplify rules. To illustrate the power of aliases, let’s say our organization has a single VoIP phone that must be allowed to communicate with our VoIP server.
An example of this rule without aliases is as follows:

A better example, using aliases is as follows:
(Move the mouse over the image to enlarge it.)

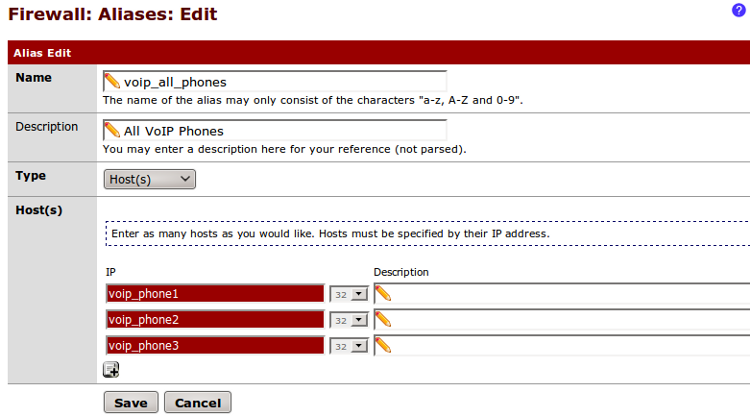
An even better example, using sub-aliases is:
(Move the mouse over the image to enlarge it.)

Sub-aliases will allow us to easily add more phones by simply modifying an alias:
(Move the mouse over the image to enlarge it.)
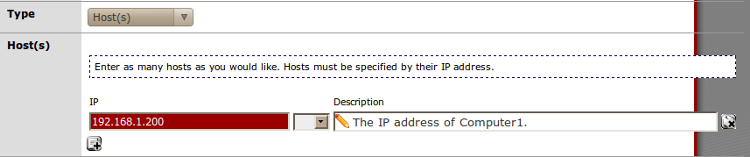
Host alias
Selecting Host(s) as an alias Type allows you to create an alias that holds one or more IP addresses:
(Move the mouse over the image to enlarge it.)
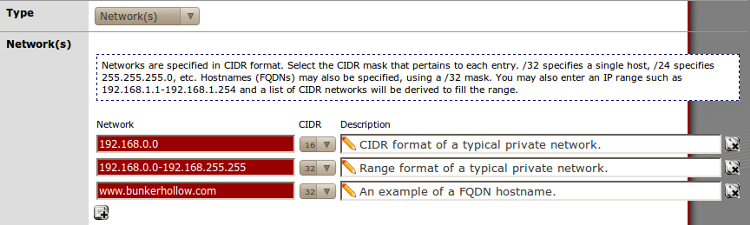
Network alias
Selecting Network(s) as an alias Type allows you to create an alias that holds one or more networks (that is ranges of IP addresses):
(Move the mouse over the image to enlarge it.)
Port alias
Selecting Port(s) as an alias Type allows you to create an alias that holds one or more ports:
(Move the mouse over the image to enlarge it.)

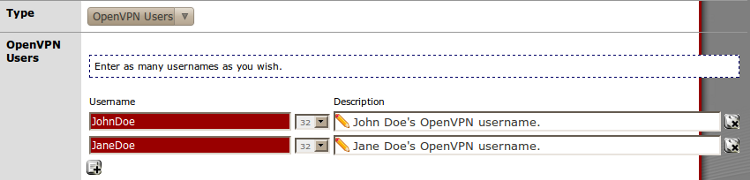
OpenVPN Users alias
Selecting OpenVPN Users as an alias Type allows you to create an alias that holds one or more OpenVPN usernames:
(Move the mouse over the image to enlarge it.)
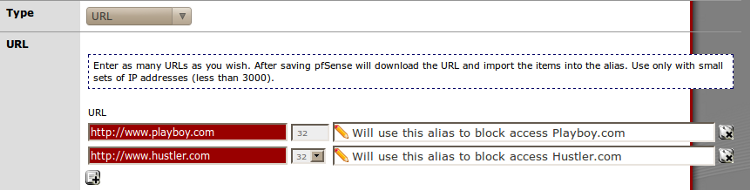
URL alias
Selecting URL as an alias Type allows you to create an alias that holds one or more URLs:
(Move the mouse over the image to enlarge it.)
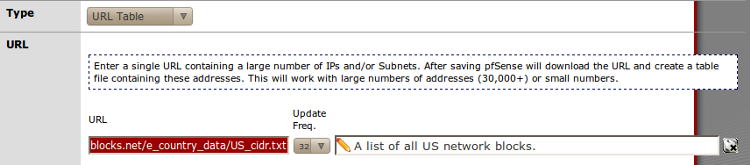
URL Table alias
Selecting URL Table as an alias Type allows you to create an alias that holds a single URL pointing to a large list of addresses. This can be especially helpful when you need to import a large list of IPs and/or subnets.
(Move the mouse over the image to enlarge it.)
Using an alias
Aliases can be used anywhere you see a red textbox. Simply begin typing and pfSense will display any available aliases that match the text you’ve entered:

Alias auto-complete is context aware. For example, if the textbox requires a port number then pfSense will only display port alias matches.
Editing an alias
To modify an existing alias, follow these steps:
- Browse to Firewall | Aliases.
- Click on the edit button to edit an alias.
- Make the necessary changes.
- Save the changes.
- Apply the changes.
Deleting an alias:
To remove an existing alias, follow these steps:
- Browse to Firewall | Aliases.
- Click the delete button to delete an alias.
- Save the changes.
- Apply the changes.
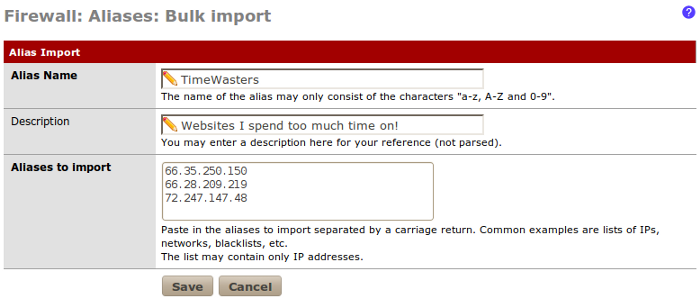
Bulk-importing aliases
To import a list of multiple IP addresses, follow these steps:
- Browse to Firewall | Aliases.
- Click on the import button to bulk import aliases.
- Provide an Alias Name.
- Provide an optional Description.
- Paste a list of IP addresses, one per line, in the Aliases to Import textbox:
(Move the mouse over the image to enlarge it.)
- Save the changes.
- Apply the changes.


