


In this article, by Keith Moon author of the book Swift 4 Programming Cookbook, we will learn how to write your first swift program.
(For more resources related to this topic, see here.)
Your first Swift program
In this first recipe will be get up and running with Swift using a Swift Playground, and run our first piece of Swift code.
Getting ready
To run our first Swift program, we first need to download and install our IDE. During the beta of Apple’s Xcode 9, it is available as a direct download from Apple’s developer website at http://developer.apple.com/download, access to this beta will require a free Apple developer account. Once the beta has ended and Xcode 9 is publically available, it will also be available from the Mac App Store. By obtaining it from the Mac App Store, you will automatically be informed of updates, so this is the preferred route, once Xcode 9 is out of beta.
Xcode from the Mac App Store
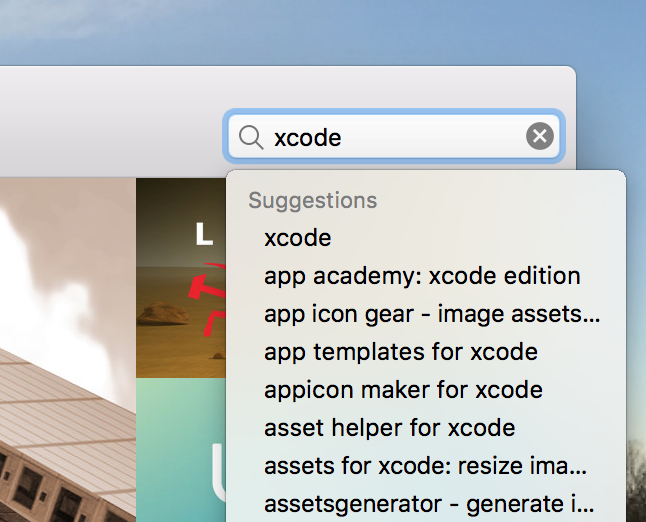
- Open up the Mac App Store, either from the dock or via Spotlight:

- Search for xcode:
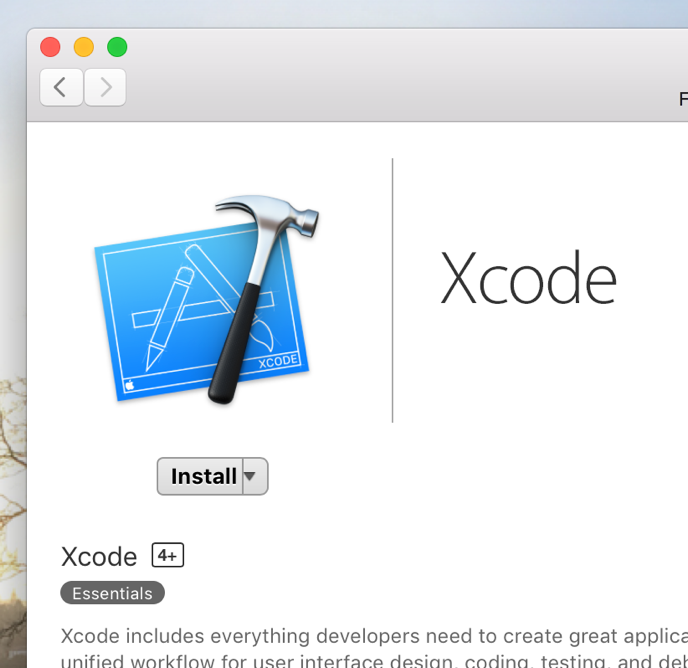
- Click Install:
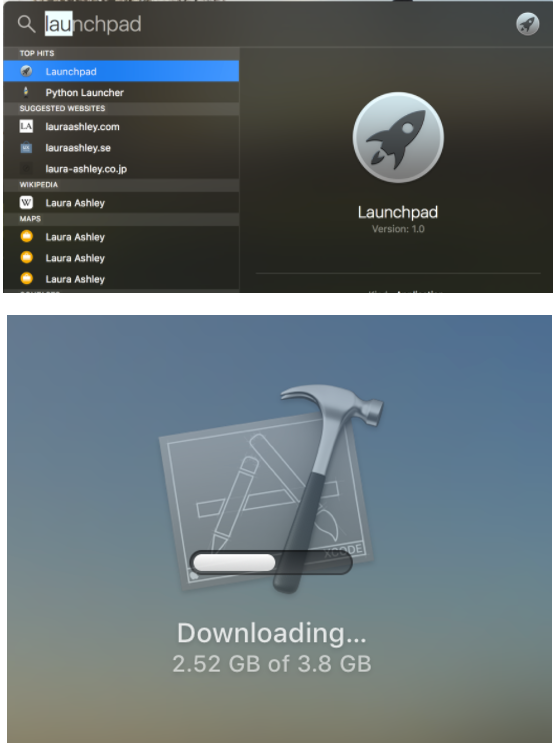
 Xcode is a large download (over 4 GB). So, depending on your internet connection, this could take a while!
 - Progress can be monitored from Launchpad:
Xcode as a direct download
- Go to the Apple Developer download page at http://developer.apple.com/download

- Click the Download button to download Xcode within a .xip file.
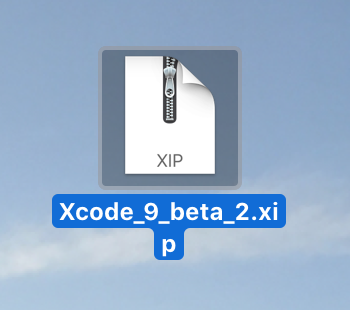
- Double click on the downloaded file to unpack the Xcode application.
- Drag the Xcode application into your Applications folder
How to do it…
With Xcode downloaded, let create our first Swift playground:
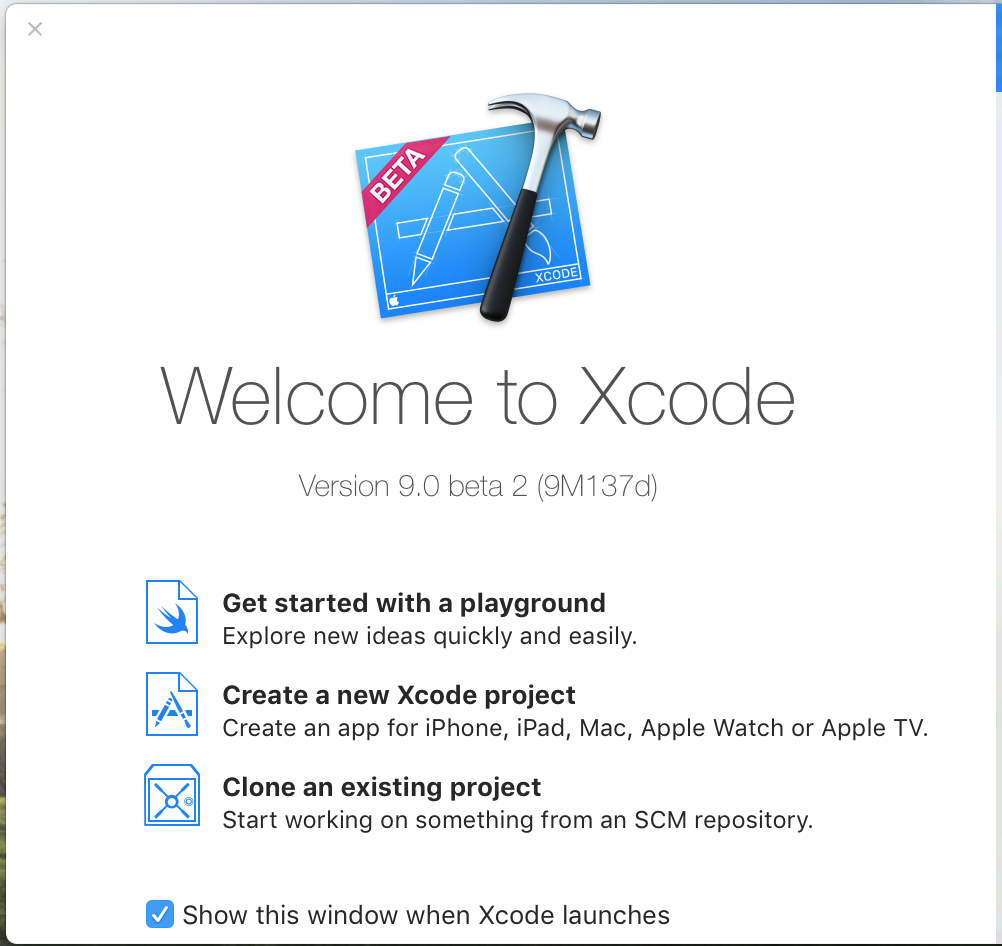
- Launch Xcode from the icon in your dock.
- From the welcome screen, choose Get started with a playground.
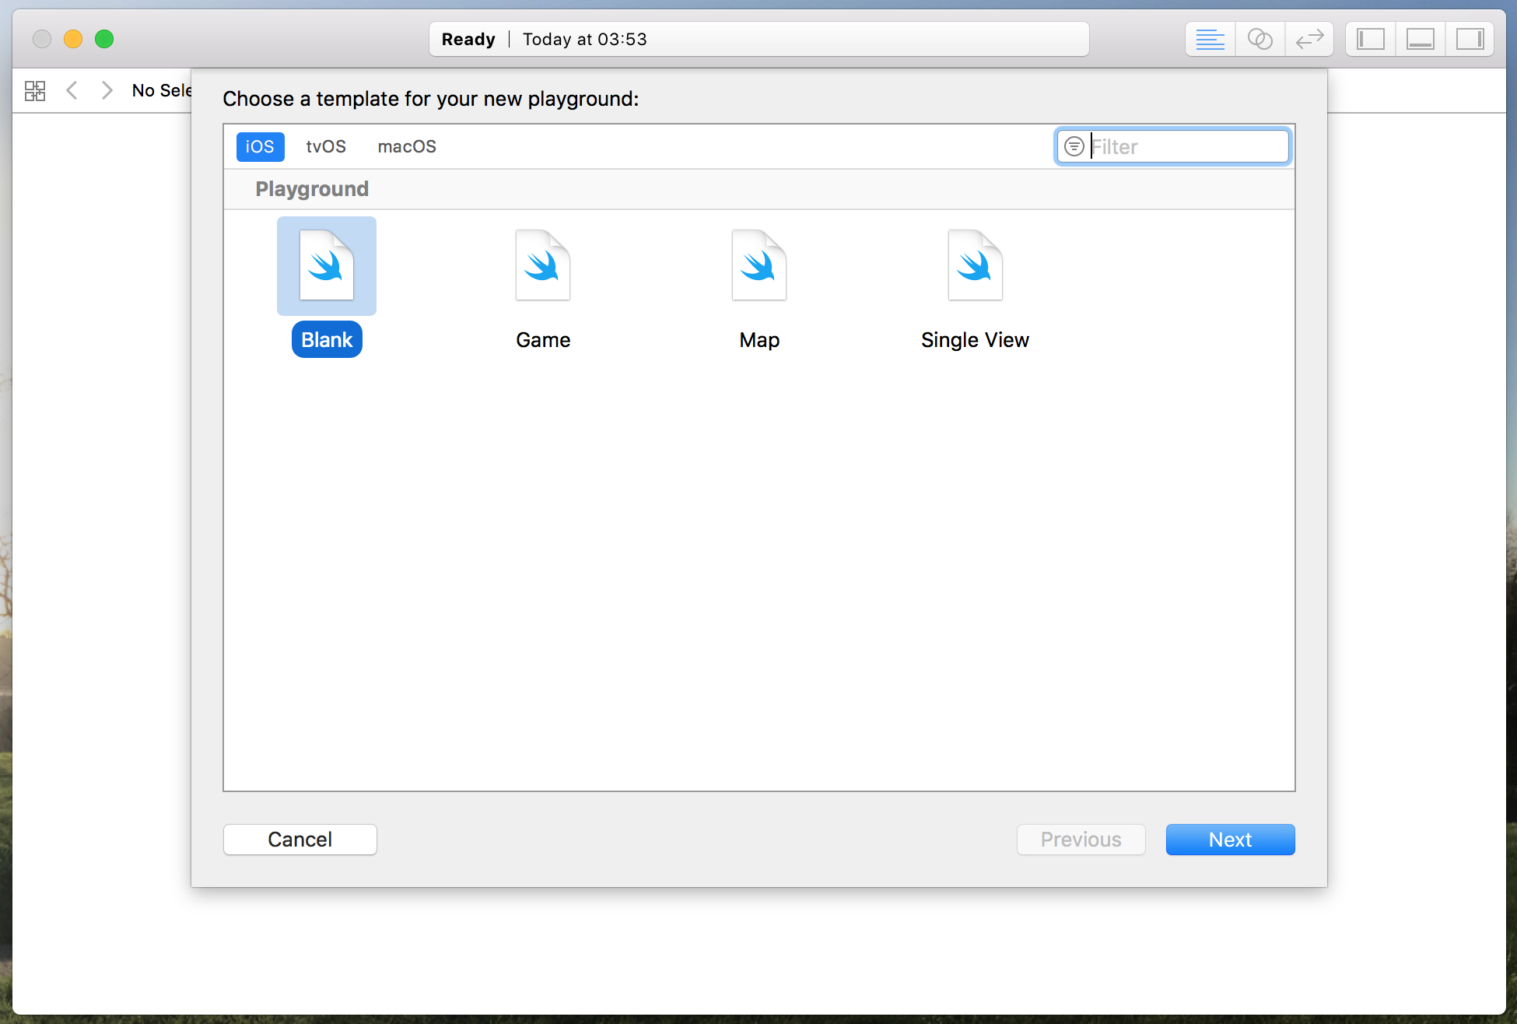
- From the template chooser, select the blank template from the iOS tab:
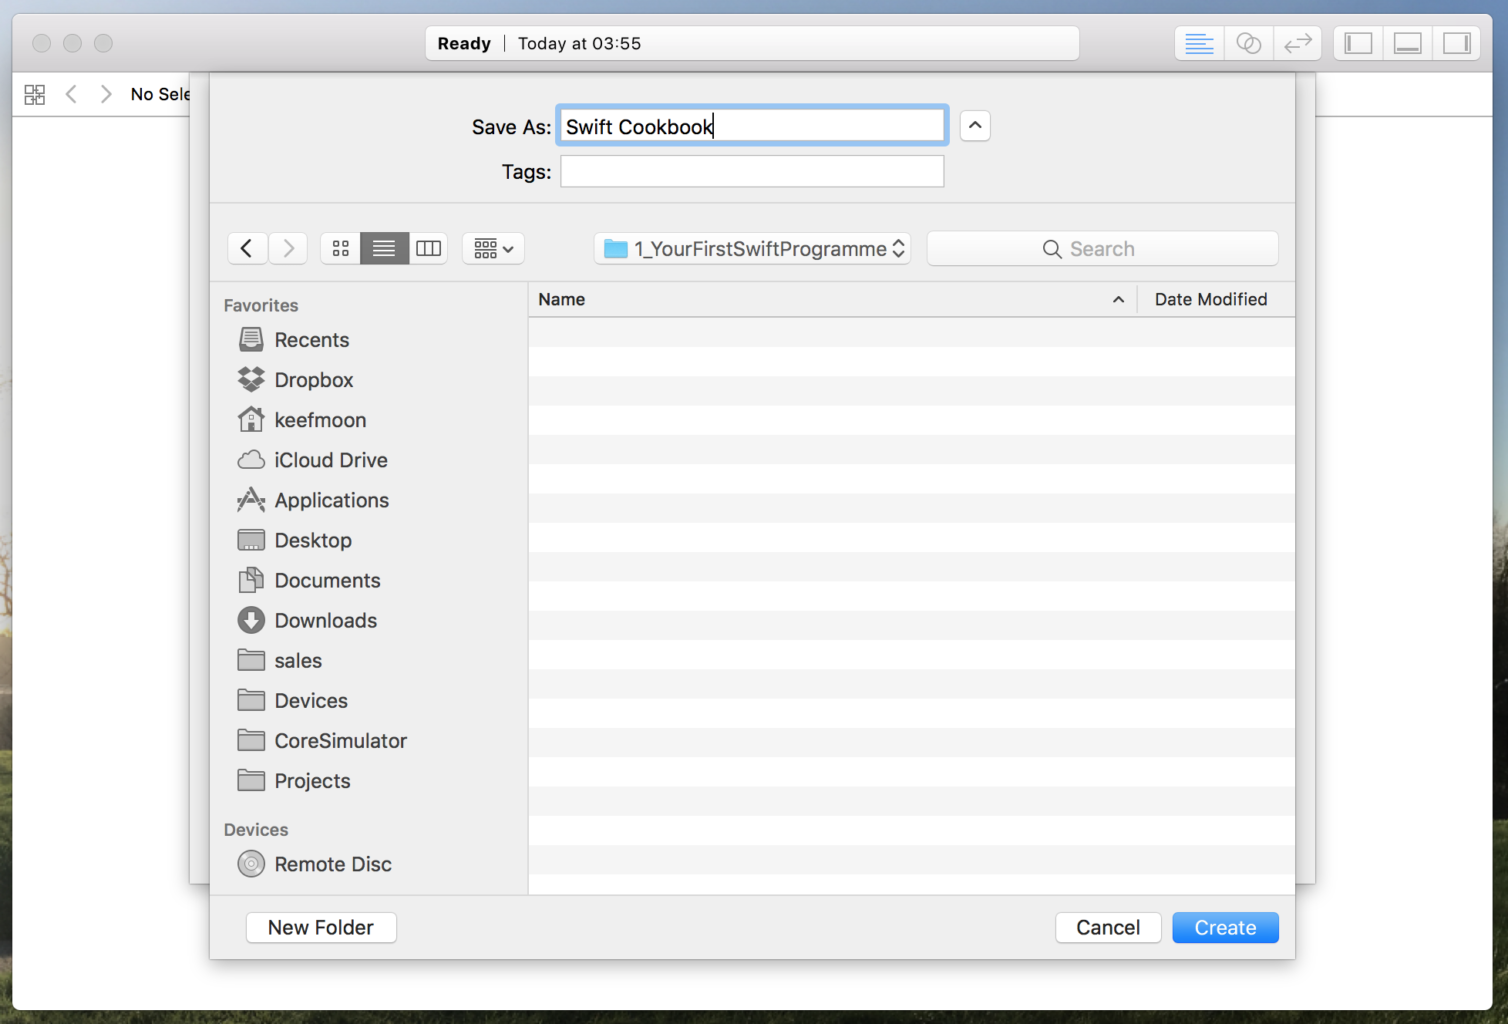
- Choose a name for your playground and a location to save it:
 Xcode Playgrounds can be based on one of three different Apple platforms, iOS, tvOS and macOS (the operating system formerly known as OSX). Playgrounds provide full access to the frameworks available to either iOS, tvOS or macOS, depending on which you choose. An iOS playground will be assumed for the entirety of this chapter, chiefly because this is the platform of choice of the author. Where recipes do have UI components, the iOS platform will be used until otherwise stated.
 - You are now presented with a view that looks like this:

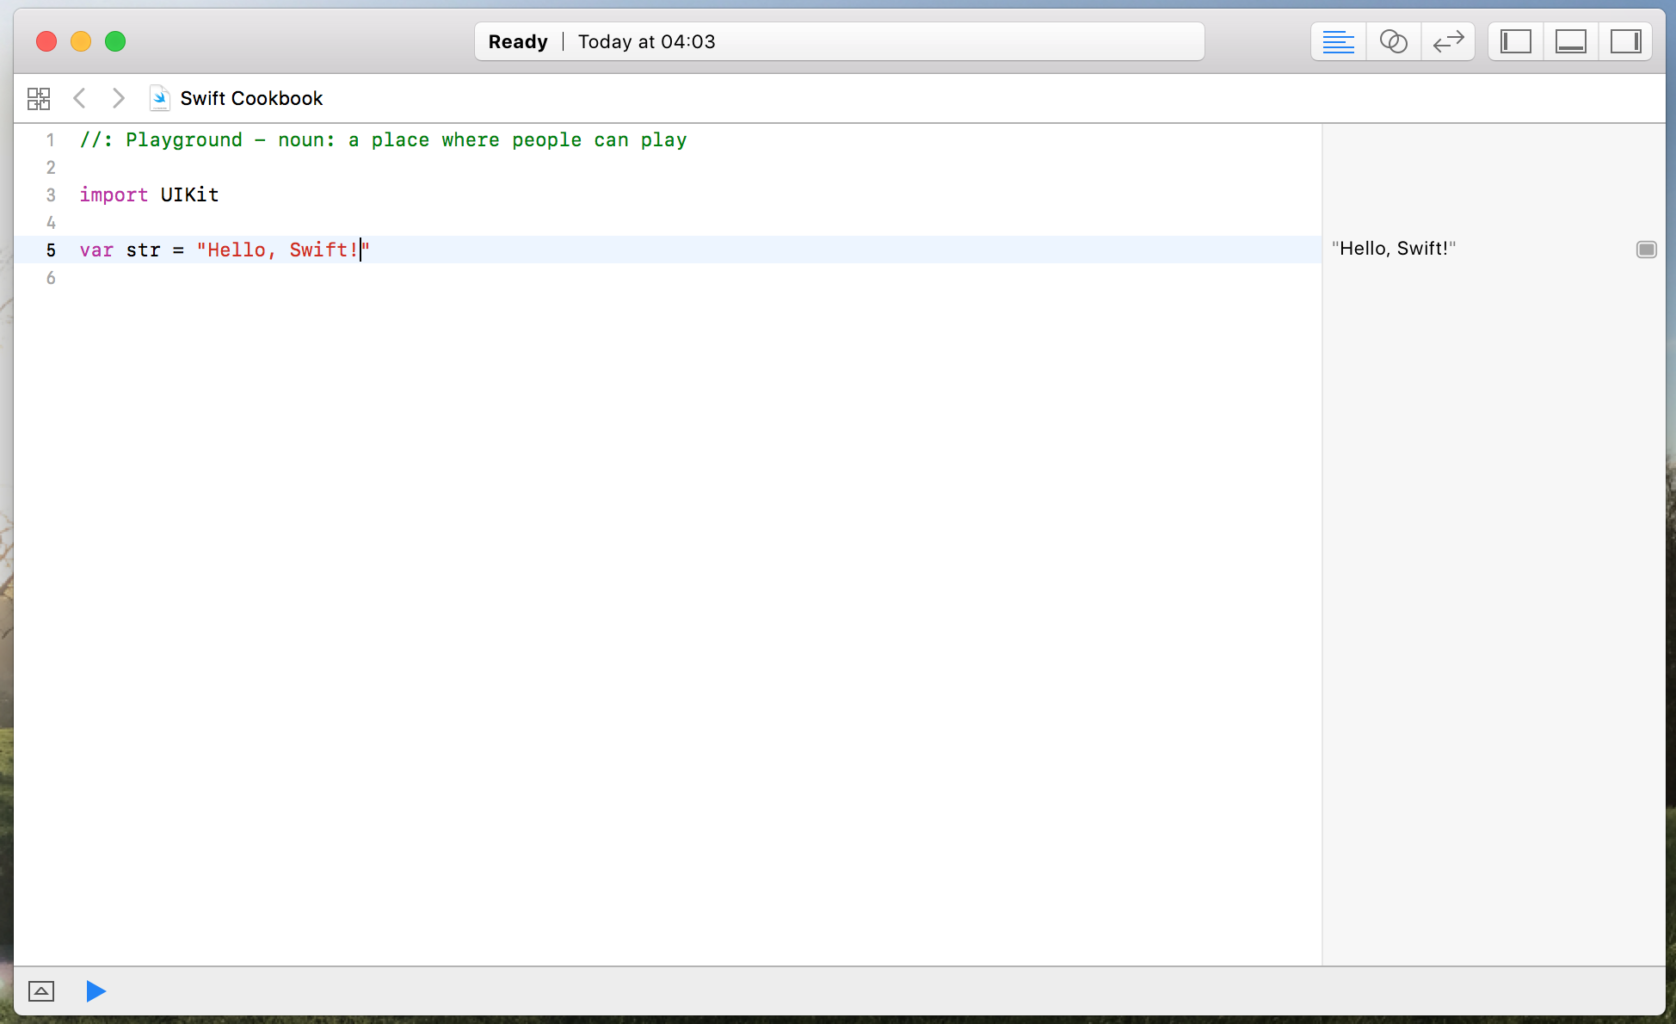
- Let’s replace the word playground with Swift!.
- Press the blue play button in the bottom left-hand corner of the window to execute the code in the playground:

- Congratulations! You have just run some Swift code.
- On the right-hand side of the window, you will see the output of each line of code in the playground. We can see our line of code has output "Hello, Swift!":
There’s more…
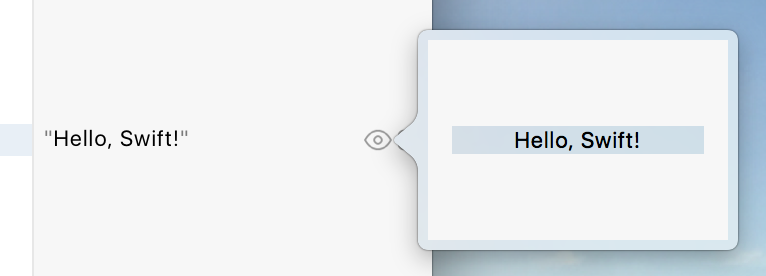
If you put your cursor over the output on the left-hand side, you will see two buttons, one that looks like an eye, another that is a circle:
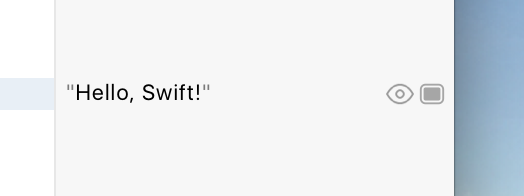
Click on the eye button and you get a Quick Look box of the output. This isn’t that useful for just a string, but can be useful for more visual output like colors and views.
Click on the square button, and a box will be added in-line, under your code, showing the output of the code. This can be really useful if you want to see how the output changes as you change the code.

Summary
In this article, we learnt how to run your first swift program.
Resources for Article:
Further resources on this subject:
- Your First Swift App [article]
- Exploring Swift [article]
- Functions in Swift [article]