In this article we will discuss why Office Live Small Business is the perfect site-building tool for you if you don't know (or don't want to learn) HTML, the language of web pages. And you'll certainly agree that it does a pretty decent job of it. But afer your site is functionally complete, it's only natural that you'd want to tweak little things here and there; move the text on some page a wee bit to the left, for example, or move a picture up by a pixel or two, so as to align it with the neighboring text. The trouble, though, is that Office Live Small Business doesn't allow such tweaks. You can't touch the HTML that it generates.
But what if you're not very happy with this state of affairs? Don't worry! Office Live Small Business has it covered. It has two advanced features that give you a fine-grained control over the look and feel of your web pages as follows:
- Page Editor's HTML modules in which you can write your own HTML markup
- Off-the-shelf Solutions, which render customized web pages within Office Live Small Business's framework
In this article, you'll explore both these advanced options.
Let's get started then.
About HTML modules
An HTML module is a little editor that you can plop on to your page in the Page Editor, just like any other module. It holds HTML markup. With an HTML module, you can construct a web page with raw HTML markup just as the pros do.
If you're conversant with HTML, the idea of having a fine-grained control over your HTML is likely to pump you up. And yet, I don't recommend using HTML modules.
You read that right: I don't recommend using HTML modules. Why? Because Office Live Small Business stores the markup in HTML modules separate from the page. When a person requests your page from his/her browser, Office Live Small Business fetches the separately-stored markup and embeds it into the rest of the page dynamically. The problem is that it does the embedding using something called frames, which happen to be little windows on a web page that display content that doesn't actually reside on that page.
Why is this problematic? Because search engines can't index the content that doesn't physically reside on your web page. Therefore, people can't find it using search engines. Frankly, I don't see a point in building a site that people can't fnd. So, I strongly discourage you to build your entire site with HTML modules.
Another reason to avoid HTML modules is that they load the content dynamically using JavaScript. This can be an excruciatingly slow process that can delay the loading of a page in a user's browser. In fact, such dynamically loaded pages often tend to time out.
Having said that, there are situations where they can come in handy. You may not care, for example, whether search engines index a certain page on your site, but you'd like to have great control over how that page looks. Or you may want to embed a YouTube video on your page, which search engines don't index any way. It's a good idea, therefore, to learn how to use the HTML module and that's what you'll do in this section.
The first step, of course, is to add an HTML module to one of your pages. Let's use a Test page as a guinea pig.
Time for action – adding an HTML module to your page
- Bring up the Test page in Page Editor.
- Place the cursor where you want to add the module.
- Click the Module button in the Insert group on the Page Editor's ribbon. Select HTML from the Modules menu that drops down. The HTML dialog pops up, as shown:
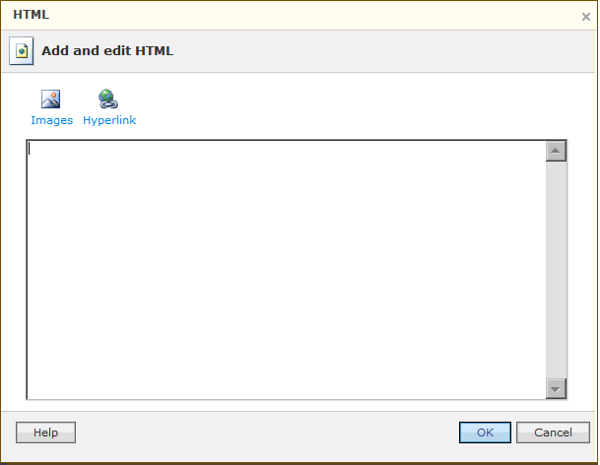
The dialog contains a mini-editor where you can type your HTML markup. The Images and Hyperlink buttons just above the editor box help you add markup for embedding pictures and hyperlinks. As this is just a Test page, I'll type some simple HTML to show you how the module really works. I suggest that you do the same.
- Type the following markup in the mini-editor:
<strong>Welcome to my web site.</strong>
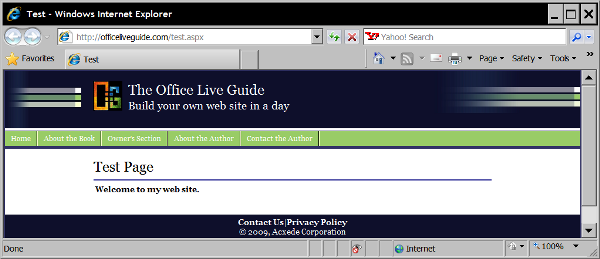
- Click OK. The HTML dialog closes and you return to Page Editor, which renders the HTML you just typed as any browser would.
- Preview your website. The page should now look like this:
- Close the preview window and return to Page Editor.
- Editing your markup is equally easy. Right-click on the HTML module in Page Editor. A pop-up menu appears, as shown in the next image:
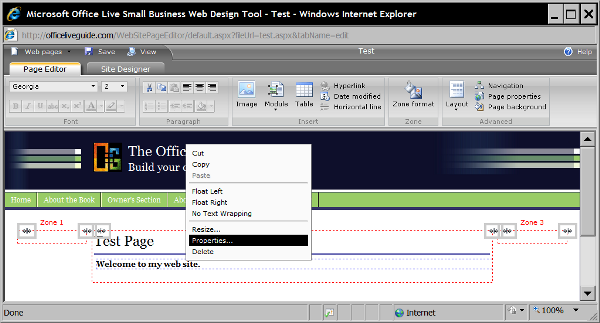
- Choose Properties…. The HTML dialog opens again with your markup in it. Change the markup to:
<strong>Welcome</strong> to my web site.
You'll be working with the HTML module a few more times in this article. From now on, I'll just say "Open the HTML module's HTML dialog" when I want you to edit a module's markup.
- Click OK. The HTML dialog closes and you return to Page Editor.
- Preview your website. The page should now display only the word Welcome in bold letters.
- Close the preview window and return to Page Editor.
What just happened?
You added an HTML module to a web page and typed some basic HTML in it.
Before this exercise, you simply typed text on to your web pages as you would in a word processor, and Office Live Small Business took care of converting it to HTML. With an HTML module, you're writing your own HTML. Naturally, you'll have a more fine-grained control over how you want it to appear. But to make use of this newfound power, you must know HTML. So, let me give you a brief tutorial on it.
There are several hundred excellent HTML tutorials on the Web (not to mention several thousand lousy ones). If you take into account the hundreds of books on the subject, you'd think that everything that needs to be said about HTML has, perhaps, already been said. Many times over, at that.
Yet, I have good reason to write this brief tutorial: writing HTML for Office Live Small Business web pages is an entirely different beast.
Why? Because:
- You don't write an entire HTML document with Office Live Small Business's design tools. All you do is write little chunks of HTML in HTML modules placed strategically on your web pages. Office Live Small Business's Page Editor combines the basic framework of your web page with these chunks of HTML and presents a finished web page to your browser.
- An HTML module doesn't store the HTML you type verbatim. It encodes what you type and lets the browser handle the decoding. Therefore, the page may not look exactly as you intend it to, after the browser renders it.
- The page on which you drop an HTML module already has a Cascaded Style Sheet (CSS) associated with it. You may be able to take advantage of the fact and minimize manual formatting.
Therefore, you don't have to be an HTML guru to use Office Live Small Business's HTML module. All you need to know is a small subset of HTML that leverages the web page's features. This tutorial introduces that subset. It won't make you a fully-fledged web designer, but it will arm you with enough knowledge to impress unsuspecting folks at cocktail parties.
HTML 101
Contrary to what many people believe, HTML is not a programming language. It's a markup language. Unlike programming languages, it doesn't contain step-by-step instructions that tell a computer what to do. Instead, it contains instructions that tell a browser how to format and decorate web page content.
The instructions are written as Tags. Tags are keywords that reside within a pair of angular brackets (< and >). Typically, you enclose some content between a pair of tags.
For example, the <strong> and </strong> in the markup you just tried out is tag pair. The pair consists of an opening tag and a closing tag. The difference between an opening tag and the corresponding closing tag is usually a forward slash (/). So, <strong> is the opening tag and </strong> is the corresponding closing tag. If you want to make some text bold, you enclose it between <strong> and </strong> tags like this:
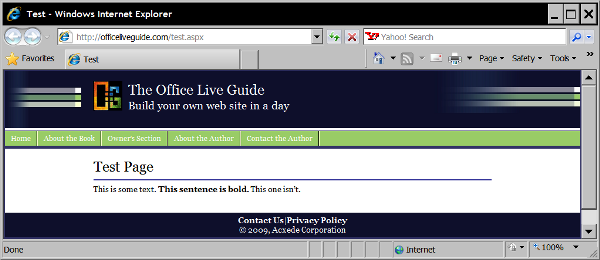
This is some text. <strong>This sentence is bold.</strong> This one isn't.
And the browser displays it like this:
Unlock access to the largest independent learning library in Tech for FREE!
Get unlimited access to 7500+ expert-authored eBooks and video courses covering every tech area you can think of.
Renews at $19.99/month. Cancel anytime
Most HTML tags are paired like the <strong> tag. But some are not. An example is the <br /> tag. It adds a line break to your text like this:
This is some text. <br /> This is some more text but it's on the next line.
And the browser displays it like this:
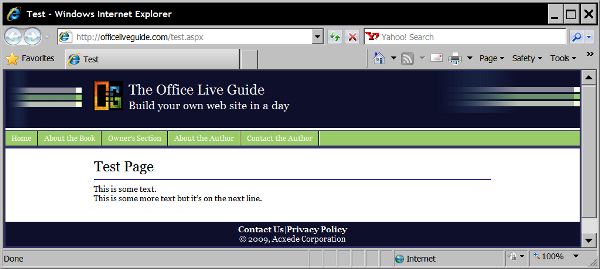
The character < opens the tag and the character sequence /> closes it. Such tags that close themselves without corresponding closing tags are called self-closing tags. It's not mandatory to close the self-closing tags. So, if you write <br> instead of <br />, your page will work just fine. But I recommend closing all tags. I'll do so in this tutorial and so will you.
Notice, by the way, that simply typing the second line of text on a new line in the editor doesn't make the text appear on the next line (go ahead, try it!). It's the <br /> tag that actually does the trick and displays the subsequent text on the next line, although you typed it as a single line in the editor. In other words, the tags determine the appearance of your web page, not how you type the text in the editor.
HTML is not case sensitve. So, you can write a <br /> tag as <BR />, <Br />, or even <bR />, if you insist, and your page won't look any different. But, I strongly advise against it. As a matter of convention, I recommend sticking to lowercase letters, as I've done throughout this tutorial.
That's just about all the dirt that you really need to know on HTML. There's more, of course, but as this is not a complete HTML tutorial, we'll look into the finer details on a need-to-know basis. So, let's proceed to some useful HTML tags.
Working with paragraphs
Most writing is structured as a collection of paragraphs. While writing HTML, you must enclose the text in a paragraph between the <p> and </p> tag pair like this:
<p>This is the first paragraph. It has this filler text to make it rather long so that it looks like a real paragraph.</p><p>Here is the second paragraph.</p>
And the browser renders it like this:
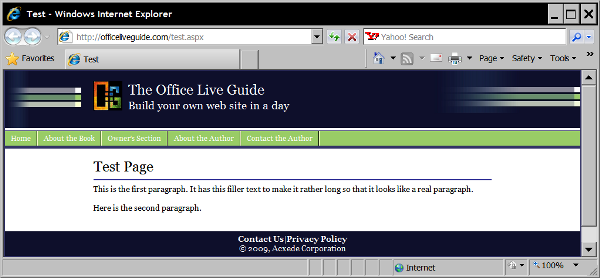
As you can see, there's no space between the paragraphs in the markup. But the <p></p> tag pair automatically introduces breaks that makes the text look like paragraphs in the browser.
Because of a bug in the HTML module, it doesn't seem to treat <p> and </p> tags correctly. As a result, you don't see intended paragraph breaks in the browser. In the picture above, I sneaked in our old friend, the <br /> tag, between the two paragraphs as in <p>...</p> <br /> <p>...</p>.You may have to resort to this workaround as well. But remember that if Microsoft fixes the bug, you'll get an extra line-break on your page.Also, remember that you can add text to an HTML module without the paragraph tag pair; you can use <br /> tags instead, for example, where you want a break in text. However, I recommend that you enclose all of your text in paragraph tags. If you don't, Office Live Small Business's stylesheets may hijack the formatting of your text. Not enclosing text in paragraphs is one of the main reasons why text on so many web pages is misaligned and displayed in the wrong font.
Working with horizontal rules
You can draw a horizontal line across your web page simply by clicking the Horizontal line button on Page Editor's ribbon. To draw a similar line while working with the HTML module, you'll need—you guessed it—a tag! Web designers call a horizontal line a horizontal rule and so the corresponding tag is the <hr /> tag, like the <br /> tag, the <hr /> tag. Simply type <hr /> wherever you want a horizontal line to appear. If you want it to appear between the two paragraphs in the previous example, your markup will look like this:
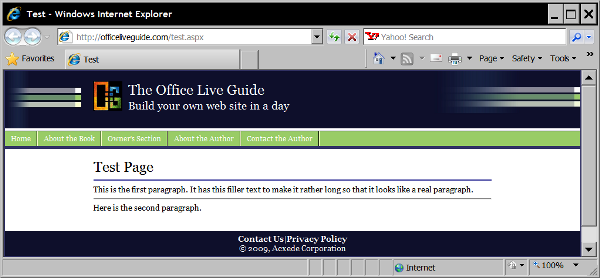
<p>This is the first paragraph. It has this filler text to make it rather long so that it looks like a real paragraph.</p><hr /><p>Here is the second paragraph.</p>
And your page will appear in the browser like this:
Working with headings
Headings are an important part of the text. Books, for example, use headings with varying importance. The more important a heading, the bigger its font size is. This scheme makes it easy for readers to quickly grasp the scope of topics and sub-topics within the text.
HTML uses a similar scheme. There are six levels of heading tag pairs in HTML that you can put around heading text like this:
<h1>Heading 1</h1>
<h2>Heading 2</h2>
<h3>Heading 3</h3>
<h4>Heading 4</h4>
<h5>Heading 5</h5>
<h6>Heading 6</h6>
Text included between beginning and ending tags at each level looks like this:
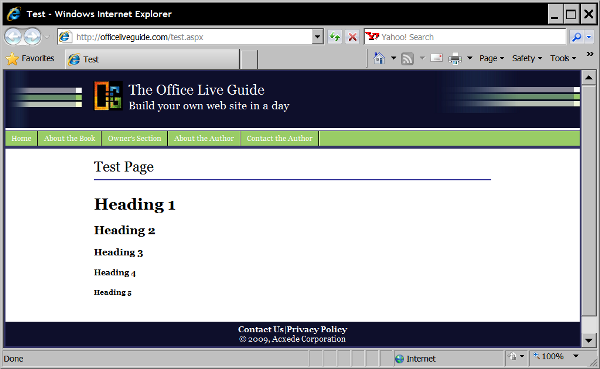
As you can see, <h1> has the largest font size. Naturally, it's used for the most important heading on a web page. As the number inside the tag increases, its font size decreases. So, among headings, <h6> has the smallest font size.
What if you need more than six levels of headings? Well, you shouldn't; a six level deep topic hierarchy is deep enough for most people to keep track of. If you have seven or more levels, you should seriously consider rewritng your text.
Generally, it's a good idea to start a page with the <h1> tag. It identifies the most important heading on the page, and it is used by search engines to take an educated guess at what the page is all about. So, a good convention to follow is to have only one <h1> tag on every web page.
But, you're better off flouting this convention when working with Office Live Small Business. Why? Because you don't write entire web pages in HTML modules; you just write individual chunks of HTML. Office Live Small Business automatically adds a <h1></h1> tag pair to your web pages and places the title of your site between them. Similarly, it uses the <h2></h2> tag pair for your site's tag line. So, you're better off starting with a <h3> tag in every HTML module on a web page. That way, you won't drive Google's spider nuts by forcing it to wrestle with 23 <h1> tags on a single web page.
When you need a sub-heading on the page, you should use the next tag downin the hierarchy; in our example, <h4>. Avoid the temptaton to skip levels. Don't jump from <h3> to <h6>, for example. And it's a good idea to use these heading tags. Don't just write plain text with large fonts instead.
 United States
 Great Britain
 India
India
 Germany
 France
 Canada
 Russia
 Spain
Spain
 Brazil
 Australia
 Singapore
 Canary Islands
 Hungary
 Ukraine
 Luxembourg
 Estonia
 Lithuania
 South Korea
 Turkey
 Switzerland
 Colombia
 Taiwan
 Chile
Chile
 Norway
 Ecuador
 Indonesia
 New Zealand
 Cyprus
 Denmark
 Finland
 Poland
 Malta
Malta
 Czechia
 Austria
 Sweden
 Italy
Italy
 Egypt
Egypt
 Belgium
 Portugal
 Slovenia
 Ireland
 Romania
 Greece
 Argentina
 Netherlands
 Bulgaria
 Latvia
 South Africa
 Malaysia
 Japan
Japan
 Slovakia
 Philippines
 Mexico
 Thailand


