In this article by Travis Maynard, author of Getting Started with Gulp, we will create a task that will process CSS files. For CSS, we will combine all of the files into a single file and then preprocess it to enable additional features in our code.
(For more resources related to this topic, see here.)
Using gulp plugins
Without plugins, gulp is simply a means of connecting and organizing small bits of functionality. The plugins we are going to install will add the functionality we need to properly modify and optimize our code. Like gulp, all of the gulp plugins we will be using are installed via npm.
It is important to note that the gulp team cares deeply about their plugin ecosystem and spends a lot of time making sure they eliminate plugins that duplicate the functionality that has already been created. To enforce these plugin standards, they have implemented a blacklisting system that only shows the approved plugins. You can search for the approved plugins and modules by visiting http://gulpjs.com/plugins.
It is important to note that if you search for gulp plugins in the npm registry, you will be shown all the plugins, including the blacklisted ones. So, just to be safe, stick to the official plugin search results to weed out any plugins that might lead you down a wrong path.
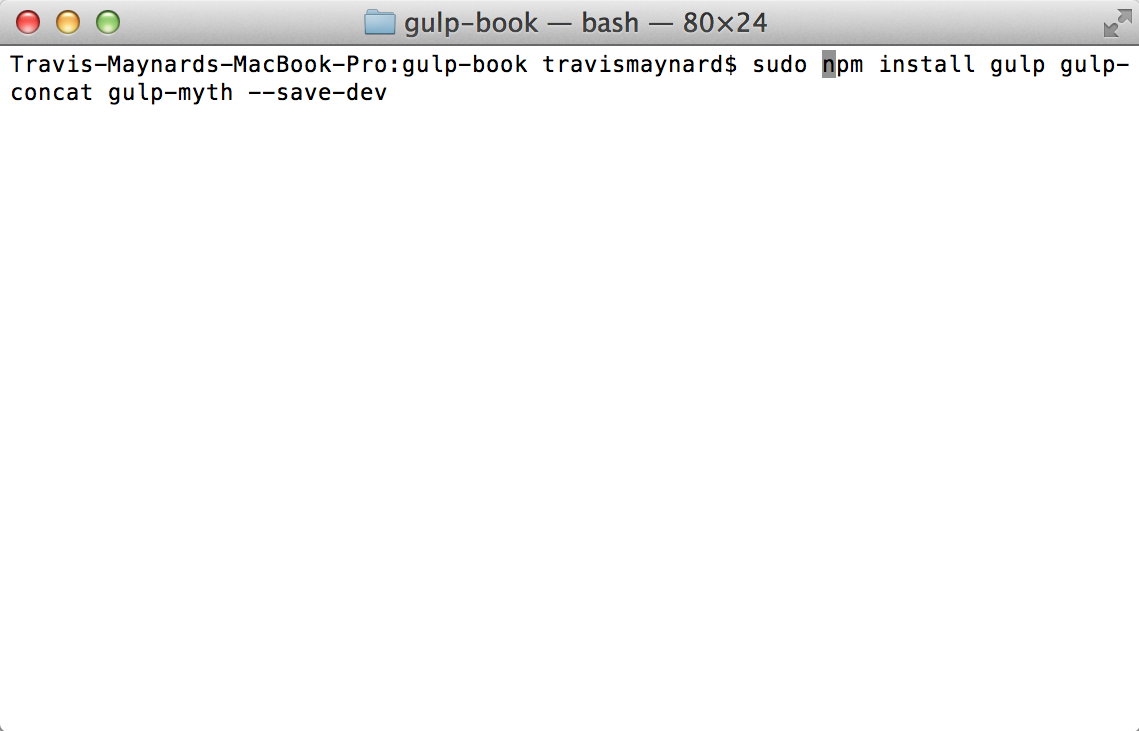
Additionally, you can run gulp with the --verify flag to make it check whether any of your currently installed plugins and modules are blacklisted. In the following tasks, I will provide you with instructions on how to install gulp plugins as required. The code will look something like this:
Remember, on Mac and Linux systems, you may need to add in the additional sudo keyword to the beginning of your commands if you are in a protected area of your file system. Otherwise, you will receive permission errors and none of the modules will be installed.
The styles task
The first task we are going to add to our gulpfile will be our styles task. Our goal with this task is to combine all of our CSS files into a single file and then run those styles through a preprocessor such as Sass, Less, or Myth. In this example, we will use Myth, but you can simply substitute any other preprocessor that you would prefer to use.
Installing gulp plugins
For this task, we will be using two plugins: gulp-concat and gulp-myth. As mentioned in the preceding section, we will install both of these tasks at the same time using the shortcut syntax. In addition to these plugins, we need to install gulp as well since this is the first task that we will be writing. For the remaining tasks, it won't be necessary to install gulp again, as it will already be installed locally in our project.
The command for installing gulp plugin is as follows:
npm install gulp gulp-concat gulp-myth --save-dev
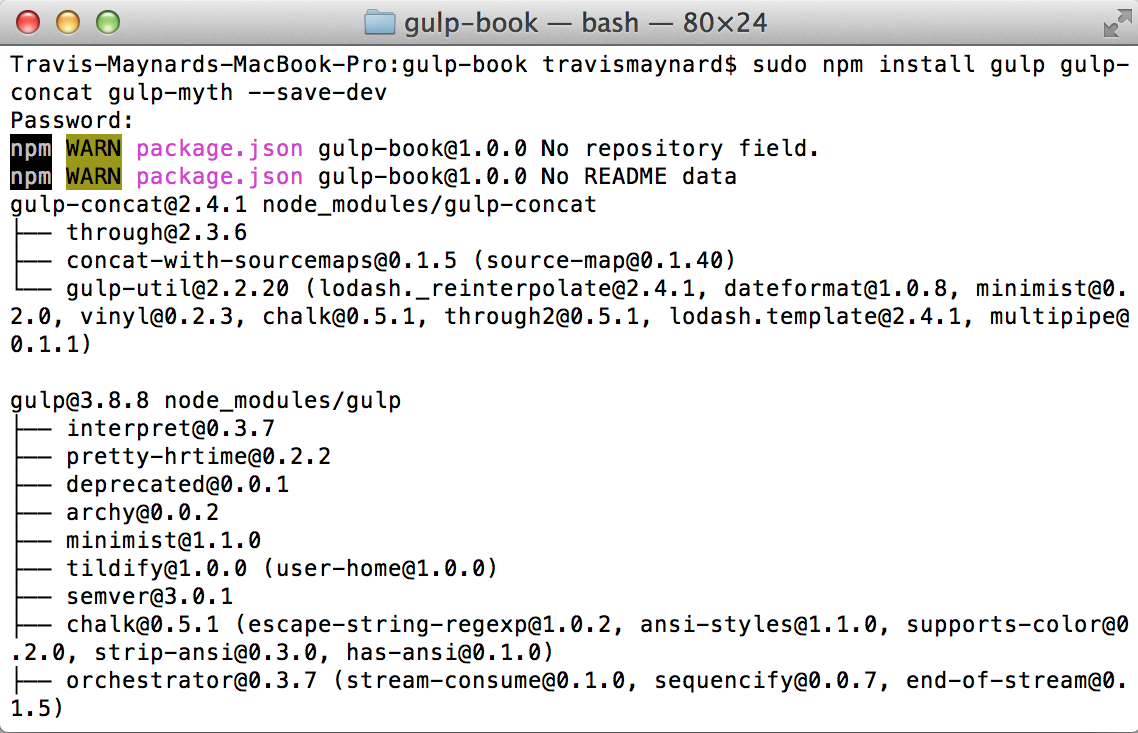
The following two screenshots show the installation of the gulp plugin:
While running these commands, make sure that you're in the root directory of your project. If you're following the naming conventions used throughout this book, then the folder should be named gulp-book.
Including gulp plugins
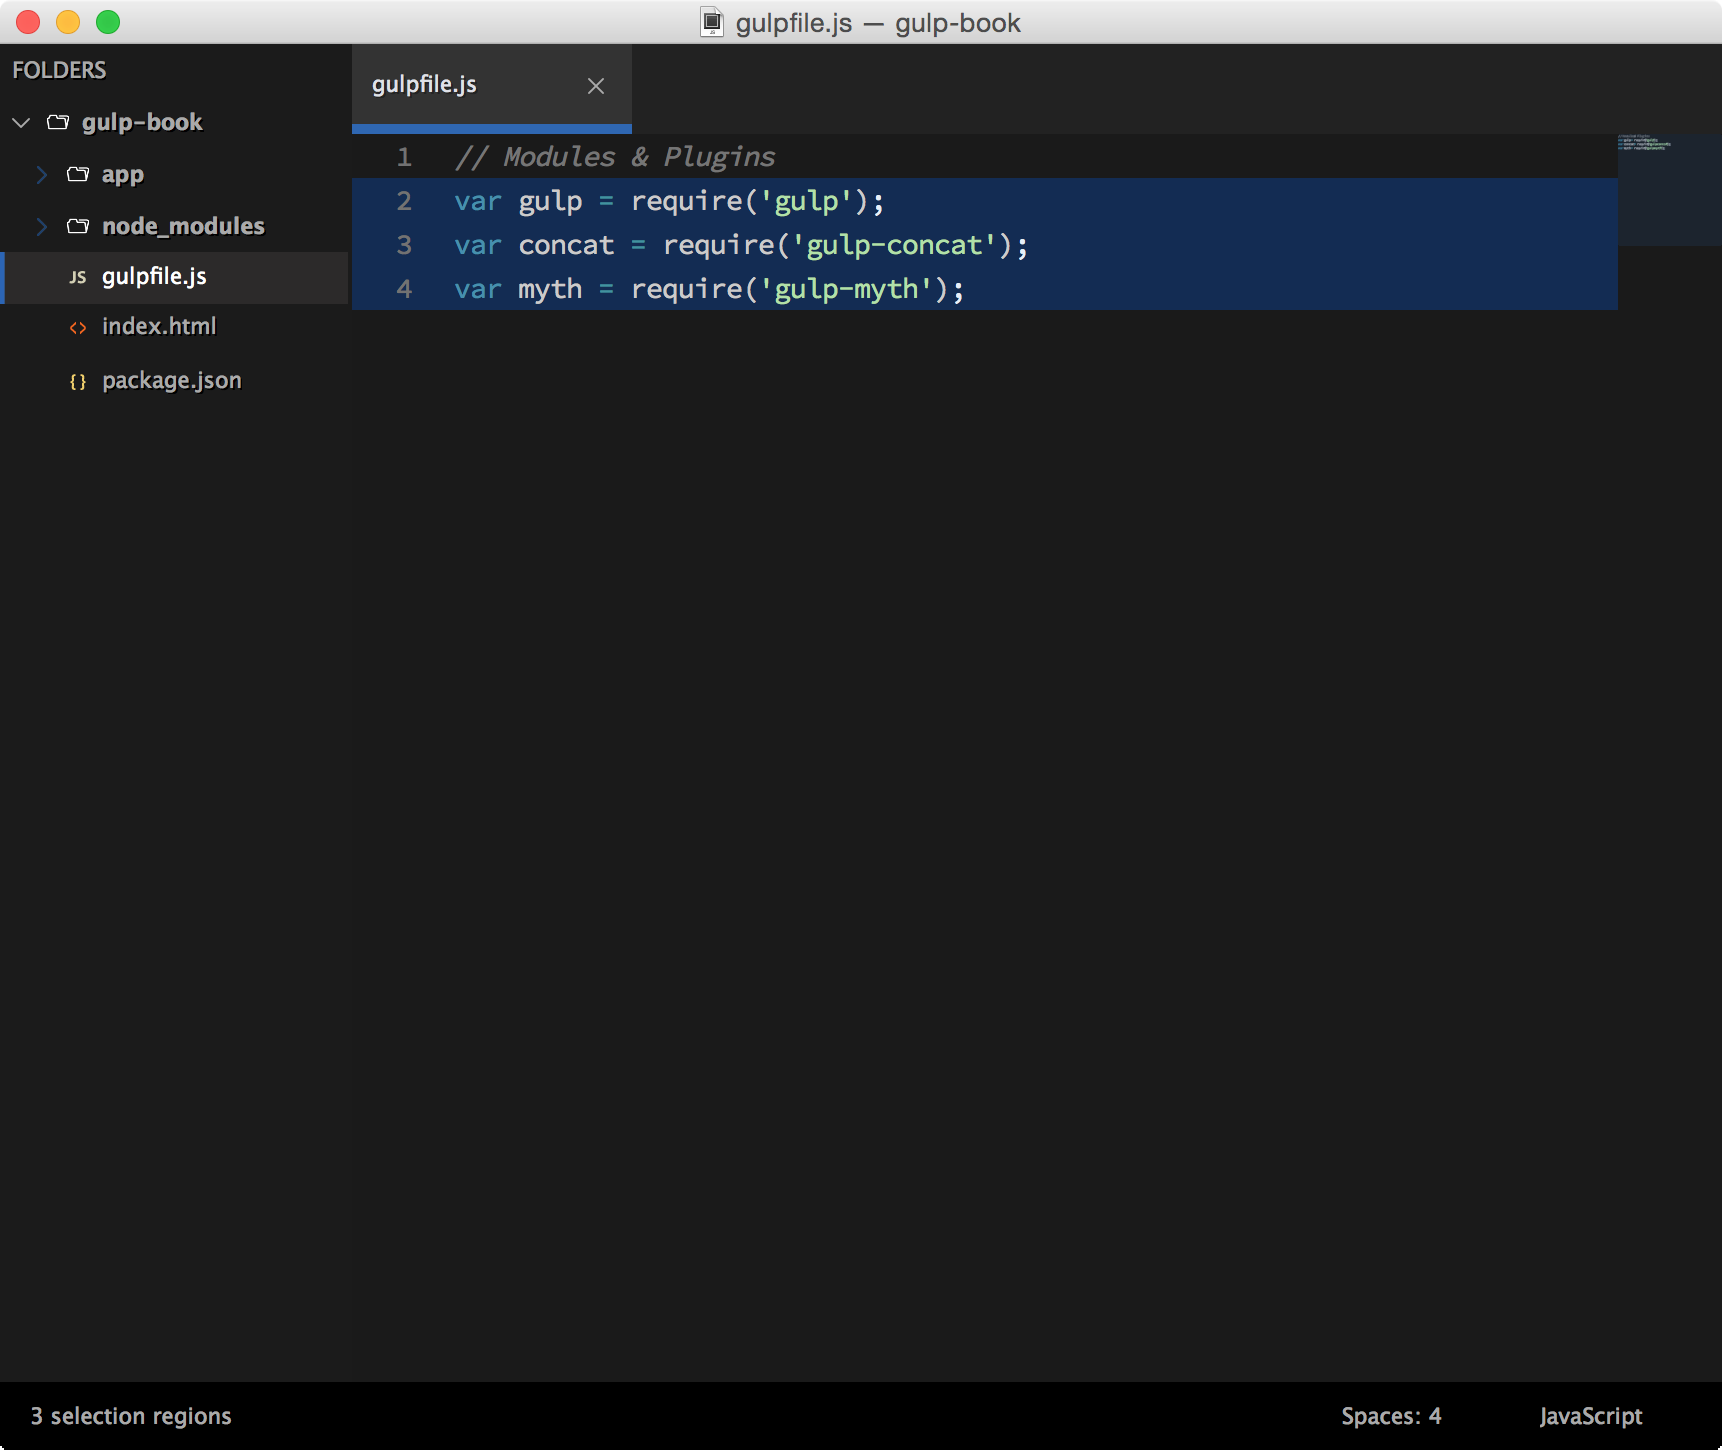
Once complete, you will need to include references to those plugins at the beginning of your gulpfile. To do this, simply open gulpfile.js and add the following lines to it:
var gulp = require('gulp'); var concat = require('gulp-concat'); var myth = require('gulp-myth');
You can now match your gulpfile with the following screenshot:
Unlock access to the largest independent learning library in Tech for FREE!
Get unlimited access to 7500+ expert-authored eBooks and video courses covering every tech area you can think of.
Renews at $19.99/month. Cancel anytime
Writing the styles task
With these references added, we can now begin to write our styles task. We will start off with the main task method and pass a string of styles to it as its identifier. This is the main method that will wrap all of the tasks we will be creating throughout the book. The code for the task() method is as follows:
gulp.task('styles', function() { // Code Goes Here });
Next, you will need to tell gulp where it can find the source files that you wish to process. You instruct gulp by including a path to the file, but the path can contain globbing wildcards such as * to reference multiple files within a single directory. To demonstrate this, we will target all of the files that are inside of our css directory in our project.
We have used the * globbing pattern to tell gulp that our source is every file with a .css extension inside of our css folder. This is a very valuable pattern that you will use throughout the writing of your tasks. Once our source has been set up, we can begin piping in our plugins to modify our data. We will begin by concatenating our source files into a single CSS file named all.css:
In the preceding code, we added our concat reference that we included at the top of our gulpfile and passed it in a filename for the concatenated CSS file. In similar build systems, this would create a file and place it in a temporary location; however, with gulp, we can send this newly created file to the next step in our pipechain without writing out to any temporary files. Next, we will pipe in our concatenated CSS file into our preprocessor:
Finally, to finish the task, we must specify where we need to output our file. In our project, we will be outputting the file into a folder named dist that is located inside of our root project directory. To output a file, we will use gulp's .dest() method. This expects only a single argument, namely, the directory where you would like to output your processed file. The code for the dest() function is as follows:
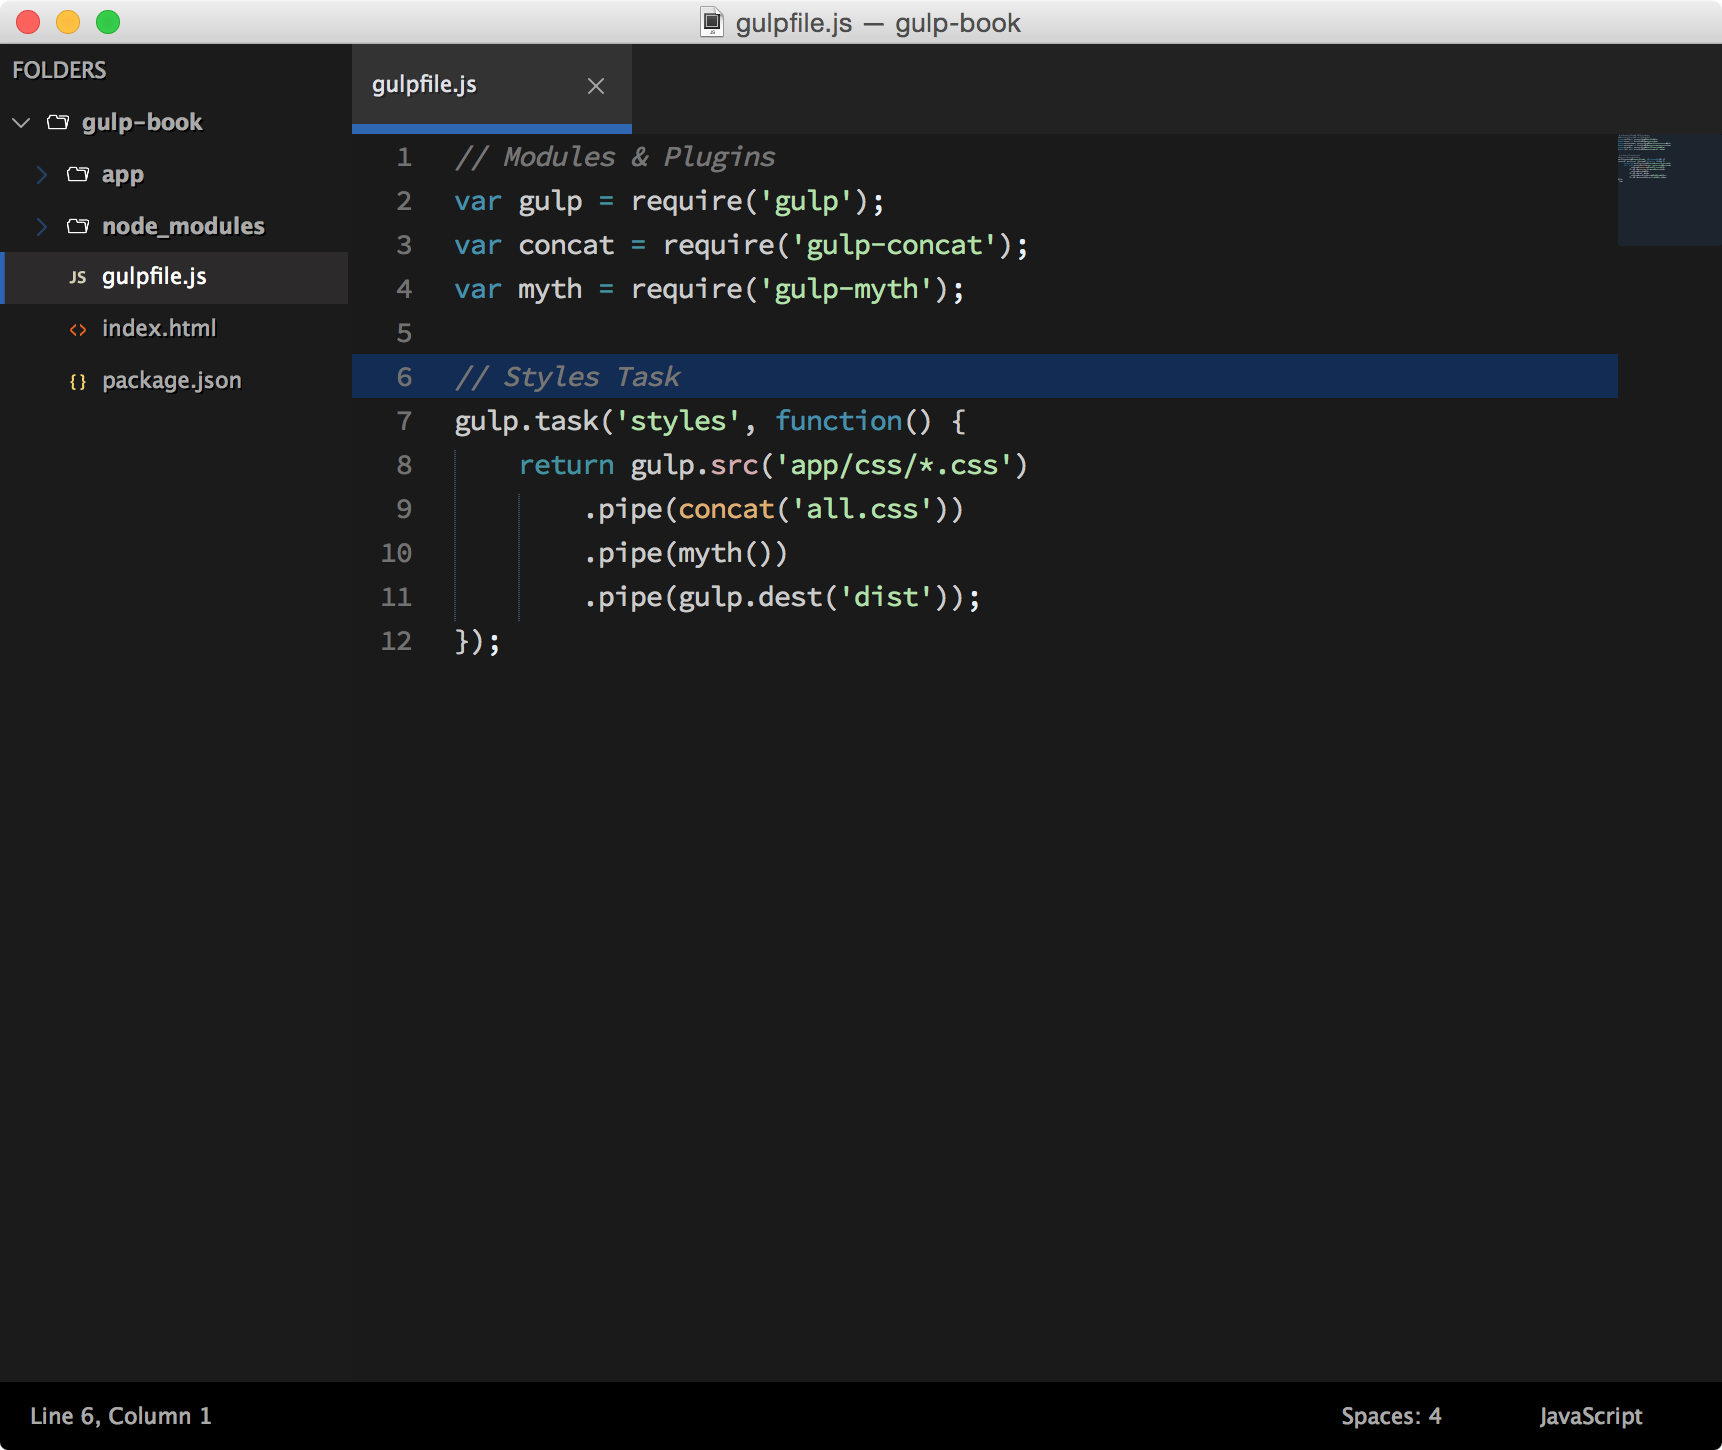
You can now match your gulpfile with the following screenshot:
In the preceding code, we added our final pipe with the .dest() method and supplied it with our dist directory that I mentioned in one of the previous sections. This task will now put our concatenated and preprocessed file into our dist directory for us to include it in our application. This task is now essentially complete! We will continue to add additional functionality to it as we progress through the book, but for now our core functionality is in place.
Other preprocessors
It is important to note that concatenating our files is often not really necessary when using a preprocessor such as Sass. This is because it already includes an @import feature that allows you to separate your CSS files into partials based on their specific purpose and then pulls them all into a single file.
If you are using this functionality within Sass, then we can very easily modify our task by installing the gulp-sass plugin and rearranging our pipes. To do so, you would simply install the gulp-sass plugin and then modify your task as follows:
You can now remove the concatenation pipe as the gulp-sass plugin will hit those imports and pull everything up together for you. So, in this case, all you would need to do is simply change the source files over to .scss and remove the initial pipe that we used to concatenate our files. After those changes have been made, the pipechain will continue to work as expected.
Reviewing the styles task
Our styles task will first take in our CSS source files and then concatenate them into a single file that we have called all.css. Once they have been concatenated, we are going to pass our new all.css file into our pipe that will then preprocess it using Myth (again, you can substitute any preprocessor you prefer to use). Finally, we will save that concatenated and preprocessed file in our dist directory where we can finally include it in our website or application.
Summary
In this article, we learned how to write and run a function in gulpfile from the ground up. In it, we created a style task to process our CSS files.
Our CSS task joins together all of our CSS files and then passes the joined file through a preprocessor so that we can use cutting-edge CSS features, such as variables and mathematical calculations.

 United States
 Great Britain
 India
India
 Germany
 France
 Canada
 Russia
 Spain
Spain
 Brazil
 Australia
 Singapore
 Canary Islands
 Hungary
 Ukraine
 Luxembourg
 Estonia
 Lithuania
 South Korea
 Turkey
 Switzerland
 Colombia
 Taiwan
 Chile
Chile
 Norway
 Ecuador
 Indonesia
 New Zealand
 Cyprus
 Denmark
 Finland
 Poland
 Malta
Malta
 Czechia
 Austria
 Sweden
 Italy
Italy
 Egypt
Egypt
 Belgium
 Portugal
 Slovenia
 Ireland
 Romania
 Greece
 Argentina
 Netherlands
 Bulgaria
 Latvia
 South Africa
 Malaysia
 Japan
Japan
 Slovakia
 Philippines
 Mexico
 Thailand