Creating different types of reports inside the NetBeans IDE
The first step is to download the NetBeans IDE and the iReport plugin for this. The iReport plugin for NetBeans is available for free download at the following locations: https://sourceforge.net/projects/ireport/files or http://plugins.netbeans.org/PluginPortal/faces/PluginDetailPage.jsp?pluginid=4425
After downloading the plugin, follow the listed steps to install the plugin in NetBeans:
- Start the NetBeans IDE.
- Go to Tools | Plugins.
- Select the Downloaded tab.
- Press Add Plugins….
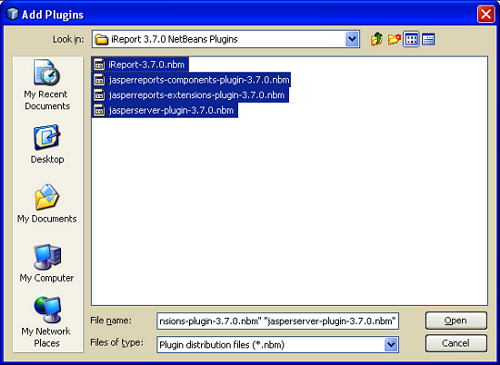
- Select the plugin files. For iReport 3.7.0 the plugins are: iReport-3.7.0.nbm, jasperreports-components-plugin-3.7.0.nbm, jasperreportsextensions-plugin-3.7.0.nbm, and jasperserver-plugin-3.7.0.nbm. After opening the plugin files you will see the following screen:
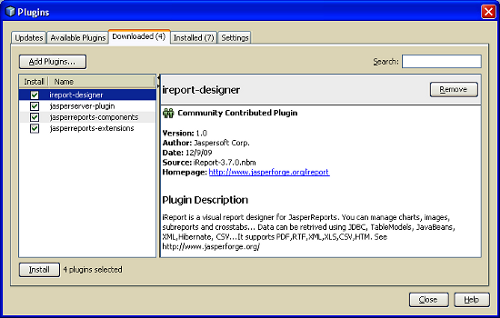
- Check the Install checkbox of ireport-designer, and press the Install button at the bottom of the window. The following screen will appear:
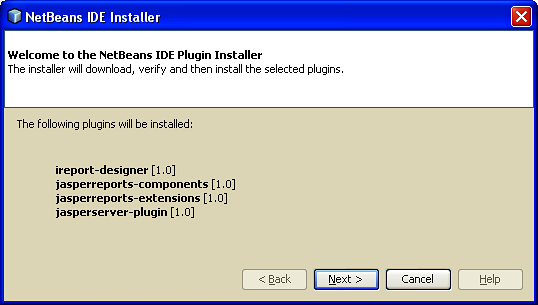
- Press Next >, and accept the terms of the License Agreement.
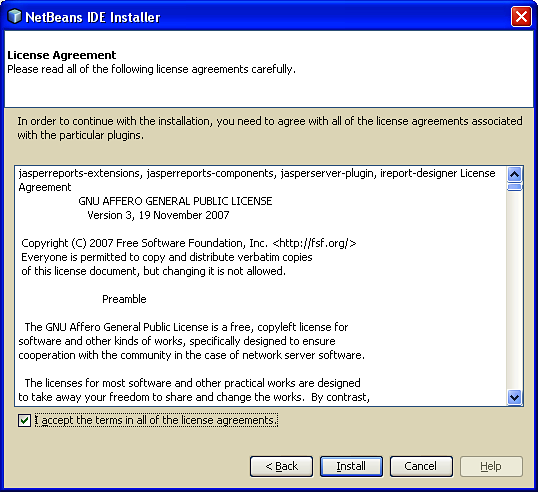
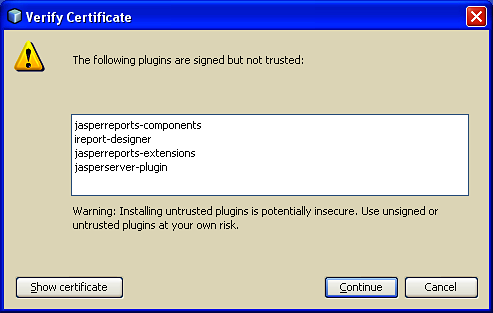
- If the Verify Certificate dialog box appears, click Continue.
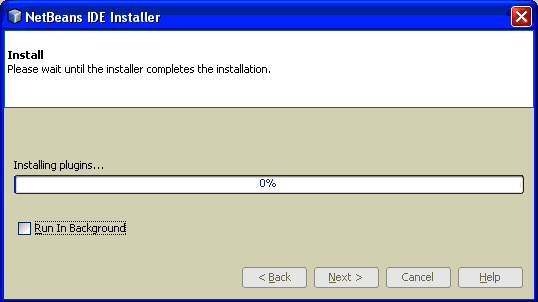
- Press Install, and wait for the installer to complete the installation.
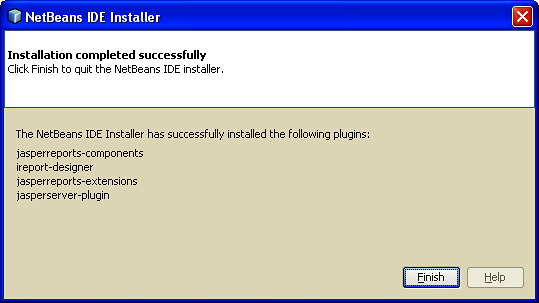
- After the installation is done, press Finish and close the Plugins dialog. If the IDE requests for a restart, then do it. Now the IDE is ready for creating reports.
Creating reports
We have already learnt about creating various types of reports, such as reports without parameters, reports with parameters, reports with variables, subreports, crosstab reports, reports with charts and images, and so on. We have also attained knowledge associated with these types of reports. Now, we will learn quickly how to create these reports using NetBeans with the help of the installed iReport plugins.
Creating a NetBeans database JDBC connection
The first step is to create a database connection, which will be used by the report data sources. Follow the listed steps:
- Select the Services tab from the left side of the project window.
- Select Databases.
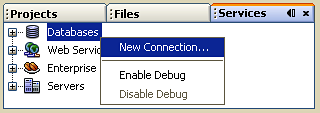
- Right-click on Databases, and press New Connection….
- In the New Database Connection dialog, set the following under Basic setting, and check the Remember password checkbox:
|
Option
|
Value
|
|
Driver Name
|
MySQL (Connector/J Driver)
|
|
Host
|
localhost
Unlock access to the largest independent learning library in Tech for FREE!
Get unlimited access to 7500+ expert-authored eBooks and video courses covering every tech area you can think of.
Renews at $19.99/month. Cancel anytime
|
|
Port
|
3306
|
|
Database
|
inventory
|
|
User Name
|
root
|
|
Password
|
packt
|
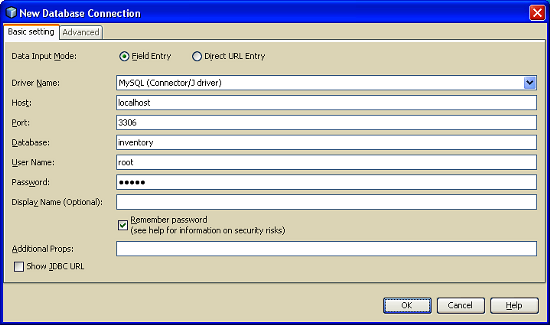
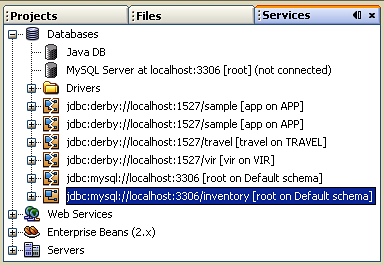
- Press OK. Now the connection is created, and you can see this under the Services | Databases section, as shown in the following screenshot:
Creating a report data source
The NetBeans database JDBC connection created previously will be used by a report data source that will be used by the report. Follow the listed steps to create the data source:
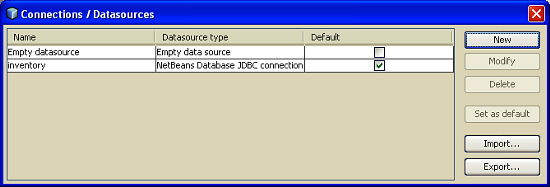
- From the NetBeans toolbar, press the Report Datasources button. You will see the following dialog box:
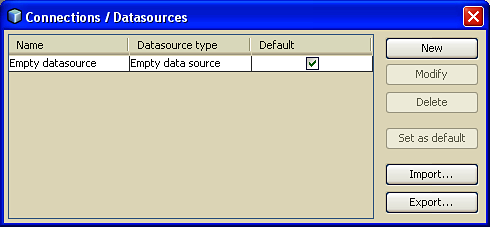
- Press New.
- Select NetBeans Database JDBC connection, and press Next >.
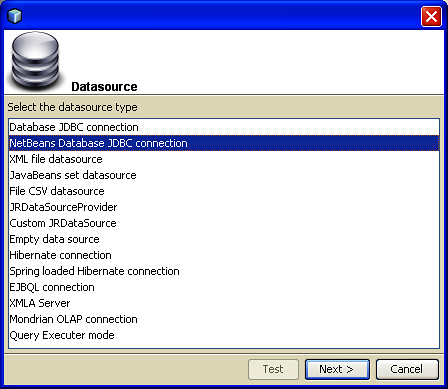
- Enter inventory in the Name field, and from the Connection drop-down list, select jdbc:mysql://localhost:3306/inventory [root on Default schema].
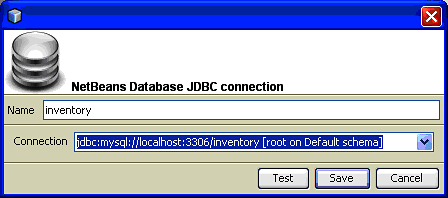
- Press Test, and if the connection is successful, press Save and close the Connections / Datasources dialog box.
 United States
 Great Britain
 India
India
 Germany
 France
 Canada
 Russia
 Spain
Spain
 Brazil
 Australia
 Singapore
 Canary Islands
 Hungary
 Ukraine
 Luxembourg
 Estonia
 Lithuania
 South Korea
 Turkey
 Switzerland
 Colombia
 Taiwan
 Chile
Chile
 Norway
 Ecuador
 Indonesia
 New Zealand
 Cyprus
 Denmark
 Finland
 Poland
 Malta
Malta
 Czechia
 Austria
 Sweden
 Italy
Italy
 Egypt
Egypt
 Belgium
 Portugal
 Slovenia
 Ireland
 Romania
 Greece
 Argentina
 Netherlands
 Bulgaria
 Latvia
 South Africa
 Malaysia
 Japan
Japan
 Slovakia
 Philippines
 Mexico
 Thailand


