


Setting up and working with Hadoop can sometimes be difficult. Furthermore, most people with limited resources develop on Hadoop instances on Virtual Machines locally or on minimal hardware. The problem with this is that Hadoop is really designed to run on many machines in order to realize its full capabilities.
In this two part series of posts, we will show you how you can get started with Hadoop in the cloud with Google services quickly and relatively easily.
Getting Started
The first thing you need in order to follow along is a Google account. If you don’t have a Google account, you can sign up here: https://accounts.google.com/SignUp.
Next, you need to create a Google Compute and Google Cloud storage enabled project via the Google Developers Console. Let’s walk through that right now. First go to the Developer Console and log in using your Google account. You will need your credit card as part of this process; however, to complete this two part post series, you will not need to spend any money.
Once you have logged in, you should see something like what is shown in Figure 1.
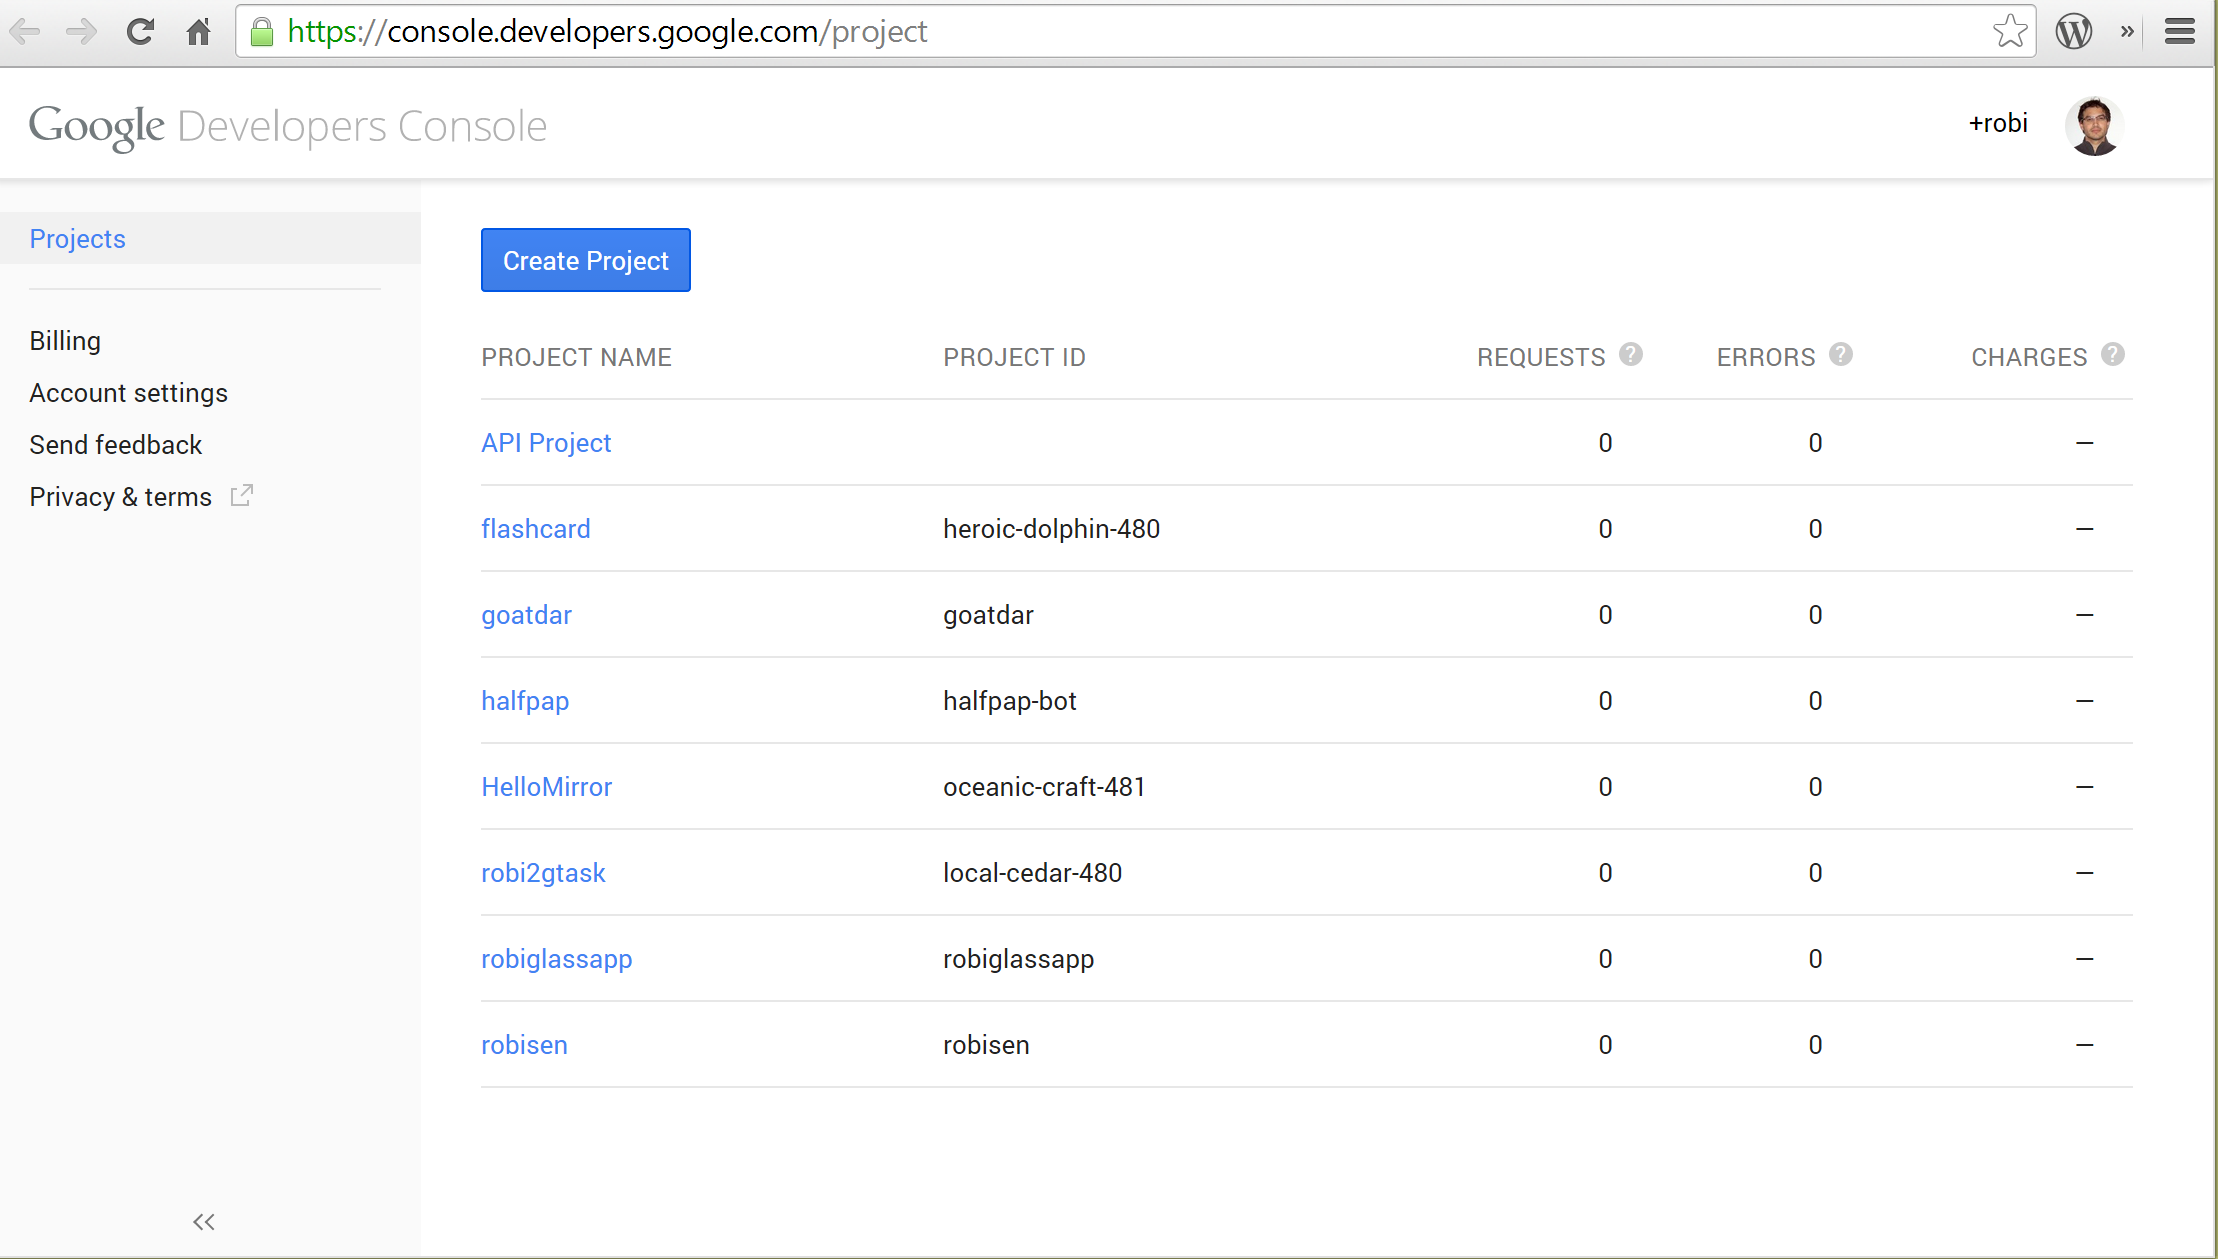
Figure 1: Example view of Google Developers Console
Now select Create Project. This will pop up the create new project windows, as shown in Figure 2. In the project name field, go ahead and name your project HadoopTutorial. For the Project ID, Google will assign you a random project ID or you can try to select your own. Whatever your project ID is, just make note of it since we will be using it later. If, however, you forget your project ID, you can just come back to the Google console to look it up. You do not need to select the first checkbox shown in Figure 2, but go ahead and check the second checkbox, which is the terms of service. Now select Create.
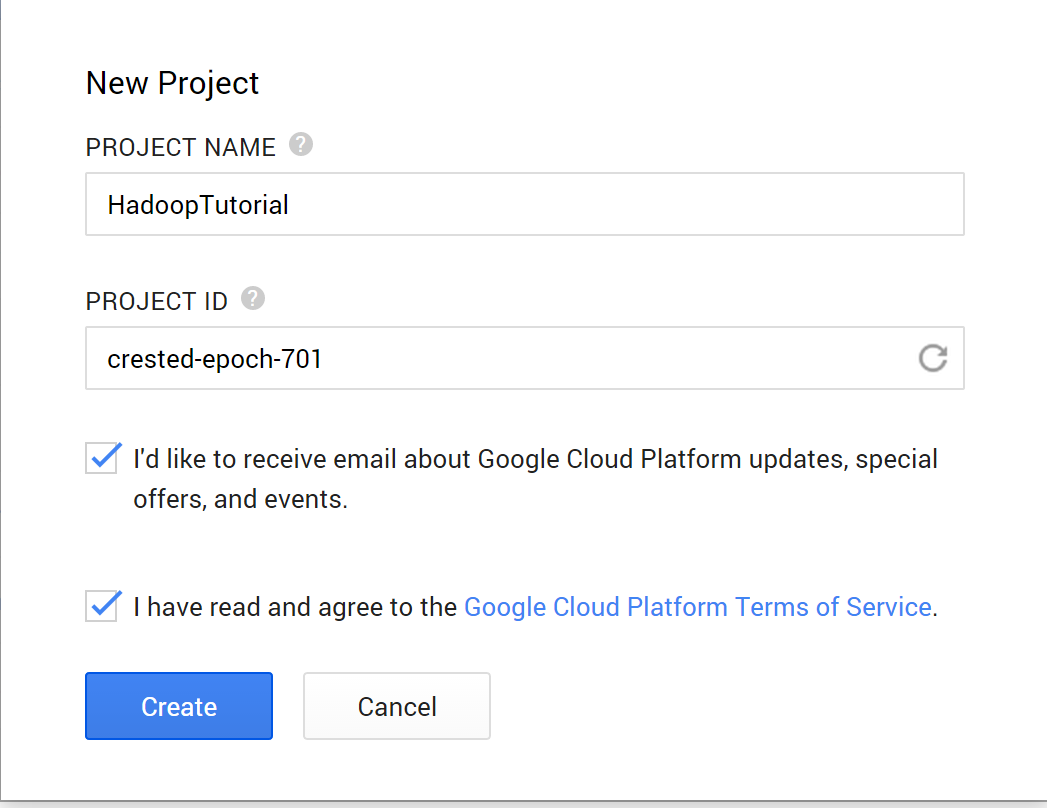
Figure 2: New Project window
When you select Create, be prepared for a small delay as Google builds your project. When it is done, you should see a screen like that shown in Figure 3.
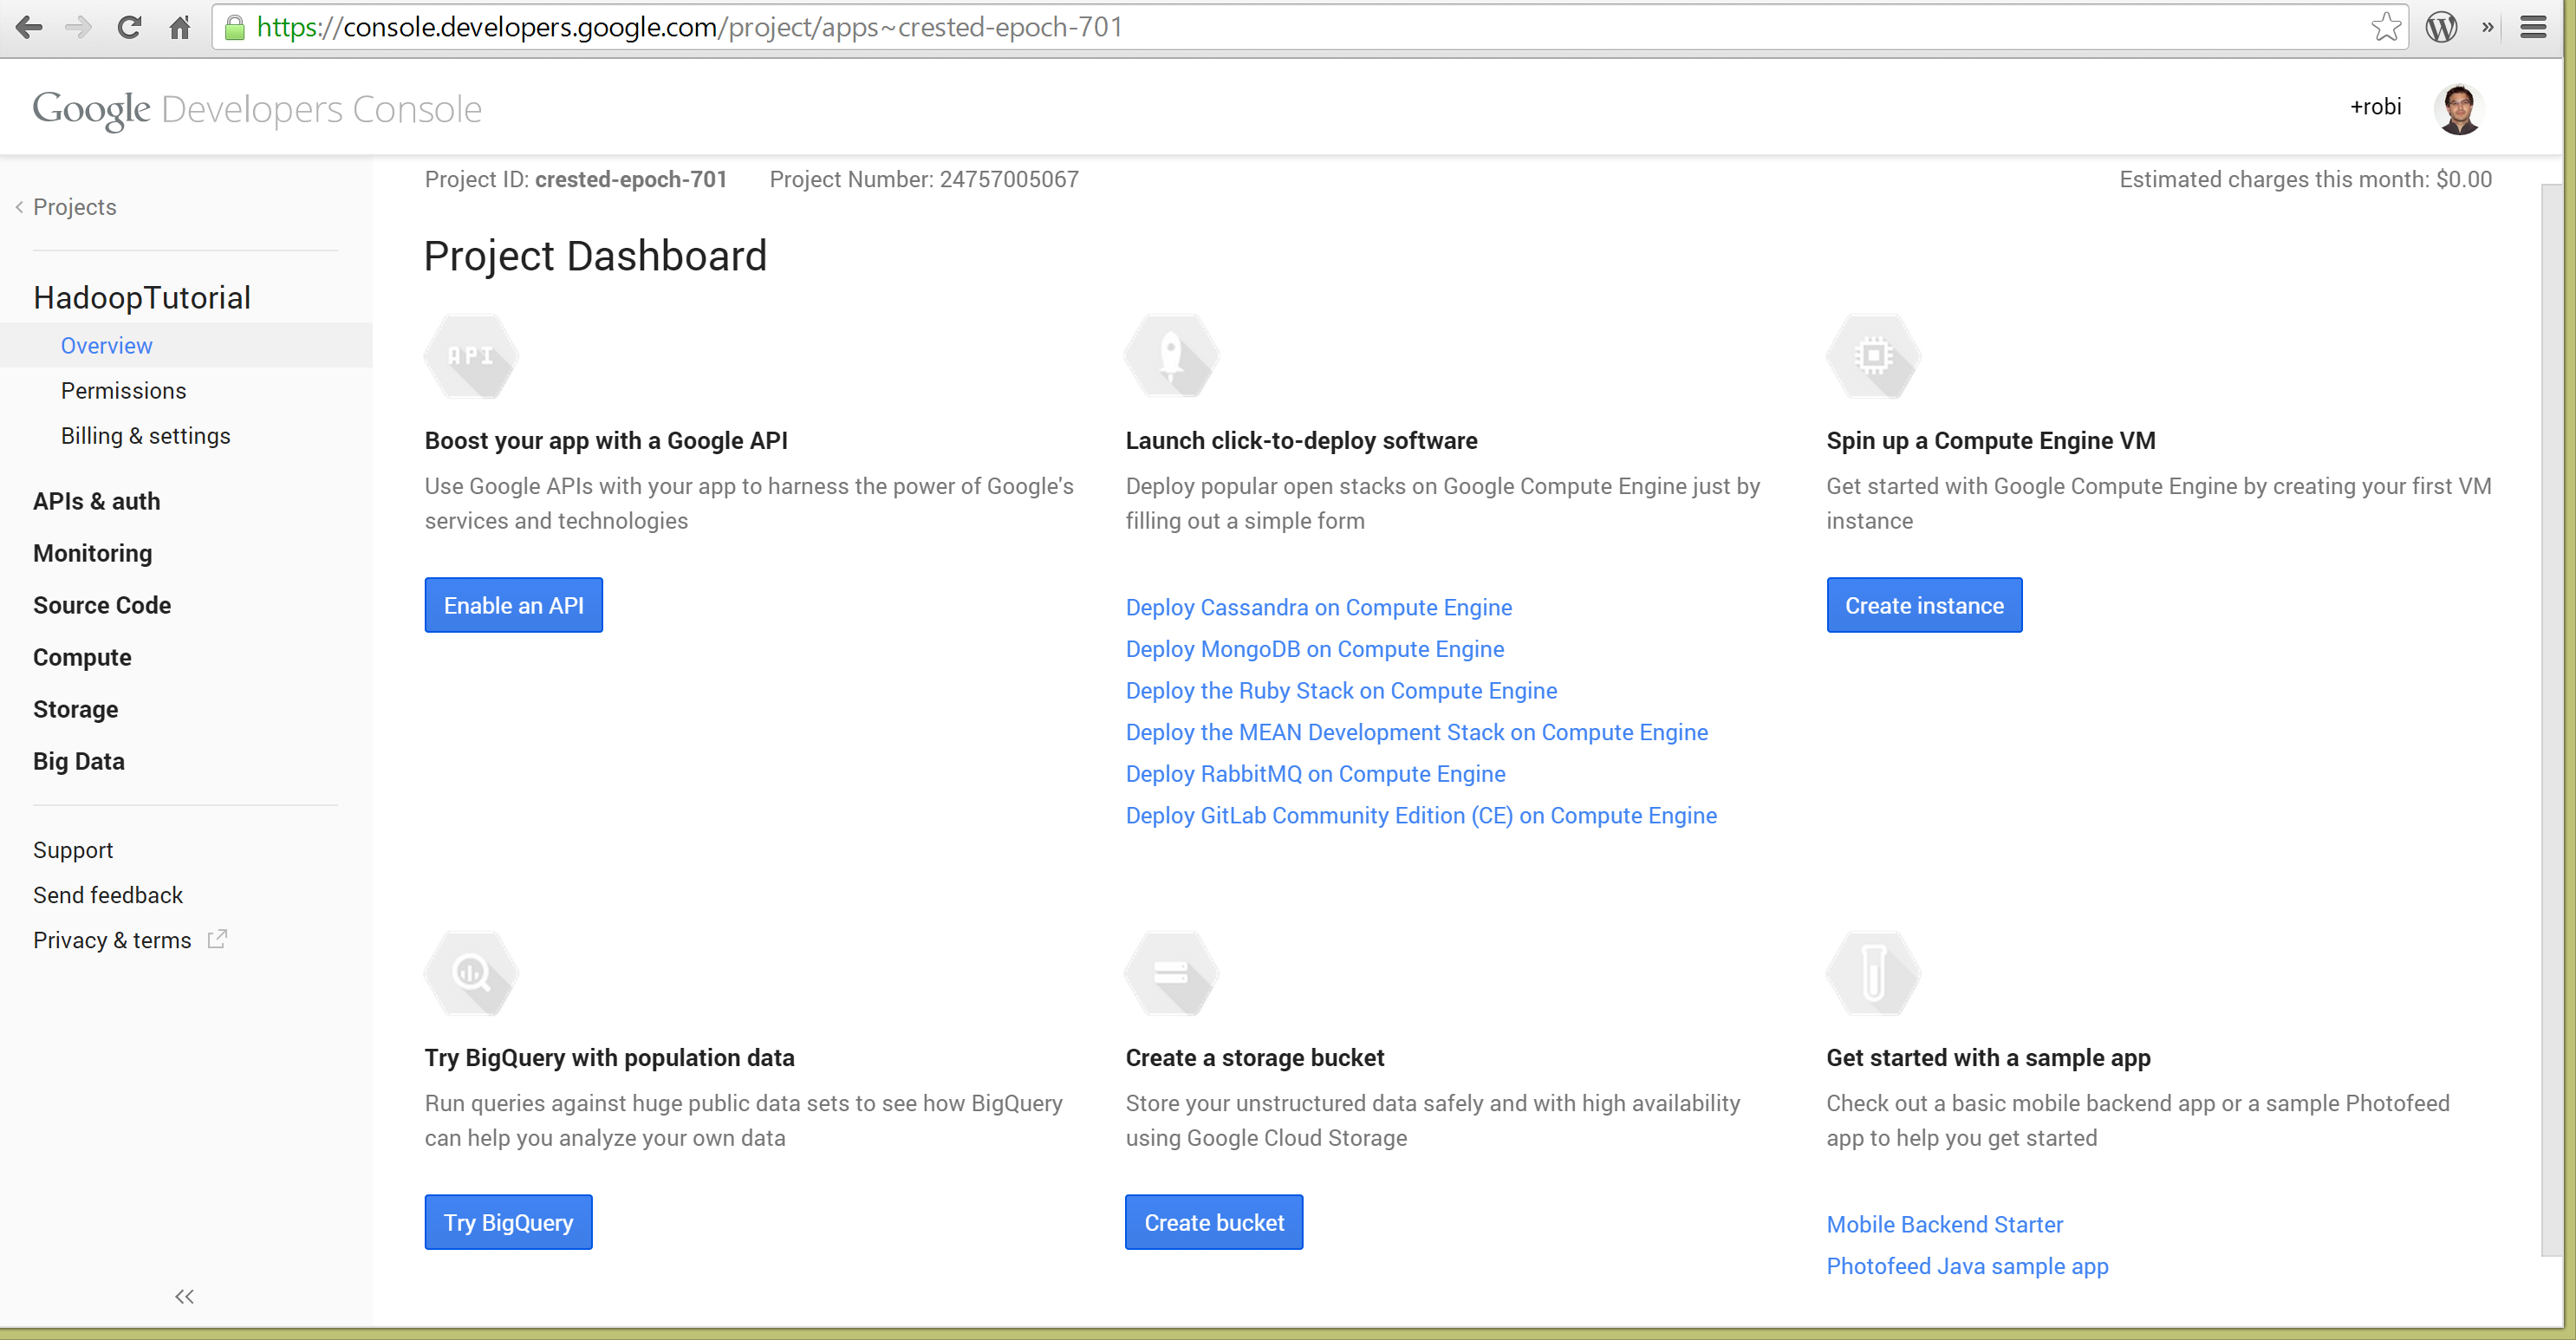
Figure 3: Project Dashboard
Now click on Enable an API. You should now see the APIs screen. Make sure you check to see whether the Google Cloud Storage and Google Cloud Storage JSON API options are enabled, that is, showing a green ON button. Now scroll down and find the Google Compute Engine and select the OFF button to enable it like the one shown in Figure 4. If you don’t have a payment account set up on Google, you will be asked to do that now and put in a valid credit card. Once that is done, you can go back and enable the Google Compute Engine.
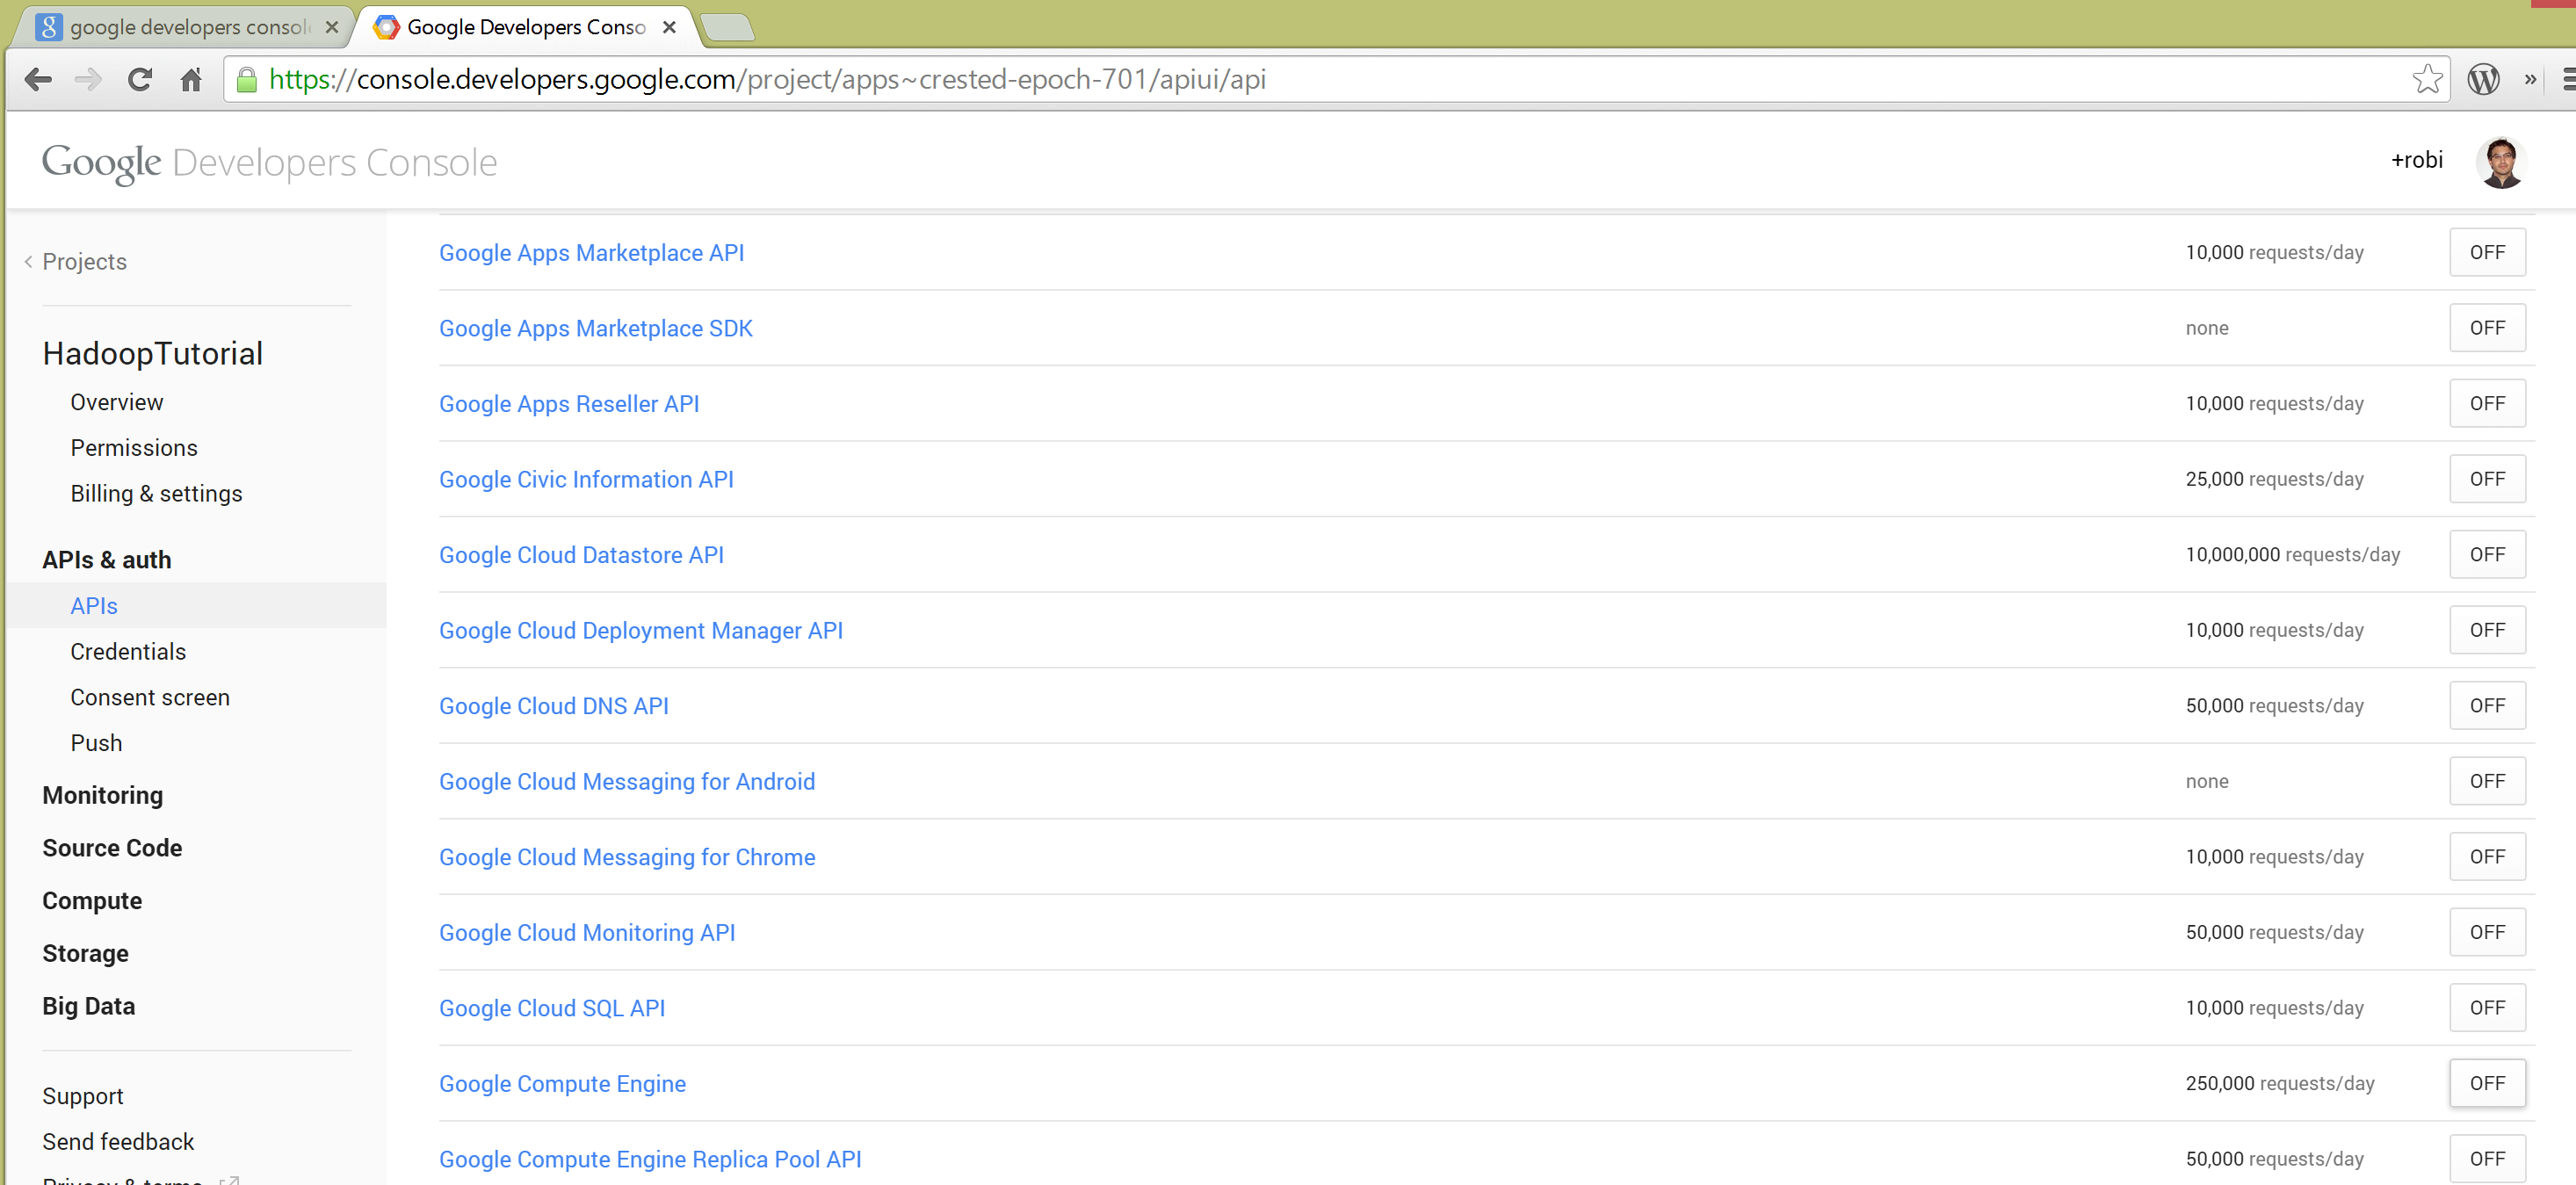
Figure 4: Setting up your Google APIs
You should now have your Google developer account up and running. In the next post, I will walk you through the installation of the Google Cloud SDK and setting up Hadoop via Windows and Cygwin.
Read part 2 here.
Want more Hadoop content? Check out our dynamic Hadoop page, updated with our latest titles and most popular content.
About the author
Robi Sen, CSO at Department 13, is an experienced inventor, serial entrepreneur, and futurist whose dynamic twenty-plus year career in technology, engineering, and research has led him to work on cutting edge projects for DARPA, TSWG, SOCOM, RRTO, NASA, DOE, and the DOD. Robi also has extensive experience in the commercial space, including the co-creation of several successful start-up companies. He has worked with companies such as Under Armour, Sony, CISCO, IBM, and many others to help build out new products and services. Robi specializes in bringing his unique vision and thought process to difficult and complex problems, allowing companies and organizations to find innovative solutions that they can rapidly operationalize or go to market with.