


Dropbox API is a set of HTTP endpoints that help apps to integrate with Dropbox easily. It allows developers to work with files present in Dropbox and provides access to advanced functionality like full-text search, thumbnails, and sharing. In this article we will discuss Dropbox API functionalities listed below to navigate and query your files and folders:
- Loading and querying the Dropbox API
- Listing the directories and files from your Dropbox account
- Adding a loading state to your app
- Using Vue animations
To get started you will need a Dropbox account and follow the steps detailed in this article. If you don’t have one, sign up and add a few dummy files and folders. The content of Dropbox doesn’t matter, but having folders to navigate through will help with understanding the code.
This article is an excerpt from a book written by Mike Street titled Vue.js 2.x by Example. This book puts Vue.js into a real-world context, guiding you through example projects to help you build Vue.js applications from scratch.
Getting started—loading the libraries
Create a new HTML page for your app to run in. Create the HTML structure required for a web page and include your app view wrapper:
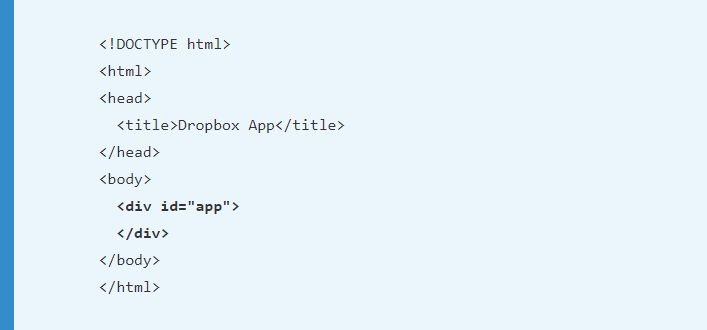
It’s called #app here, but call it whatever you want – just remember to update the JavaScript.
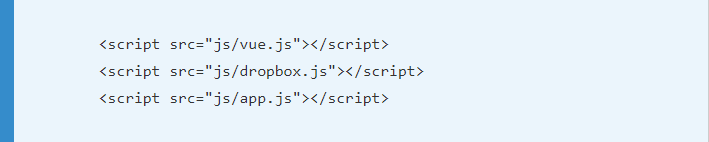
As our app code is going to get quite chunky, make a separate JavaScript file and include it at the bottom of the document. You will also need to include Vue and the Dropbox API SDK.
As with before, you can either reference the remote files or download a local copy of the library files. Download a local copy for both speed and compatibility reasons. Include your three JavaScript files at the bottom of your HTML file:
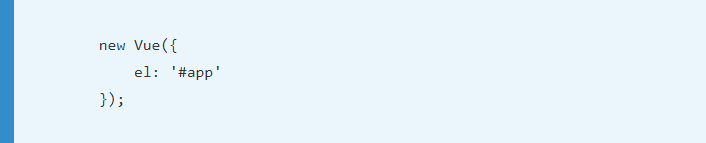
Create your app.js and initialize a new Vue instance, using the el tag to mount the instance onto the ID in your view.
Creating a Dropbox app and initializing the SDK
Before we interact with the Vue instance, we need to connect to the Dropbox API through the SDK. This is done via an API key that is generated by Dropbox itself to keep track of what is connecting to your account and where Dropbox requires you to make a custom Dropbox app.
Head to the Dropbox developers area and select Create your app. Choose Dropbox API and select either a restricted folder or full access. This depends on your needs, but for testing, choose Full Dropbox. Give your app a name and click the button Create app.
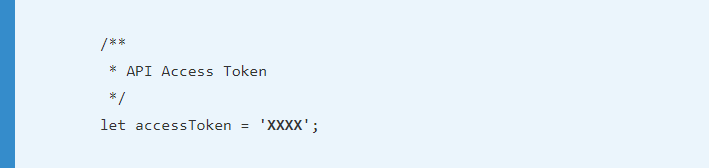
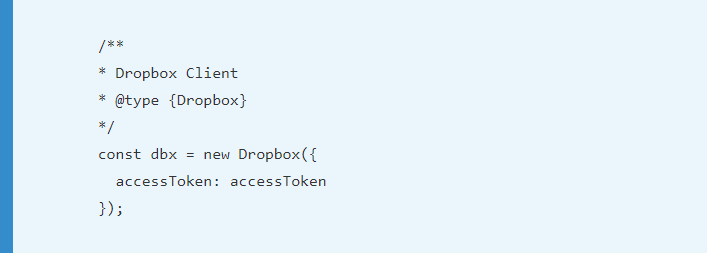
Generate an access token to your app. To do so, when viewing the app details page, click the Generate button under the Generated access token. This will give you a long string of numbers and letters – copy and paste that into your editor and store it as a variable at the top of your JavaScript. In this the API key will be referred to as XXXX:
Now that we have our API key, we can access the files and folders from our Dropbox. Initialize the API and pass in your accessToken variable to the accessToken property of the Dropbox API:
We now have access to Dropbox via the dbx variable. We can verify our connection to Dropbox is working by connecting and outputting the contents of the root path:
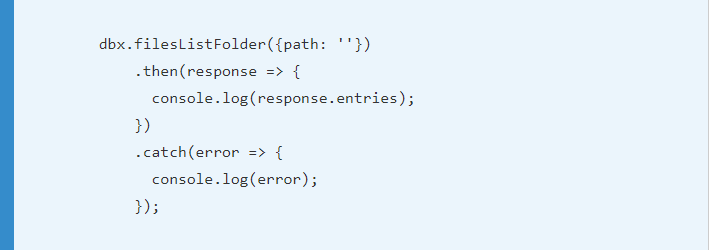
This code uses JavaScript promises, which are a way of adding actions to code without requiring callback functions.
Take a note of the first line, particularly the path variable. This lets us pass in a folder path to list the files and folders within that directory. For example, if you had a folder called images in your Dropbox, you could change the parameter value to /images and the file list returned would be the files and folders within that directory.
Open your JavaScript console and check the output; you should get an array containing several objects – one for each file or folder in the root of your Dropbox.
Displaying your data and using Vue to get it
Now that we can retrieve our data using the Dropbox API, it’s time to retrieve it within our Vue instance and display in our view. This app is going to be entirely built using components so we can take advantage of the compartmentalized data and methods. It will also mean the code is modular and shareable, should you want to integrate into other apps.
We are also going to take advantage of the native Vue created() function – we’ll cover it when it gets triggered in a bit.
Create the component
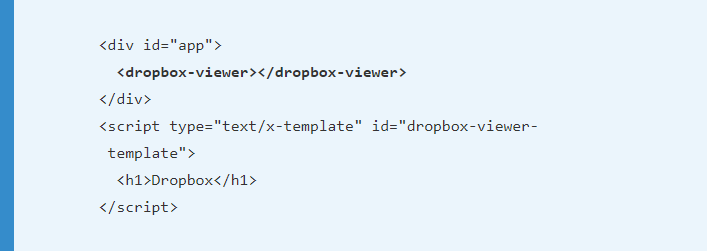
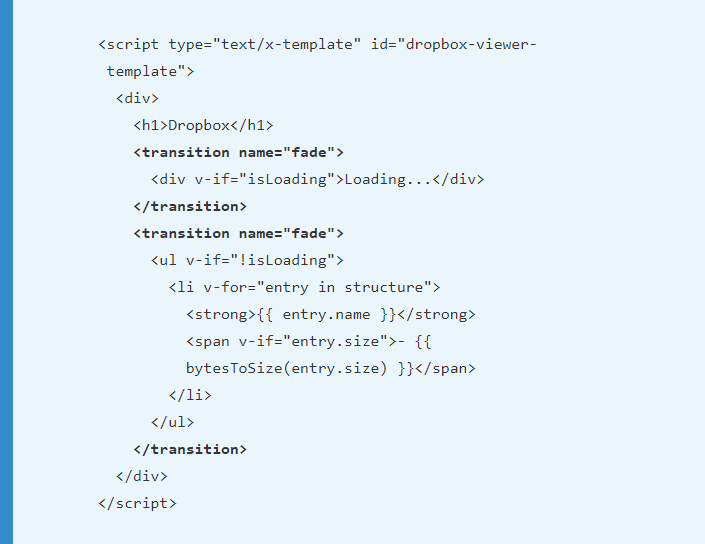
First off, create your custom HTML element, <dropbox-viewer>, in your View. Create a <script> template block at the bottom of the page for our HTML layout:
Initialize your component in your app.js file, pointing it to the template ID:
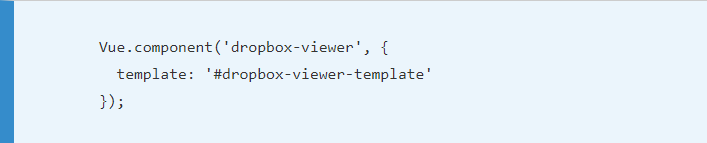
Viewing the app in the browser should show the heading from the template. The next step is to integrate the Dropbox API into the component.
Retrieve the Dropbox data
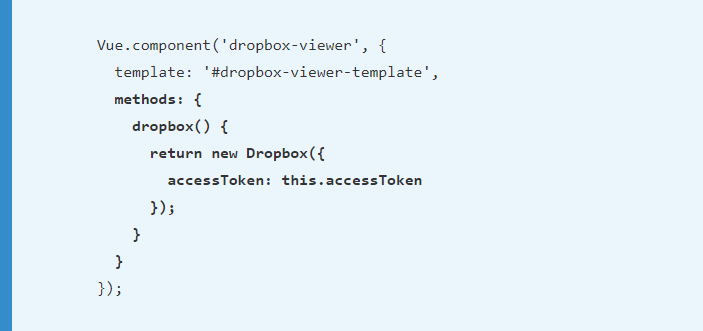
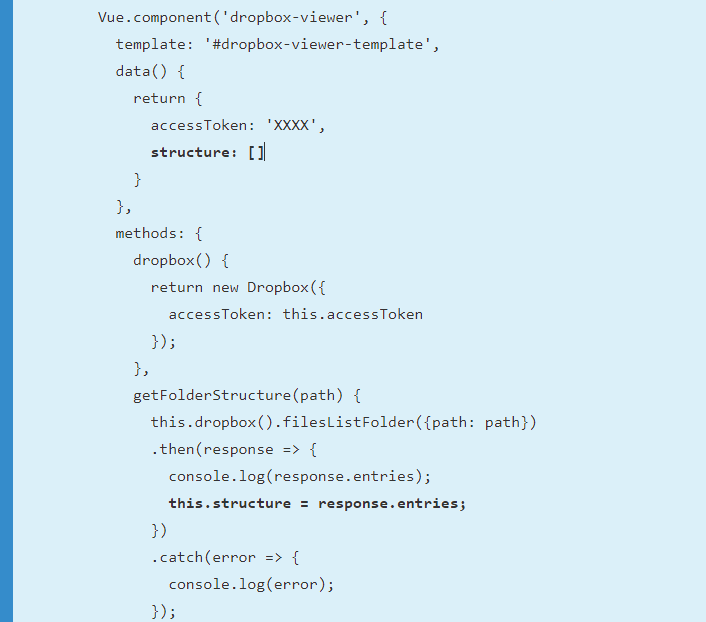
Create a new method called dropbox. In there, move the code that calls the Dropbox class and returns the instance. This will now give us access to the Dropbox API through the component by calling this.dropbox():
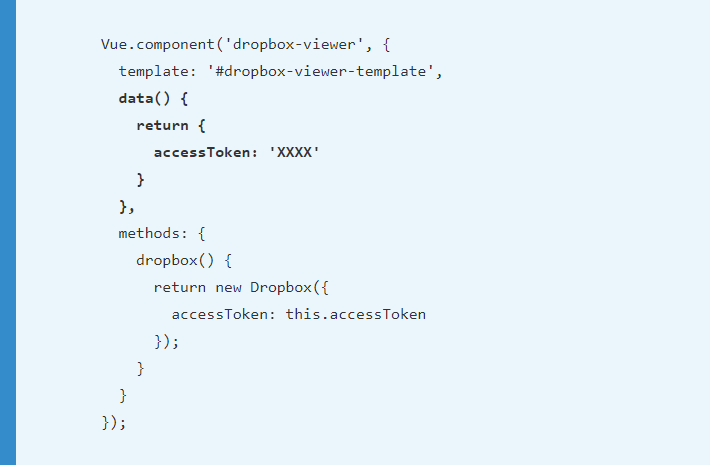
We are also going to integrate our API key into the component. Create a data function that returns an object containing your access token. Update the Dropbox method to use the local version of the key:
We now need to add the ability for the component to get the directory list. For this, we are going to create another method that takes a single parameter—the path. This will give us the ability later to request the structure of a different path or folder if required.
Use the code provided earlier – changing the dbx variable to this.dropbox():

Update the Dropbox filesListFolder function to accept the path parameter passed in, rather than a fixed value. Running this app in the browser will show the Dropbox heading, but won’t retrieve any folders because the methods have not been called yet.
The Vue life cycle hooks
This is where the created() function comes in. The created() function gets called once the Vue instance has initialized the data and methods, but has yet to mount the instance on the HTML component. There are several other functions available at various points in the life cycle; more about these can be read at Alligator.io. The life cycle is as follows:
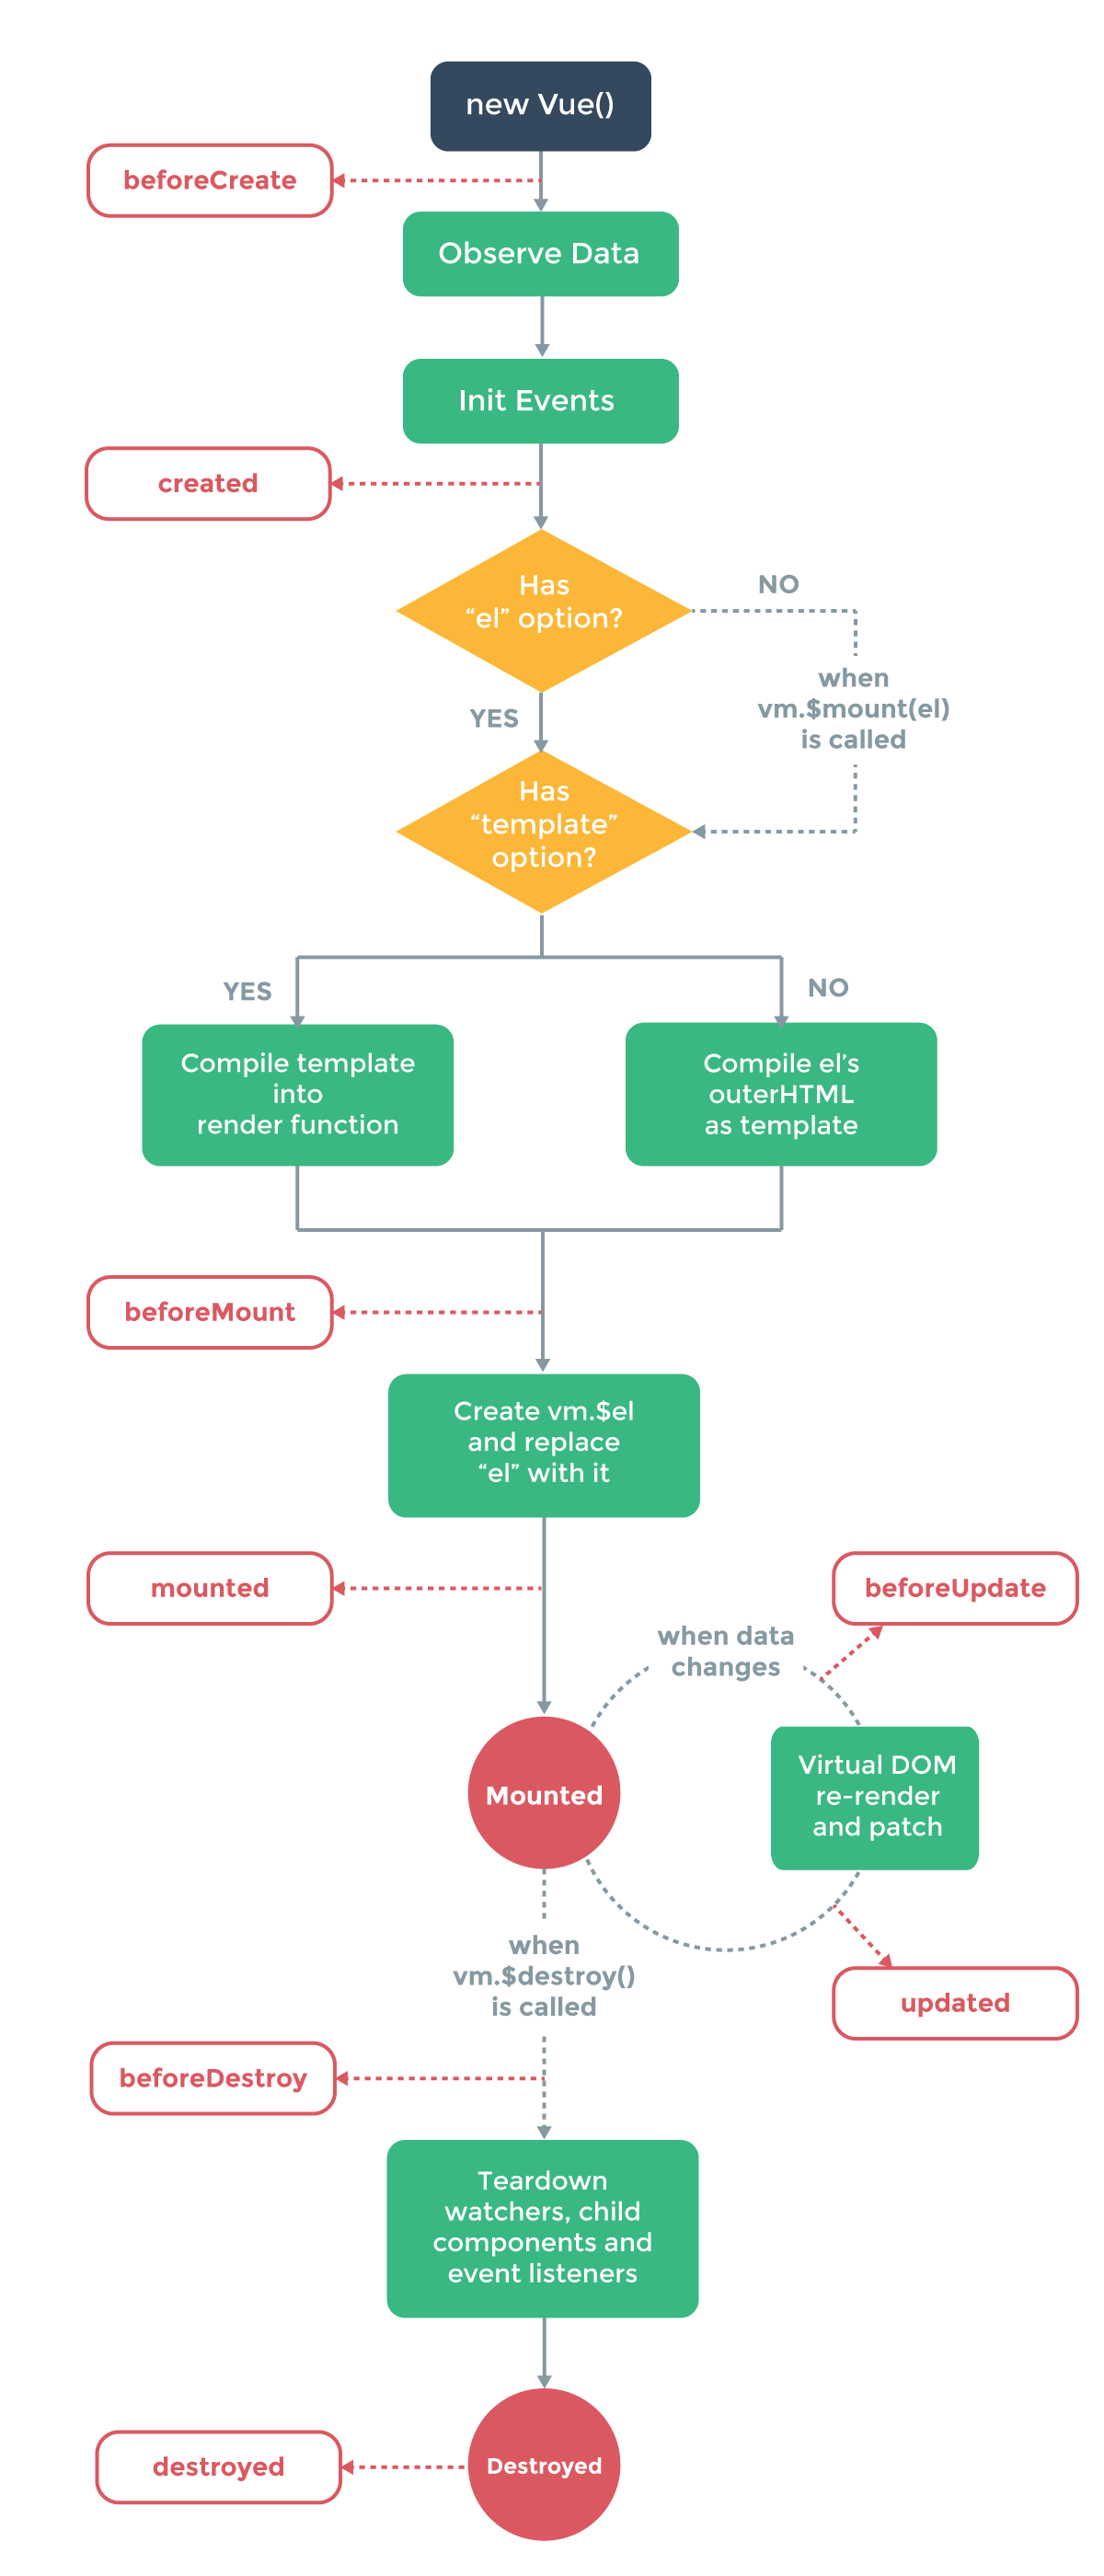
Using the created() function gives us access to the methods and data while being able to start our retrieval process as Vue is mounting the app. The time between these various stages is split-second, but every moment counts when it comes to performance and creating a quick app. There is no point waiting for the app to be fully mounted before processing data if we can start the task early.
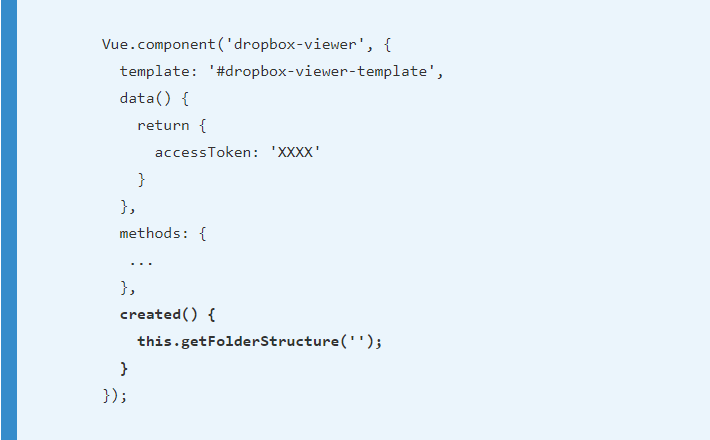
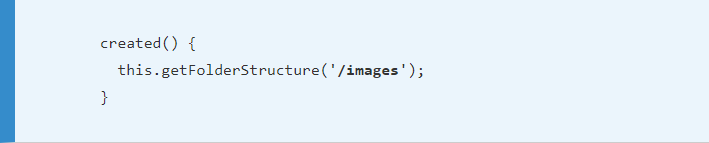
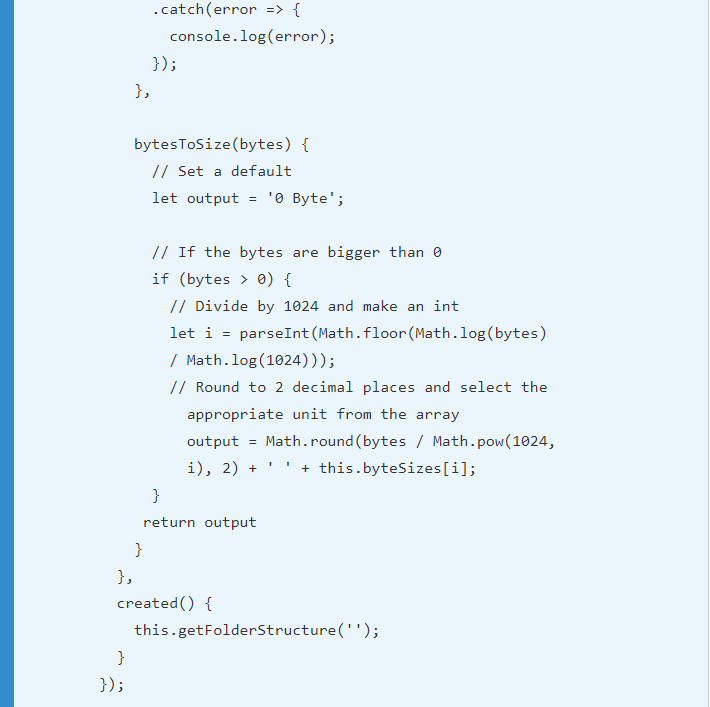
Create the created() function on your component and call the getFolderStructure method, passing in an empty string for the path to get the root of your Dropbox:
Running the app now in your browser will output the folder list to your console, which should give the same result as before.
We now need to display our list of files in the view. To do this, we are going to create an empty array in our component and populate it with the result of our Dropbox query. This has the advantage of giving Vue a variable to loop through in the view, even before it has any content.
Displaying the Dropbox data
Create a new property in your data object titled structure, and assign this to an empty array. In the response function of the folder retrieval, assign response.entries to this.structure. Leave console.log as we will need to inspect the entries to work out what to output in our template:
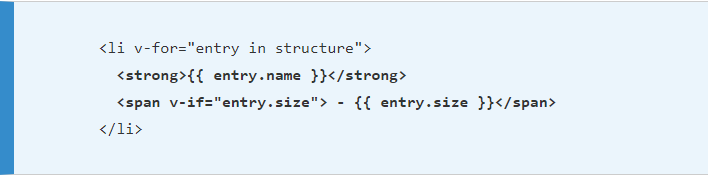
We can now update our view to display the folders and files from your Dropbox. As the structure array is available in our view, create a <ul> with a repeatable <li> looping through the structure.
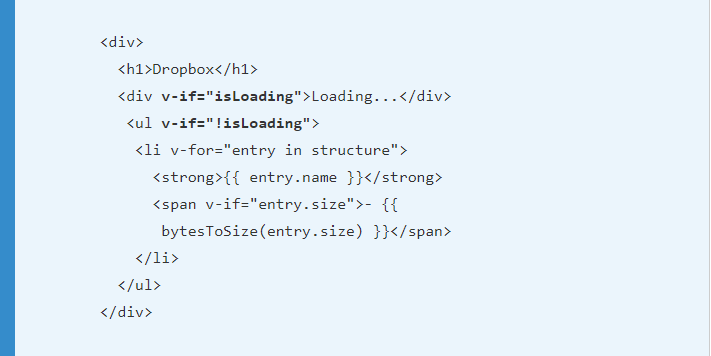
As we are now adding a second element, Vue requires templates to have one containing the element, wrap your heading and list in a <div>:

Viewing the app in the browser will show a number of empty bullet points when the array appears in the JavaScript console. To work out what fields and properties you can display, expand the array in the JavaScript console and then further for each object. You should notice that each object has a collection of similar properties and a few that vary between folders and files.
The first property, .tag, helps us identify whether the item is a file or a folder. Both types then have the following properties in common:
- id: A unique identifier to Dropbox
- name: The name of the file or folder, irrespective of where the item is
- path_display: The full path of the item with the case matching that of the files and folders
- path_lower: Same as path_display but all lowercase
Items with a .tag of a file also contain several more fields for us to display:
- client_modified: This is the date when the file was added to Dropbox.
- content_hash: A hash of the file, used for identifying whether it is different from a local or remote copy. More can be read about this on the Dropbox website.
- rev: A unique identifier of the version of the file.
- server_modified: The last time the file was modified on Dropbox.
- size: The size of the file in bytes.
To begin with, we are going to display the name of the item and the size, if present. Update the list item to show these properties:
More file meta information
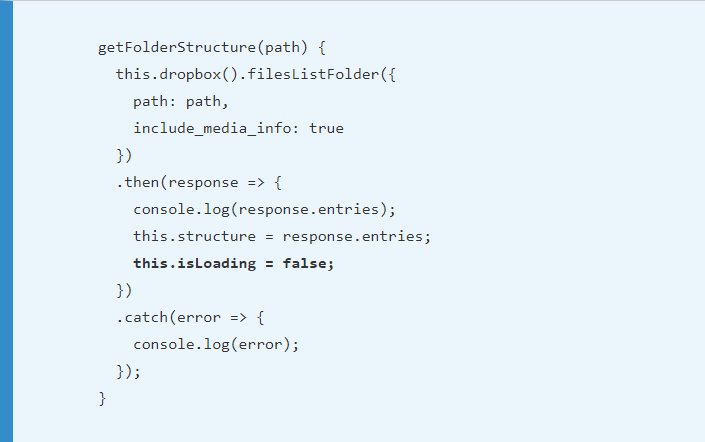
To make our file and folder view a bit more useful, we can add more rich content and metadata to files such as images. These details are available by enabling the include_media_info option in the Dropbox API.
Head back to your getFolderStructure method and add the parameter after path. Here are some new lines of readability:
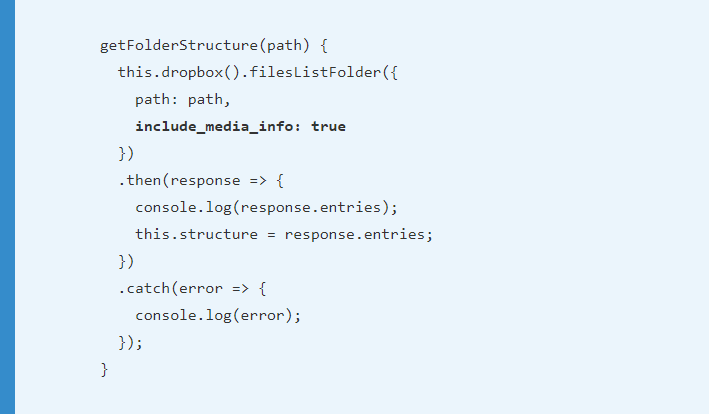
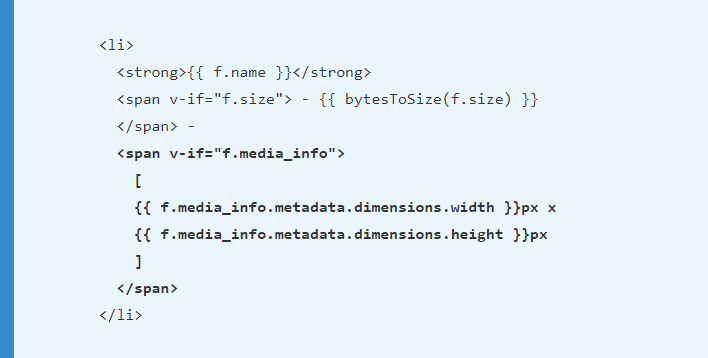
Inspecting the results from this new API call will reveal the media_info key for videos and images. Expanding this will reveal several more pieces of information about the file, for example, dimensions. If you want to add these, you will need to check that the media_info object exists before displaying the information:
Try updating the path when retrieving the data from Dropbox. For example, if you have a folder called images, change the this.getFolderStructure parameter to /images. If you’re not sure what the path is, analyze the data in the JavaScript console and copy the value of the path_lower attribute of a folder, for example:
Formatting the file sizes
With the file size being output in plain bytes it can be quite hard for a user to dechiper. To combat this, we can add a formatting method to output a file size which is more user-friendly, for example displaying 1kb
instead of 1024
.
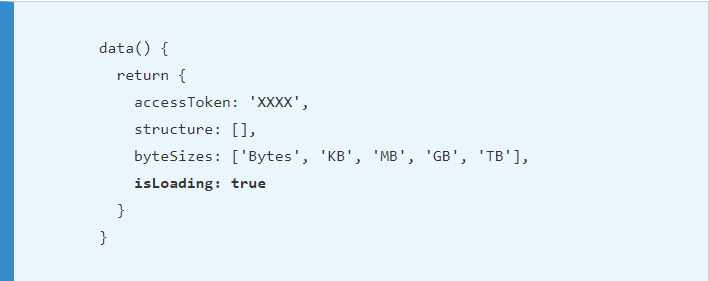
First, create a new key on the data object that contains an array of units called byteSizes:
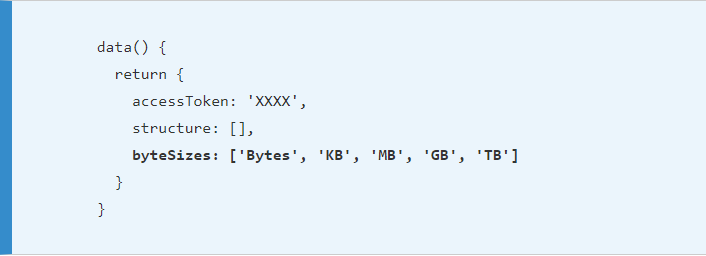
This is what will get appended to the figure, so feel free to make these properties either lowercase or full words, for example, megabyte.
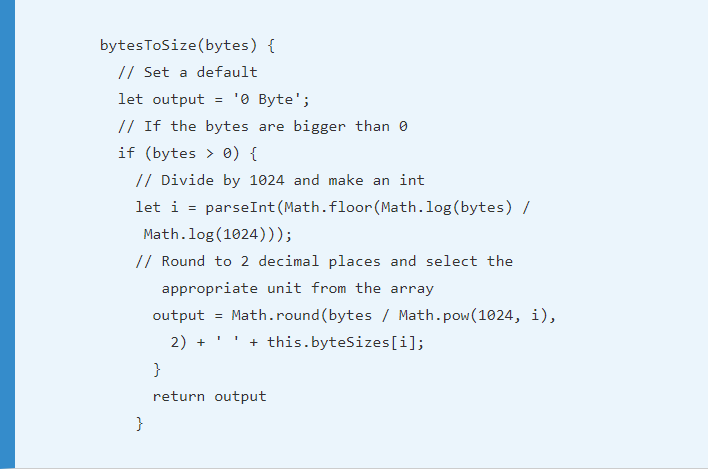
Next, add a new method, bytesToSize, to your component. This will take one parameter of bytes and output a formatted string with the unit at the end:
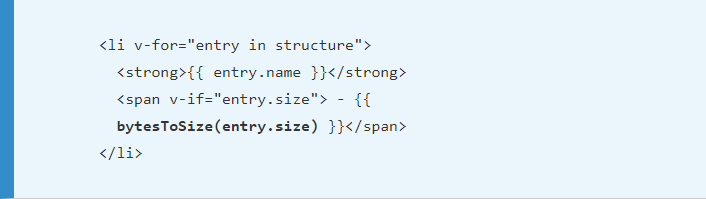
We can now utilize this method in our view:
Add loading screen
The last step of this tutorial is to make a loading screen for our app. This will tell the user the app is loading, should the Dropbox API be running slowly (or you have a lot of data to show!).
The theory behind this loading screen is fairly basic. We will set a loading variable to true by default that then gets set to false once the data has loaded. Based on the result of this variable, we will utilize view attributes to show, and then hide, an element with the loading text or animation in and also reveal the loaded data list.
Create a new key in the data object titled isLoading. Set this variable to true by default:
Within the getFolderStructure method on your component, set the isLoading variable to false. This should happen within the promise after you have set the structure:
We can now utilize this variable in our view to show and hide a loading container.
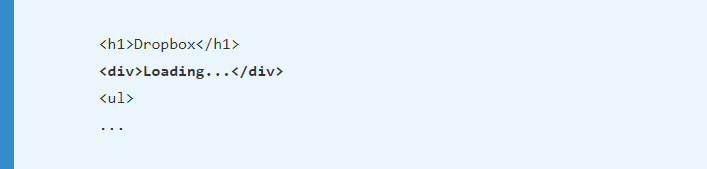
Create a new <div> before the unordered list containing some loading text. Feel free to add a CSS animation or an animated gif—anything to let the user know the app is retrieving data:
We now need to only show the loading div if the app is loading and the list once the data has loaded. As this is just one change to the DOM, we can use the v-if directive. To give you the freedom of rearranging the HTML, add the attribute to both instead of using v-else.
To show or hide, we just need to check the status of the isLoading variable. We can prepend an exclamation mark to the list to only show if the app is not loading:
Our app should now show the loading container once mounted, and then it should show the list once the app data has been gathered. To recap, our complete component code now looks like this:

Animating between states
As a nice enhancement for the user, we can add some transitions between components and states. Helpfully, Vue includes some built-in transition effects. Working with CSS, these transitions allow you to add fades, swipes, and other CSS animations easily when DOM elements are being inserted. More information about transitions can be found in the Vue documentation.
The first step is to add the Vue custom HTML <transition> element. Wrap both your loading and list with separate transition elements and give it an attribute of name and a value of fade:
Now add the following CSS to either the head of your document or a separate style sheet if you already have one:
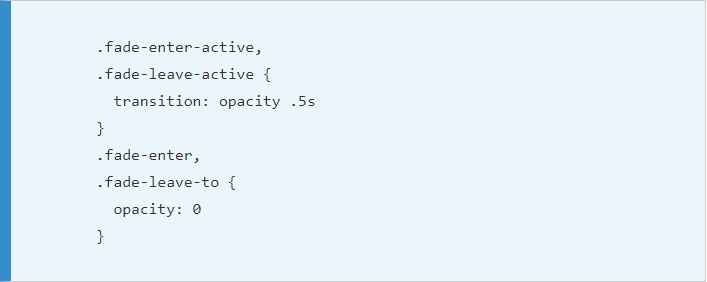
With the transition element, Vue adds and removes various CSS classes based on the state and time of the transition. All of these begin with the name passed in via the attribute and are appended with the current stage of transition:

Try the app in your browser, you should notice the loading container fading out and the file list fading in. Although in this basic example, the list jumps up once the fading has completed, it’s an example to help you understand using transitions in Vue.
We learned to make Dropbox viewer to list out files and folders from the Dropbox account and also used Vue animations for navigation. Do check out the book Vue.js 2.x by Example to start integrating remote data into your web applications swiftly.
Read Next:
Building a real-time dashboard with Meteor and Vue.js


