Heroku is a tool that helps you manage cloud hosted web applications. It’s a really great service. It makes creating, deploying, and updating apps really easy. Now Heroku, like GitHub, does not require a credit card to sign up and there is a free tier, which we’ll use. They have paid plans for just about everything, but we can get away with the free tier for everything we’ll do in this section.
In this tutorial, you’ll learn to deploy your live Node.js app to the Web using Heroku. By the end of this tutorial, you’ll have the URL that you can share with anybody to view the application from their browser.
Installing Heroku command-line tools
To kick things off, we’ll open up the browser and go to Heroku’s website here. Here we can go ahead and sign up for a new account. Take a quick moment to either log in to your existing one or sign up for a new one. Once logged in, it’ll show you the dashboard. Now your dashboard will look something like this:
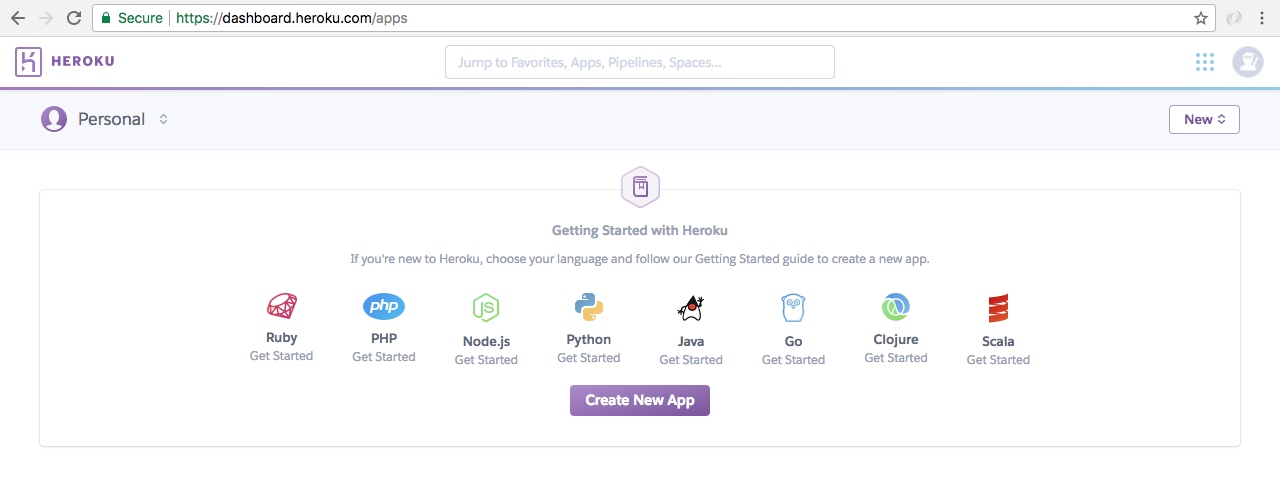
Although there might be a greeting telling you to create a new application, which you can ignore. I have a bunch of apps. You might not have these. That is perfectly fine.
The next thing we’ll do is install the Heroku command-line tools. This will let us create apps, deploy apps, open apps, and do all sorts of really cool stuff from the Terminal, without having to come into the web app. That will save us time and make development a lot easier. We can grab the download by going to toolbelt.heroku.com.
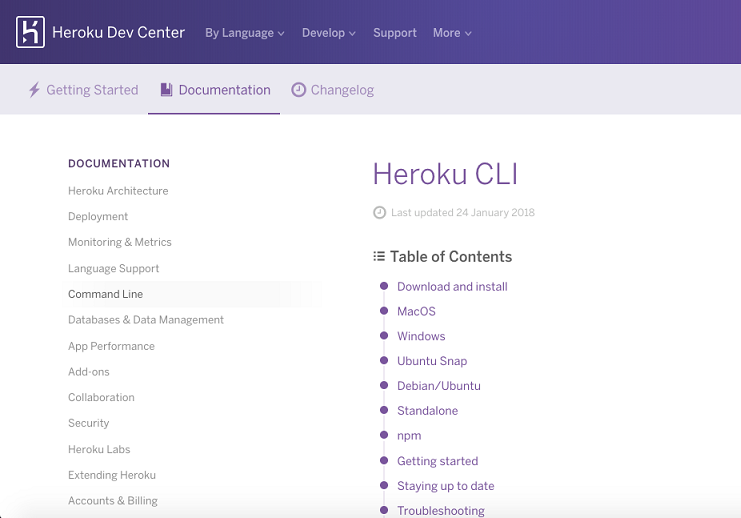
Here we’re able to grab the installer for whatever operating system, you happen to be running on. So, let’s start the download. It’s a really small download so it should happen pretty quickly.
Once it’s done, we can go ahead and run through the process:
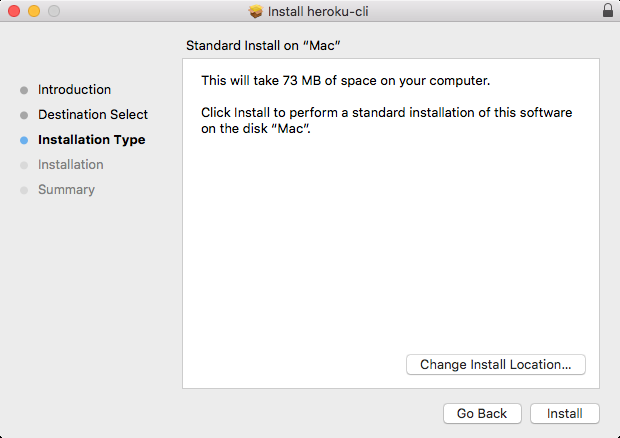
This is a simple installer where you just click on Install. There is no need to customize anything. You don’t have to enter any specific information about your Heroku account. Let’s go ahead and complete the installer.

This will give us a new command from the Terminal that we can execute. Before we can do that, we do have to log in locally in the Terminal and that’s exactly what we’ll do next.
Log in to Heroku account locally
Now we will start off the Terminal. If you already have it running, you might need to
restart it in order for your operating system to recognize the new command. You can test
that it got installed properly by running the following command:
heroku --helpWhen you run this command, you’ll see that it’s installing the CLI for the first time and then we’ll get all the help information. This will tell us what commands we have access to and exactly how they work:

Now we will need to log in to the Heroku account locally. This process is pretty simple. In the preceding code output, we have all of the commands available and one of them happens to be login. We can run heroku login just like this to start the process:
heroku loginI’ll run the login command and now we just use the email and password that we had set up before:

I’ll type in my email and password. Typing for Password is hidden because it’s secure. And when I do that you see Logged in as [email protected] shows up and this is fantastic:

Now we’re logged in and we’re able to successfully communicate between our machine’s command line and the Heroku servers. This means we can get started creating and deploying applications.
Getting SSH key to Heroku
Now before going ahead, we’ll use the clear command to clear the Terminal output and get our SSH key on Heroku, kind of like what we did with GitHub, only this time we can do it via the command line. So it’s going to be a lot easier. In order to add our local keys to Heroku, we’ll run the heroku keys:add command. This will scan our SSH directory and add the key up:
heroku keys:add
Here you can see it found a key the id_rsa.pub file: Would you like to upload it to Heroku?

Type Yes and hit enter:

Now we have our key uploaded. That is all it took. Much easier than it was to configure with GitHub. From here, we can use the heroku keys command to print all the keys currently on our account:
heroku keys

We could always remove them using heroku keys:remove command followed by the email related to that key. In this case, we’ll keep the Heroku key that we have. Next up, we can test our connection using SSH with the v flag and [email protected]:
ssh -v [email protected]
This will communicate with the Heroku servers:
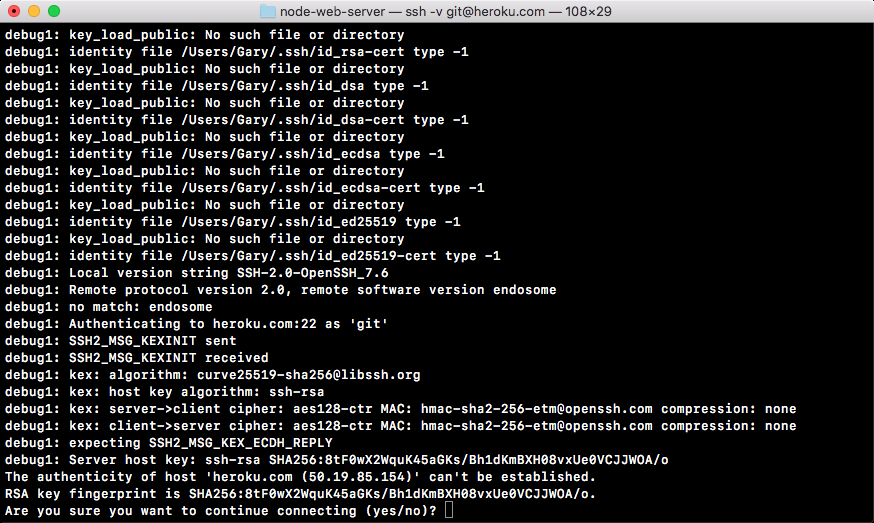
As shown, we can see it’s asking that same question: The authenticity of the host ‘heroku.com’ can’t be established, Are you sure you want to continue connecting? Type Yes.
You will see the following output:
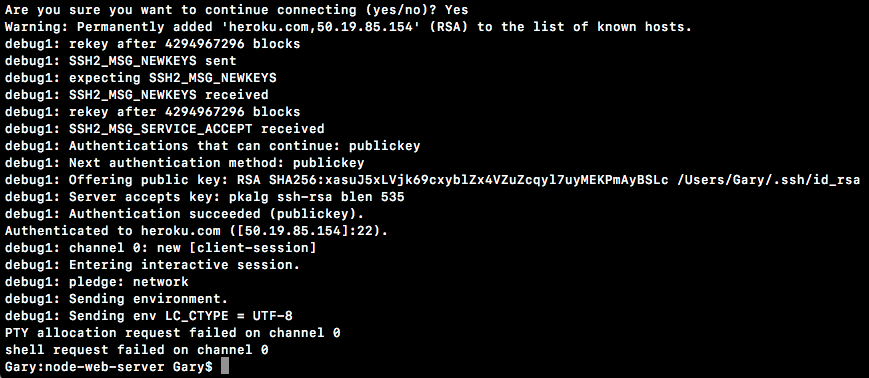
Now when you run that command, you’ll get a lot of cryptic output. What you’re looking for is authentication succeeded and then public key in parentheses. If things did not go well, you’ll see the permission denied message with public key in parentheses. In this case, the authentication was successful, which means we are good to go. I’ll run clear again, clearing the Terminal output.
Setting up in the application code for Heroku
Now we can turn our attention towards the application code because before we can deploy to Heroku, we will need to make two changes to the code. These are things that Heroku expects your app to have in place in order to run properly because Heroku does a lot of things automatically, which means you have to have some basic stuff set up for Heroku to work. It’s not too complex—some really simple changes, a couple one-liners.
Changes in the server.js file
First up in the server.js file down at the very bottom of the file, we have the port and our app.listen statically coded inside server.js:
app.listen(3000, () => {
console.log('Server is up on port 3000');
});
We need to make this port dynamic, which means we want to use a variable. We’ll be using an environment variable that Heroku is going to set. Heroku will tell your app which port to use because that port will change as you deploy your app, which means that we’ll be using that environment variable so we don’t have to swap out our code every time we want to deploy.
With environment variables, Heroku can set a variable on the operating system. Your Node
app can read that variable and it can use it as the port. Now all machines have environment variables. You can actually view the ones on your machine by running the env command on Linux or macOS or the set command on Windows.
What you’ll get when you do that is a really long list of key-value pairs, and this is all environment variables are:
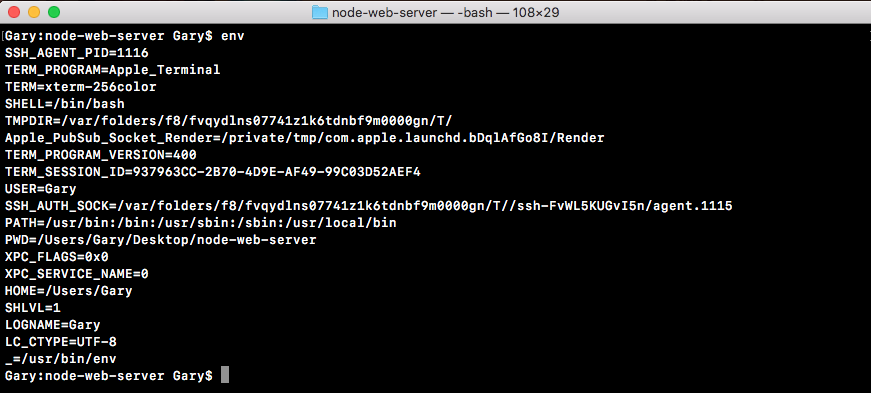
Here, we have a LOGNAME environment variable set to Andrew. I have a HOME environment variable set to my home directory, all sorts of environment variables throughout my operating system.
One of these that Heroku is going to set is called PORT, which means we need to go ahead and grab that port variable and use it in server.js instead of 3000. Up at the very top of the server.js file, we’d to make a constant called port, and this will store the port that we’ll use for the app:
const express = require('express');.
const hbs = require('hbs');
const fs = require('fs');
const port
Now the first thing we’ll do is grab a port from process.env. The process.env is an object that stores all our environment variables as key-value pairs. We’re looking for one that Heroku is going to set called PORT:
const port = process.env.PORT;This is going to work great for Heroku, but when we run the app locally, the PORT environment variable is not going to exist, so we’ll set a default using the OR (||) operator in this statement. If process.env.port does not exist, we’ll set port equal to 3000 instead:
const port = process.env.PORT || 3000;Now we have an app that’s configured to work with Heroku and to still run locally, just like it did before. All we have to do is take the PORT variable and use that in app.listen instead of 3000. As shown, I’m going to reference port and inside our message, I’ll swap it out for template strings and now I can replace 3000 with the injected port variable, which will change over time:
app.listen(port, () => {
console.log(`Server is up on port ${port}`);
});
With this in place, we have now fixed the first problem with our app. I’ll now run node server.js from the Terminal.
node server.jsWe still get the exact same message: Server is up on port 3000, so your app will still works locally as expected:

Changes in the package.json file
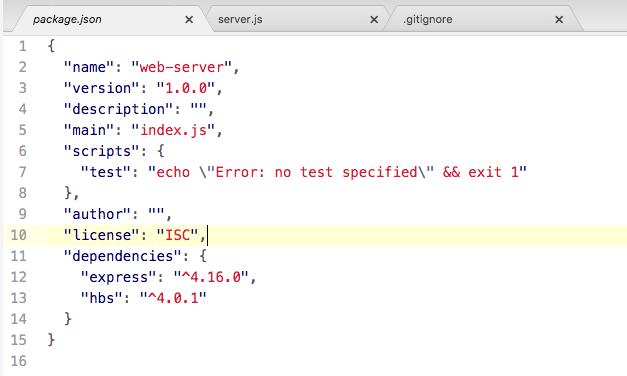
Next up, we have to specify a script in package.json. Inside package.json, you might
have noticed we have a scripts object, and in there we have a test script.
This gets set by default for npm:
We can create all sorts of scripts inside the scripts object that do whatever we like. A script is nothing more than a command that we run from the Terminal, so we could take this command, node server.js, and turn it into a script instead, and that’s exactly what we’re going to do.
Inside the scripts object, we’ll add a new script. The script needs to be called start:

This is a very specific, built-in script and we’ll set it equal to the command that starts our app. In this case, it will be node server.js:
"start": "node server.js"This is necessary because when Heroku tries to start our app, it will not run Node with your file name because it doesn’t know what your file name is called. Instead, it will run the start script and the start script will be responsible for doing the proper thing; in this case, booting up that server file.
Now we can run our app using that start script from the Terminal by using the following command:
npm startWhen I do that, we get a little output related to npm and then we get Server is up on port
3000.

The big difference is that we are now ready for Heroku. We could also run the test script
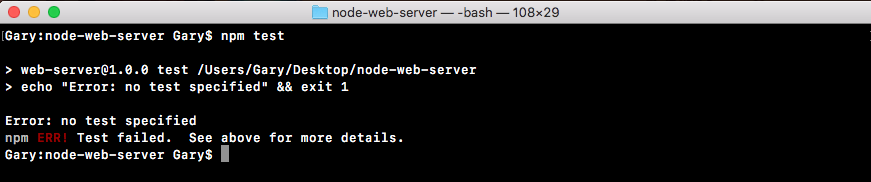
using from the Terminal npm test:
npm testNow, we have no tests specified and that is expected:
Making a commit in Heroku
The next step in the process will be to make the commit and then we can finally start getting it up on the Web. First up, git status. When we run git status, we have something a little new:
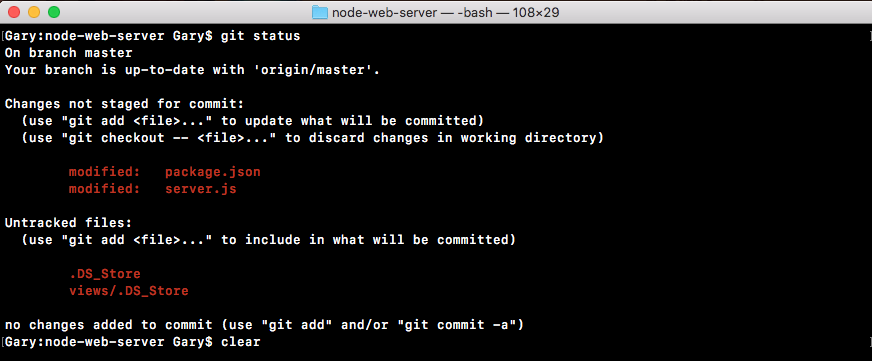
Instead of new files, we have modified files here as shown in the code output here. We have a modified package.json file and we have a modified server.js file. These are not going to be committed if we were to run a git commit just yet; we still have to use git add. What we’ll do is run git add with the dot as the next argument. Dot is going to add every single thing showing up and get status to the next commit.
Now I only recommend using the syntax of everything you have listed in the Changes not staged for commit header. These are the things you actually want to commit, and in our case, that is indeed what we want. If I run git add and then a rerun git status, we can now see what is going to be committed next, under the Changes to be committed header:
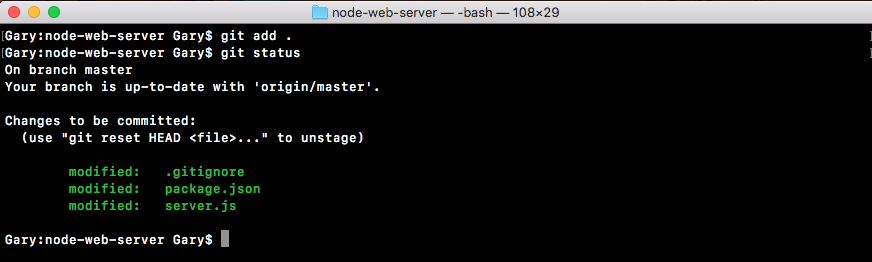
Here we have our package.json file and the server.js file. Now we can go ahead and
make that commit.
I’ll run a git commit command with the m flag so we can specify our message, and a good message for this commit would be something like Setup start script and heroku Port:
git commit -m 'Setup start script and heroku port'Now we can go ahead and run that command, which will make the commit.
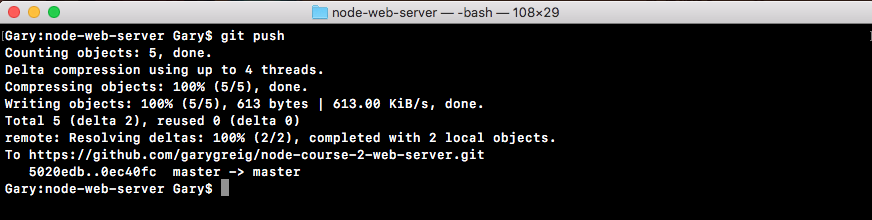
Now we can go ahead and push that up to GitHub using the git push command, and we can leave off the origin remote because the origin is the default remote. I’ll go ahead and run the following command:
git pushThis will push it up to GitHub, and now we are ready to actually create the app, push our code up, and view it over in the browser:
Running the Heroku create command
The next step in the process will be to run a command called heroku create from the Terminal. heroku create needs to get executed from inside your application:
heroku createJust like we run our Git commands, when I run heroku create, a couple things are going to happen:
- First up, it’s going to make a real new application over in the Heroku web app
- It’s also going to add a new remote to your Git repository
Now remember we have an origin remote, which points to our GitHub repository. We’ll have a Heroku remote, which points to our Heroku Git repository. When we deploy to the Heroku Git repository, Heroku is going to see that. It will take the changes and it will deploy them to the Web. When we run Heroku create, all of that happens:
Now we do still have to push up to this URL in order to actually do the deploying process, and we can do that using git push followed by heroku:
git push herokuThe brand new remote was just added because we ran heroku create. Now pushing it this time around will go through the normal process. You’ll then start seeing some logs.
These are logs coming back from Heroku letting you know how your app is deploying. It’s going through the entire process, showing you what happens along the way. This will take about 10 seconds and at the very end we have a success message—Verifying deploy… done:
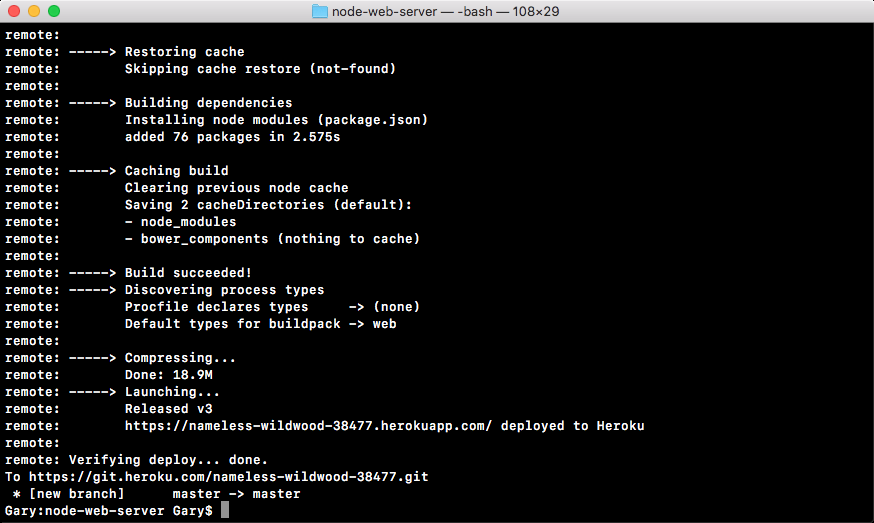
It also verified that the app was deployed successfully and that did indeed pass. From here we actually have a URL we can visit (https://sleepy-retreat-32096.herokuapp.com/). We can take it, copy it, and paste it in the browser. What I’ll do instead is use the following command:
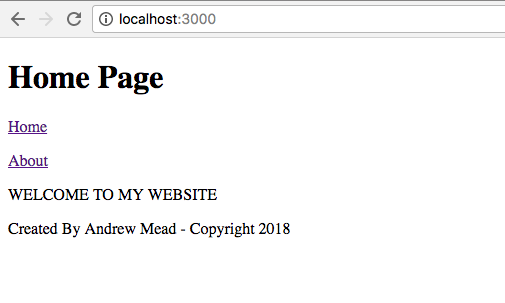
heroku openThe heroku open will open up the Heroku app in the default browser. When I run this, it will switch over to Chrome and we get our application showing up just as expected:
We can switch between pages and everything works just like it did locally. Now we have a URL and this URL was given to us by Heroku. This is the default way Heroku generates app URLs. If you have your own domain registration company, you can go ahead and configure its DNS to point to this application. This will let you use a custom URL for your Heroku app. You’ll have to refer to the specific instructions for your domain registrar in order to do that, but it can indeed be done.
Now that we have this in place, we have successfully deployed our Node applications live to Heroku, and this is just fantastic. In order to do this, all we had to do is make a commit to change our code and push it up to a new Git remote. It could not be easier to deploy our code.
You can also manage your application by going back over to the Heroku dashboard. If you give it a refresh, you should see that brand new URL somewhere on the dashboard. Remember mine was sleepy retreat. Yours is going to be something else. If I click on the sleepy retreat, I can view the app page:
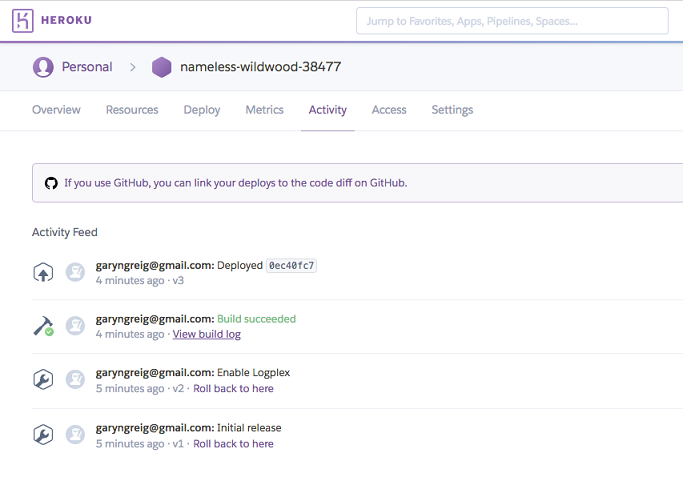
Here we can do a lot of configuration. We can manage Activity and Access so we can collaborate with others. We have metrics, we have Resources, all sorts of really cool stuff. With this in place, we are now done with our basic deploying section.
In the next section, your challenge will be to go through that process again. You’ll add some changes to the Node app. You’ll commit them, deploy them, and view them live in the Web. We’ll get started by creating the local changes. That means I’ll register a new URL right here using app.get.
We’ll create a new page/projects, which is why I have that as the route for my HTTP get handler. Inside the second argument, we can specify our callback function, which will get called with request and response, and like we do for the other routes above, the root route and our about route, we’ll be calling response.render to render our template. Inside the render arguments list, we’ll provide two.
The first one will be the file name. The file doesn’t exist, but we can still go ahead and call render. I’ll call it projects.hbs, then we can specify the options we want to pass to the template. In this case, we’ll set page title, setting it equal to Projects with a capital P. Excellent! Now with this in place, the server file is all done. There are no more changes there.
What I’ll do is go ahead and go to the views directory, creating a new file called projects.hbs. In here, we’ll be able to configure our template. To kick things off, I’m going to copy the template from the about page. Since it’s really similar, I’ll copy it. Close about, paste it into projects, and I’m just going to change this text to project page text would go here. Then we can save the file and make our last change.
The last thing we want to do is update the header. We now have a brand new projects page that lives at /projects. So we’ll want to go ahead and add that to the header links list. Right here, I’ll create a new paragraph tag and then I’ll make an anchor tag. The text for the link will be Projects with a capital P and the href, which is the URL to visit when that link is clicked. We’ll set that equal to /projects, just like we did for about, where we set it equal to /about.
Now that we have this in place, all our changes are done and we are ready to test things out locally. I’ll fire up the app locally using Node with server.js as the file. To start, we’re up on localhost 3000. So over in the browser, I can move to the localhost tab, as opposed to the Heroku app tab, and click on Refresh. Right here we have Home, which goes to home, we have About which goes to about, and we have Projects which does indeed go to /projects, rendering the projects page. Project page text would go here. With this in place we’re now done locally.
We have the changes, we’ve tested them, now it’s time to go ahead and make that commit. That will happen over inside the Terminal. I’ll shut down the server and run Git status. This will show me all the changes to my repository as of the last commit. I have two modified files: the server file and the header file, and I have my brand new projects file. All of this looks great. I want to add all of this to the next commit, so I can use a Git add with the . to do just that.
Now before I actually make the commit, I do like to test that the proper things got added by running Git status. Right here I can see my changes to be committed are showing up in green. Everything looks great. Next up, we’ll run a Git commit to actually make the commit. This is going to save all of the changes into the Git repository. A message for this one would be something like adding a project page.
With a commit made, the next thing you needed to do was push it up to GitHub. This will back our code up and let others collaborate on it. I’ll use Git push to do just that. Remember we can leave off the origin remote as origin is the default remote, so if you leave off a remote it’ll just use that anyway.
With our GitHub repository updated, the last thing to do is deploy to Heroku and we do that by pushing up the Git repository, using Git push, to the Heroku remote. When we do this, we get our long list of logs as the Heroku server goes through the process of installing our npm modules, building the app, and actually deploying it. Once it’s done, we’ll get brought back to the Terminal like we are here, and then we can open up the URL in the\ browser. Now I can copy it from here or run Heroku open. Since I already have a tab open with the URL in place, I’ll simply give it a refresh. Now you might have a little delay as you refresh your app. Sometimes starting up the app right after a new app was deployed can take about 10 to 15 seconds. That will only happen as you first visit it. Other times where you click on the Refresh button, it should reload instantly.
Now we have the projects page and if I visit it, everything looks awesome. The navbar is working great and the projects page is indeed rendering at /projects. With this in place, we are now done. We’ve gone through the process of adding a new feature, testing it locally, making a Git commit, pushing it up to GitHub, and deploying it to Heroku. We now have a workflow for building real-world web applications using Node.js.
This tutorial has been taken from Learning Node.js Development.