In this article by Giancarlo Inductivo, author of the book Play Framework Cookbook Second Edition, we will see deploy a Play 2 web application using CoreOS and Docker. CoreOS is a new, lightweight operating system ideal for modern application stacks. Together with Docker, a software container management system, this forms a formidable deployment environment for Play 2 web applications that boasts of simplified deployments, isolation of processes, ease in scalability, and so on.
(For more resources related to this topic, see here.)
For this recipe, we will utilize the popular cloud IaaS, Digital Ocean. Ensure that you sign up for an account here:
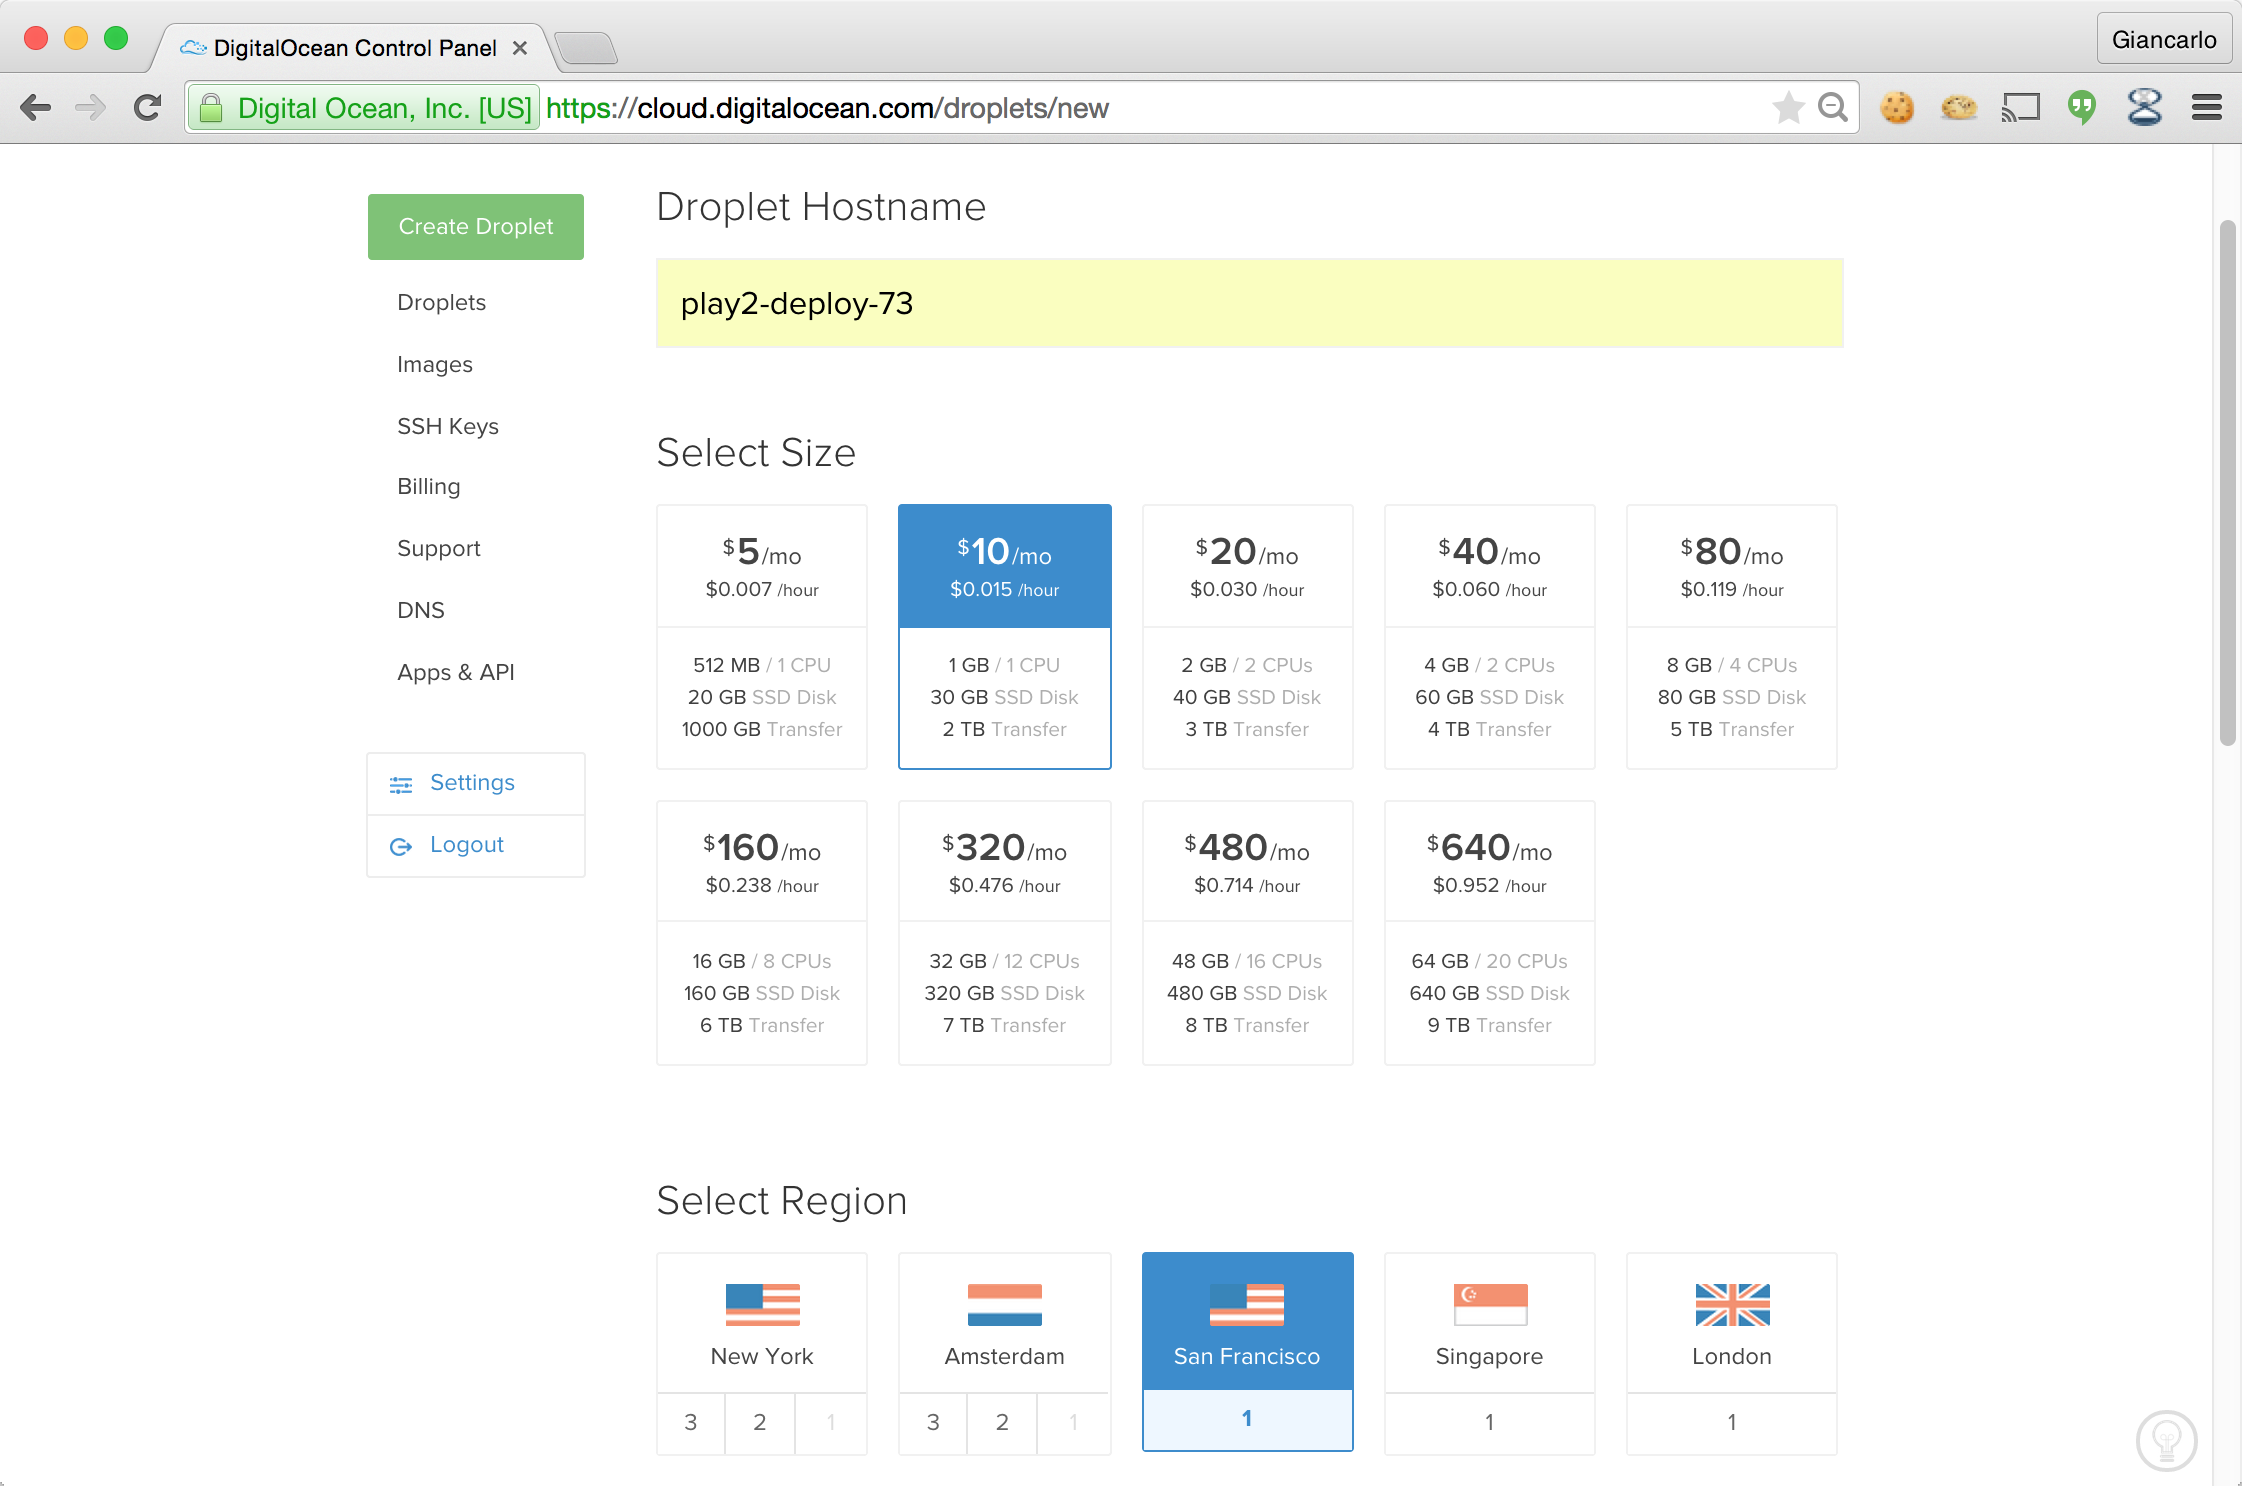
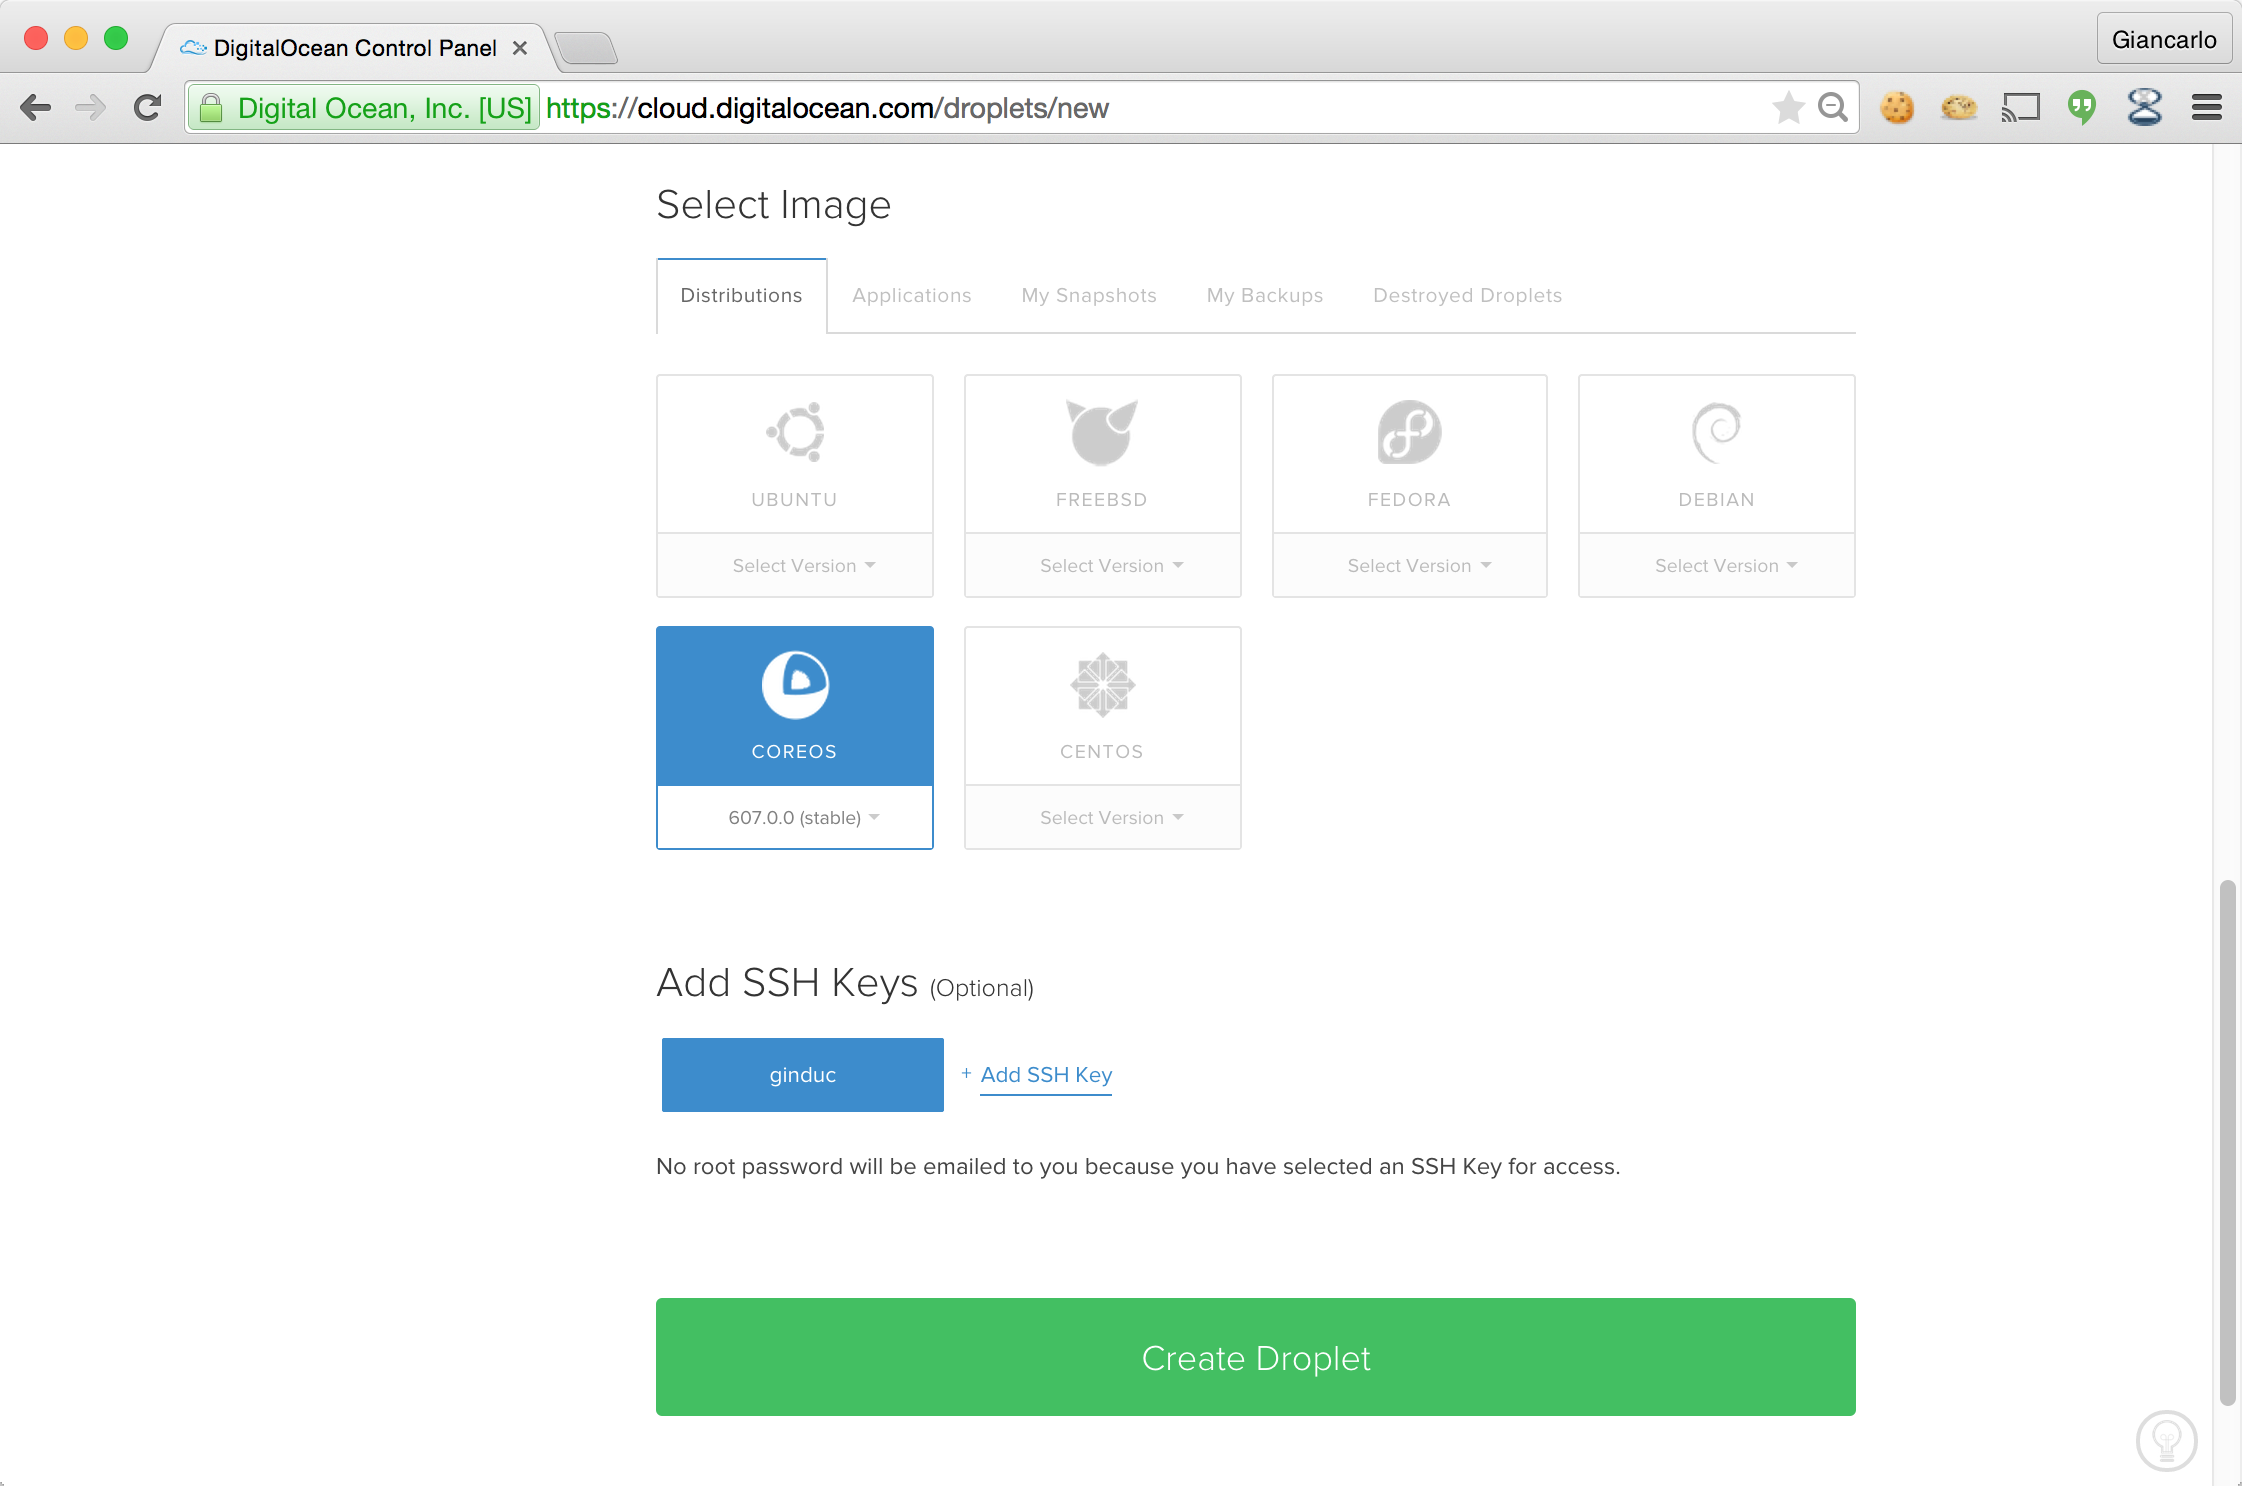
Create a new Digital Ocean droplet using CoreOS as the base operating system. Ensure that you use a droplet with at least 1 GB of RAM for the recipe to work. note that Digital Ocean does not have a free tier and are all paid instances:
Ensure that you select the appropriate droplet region:
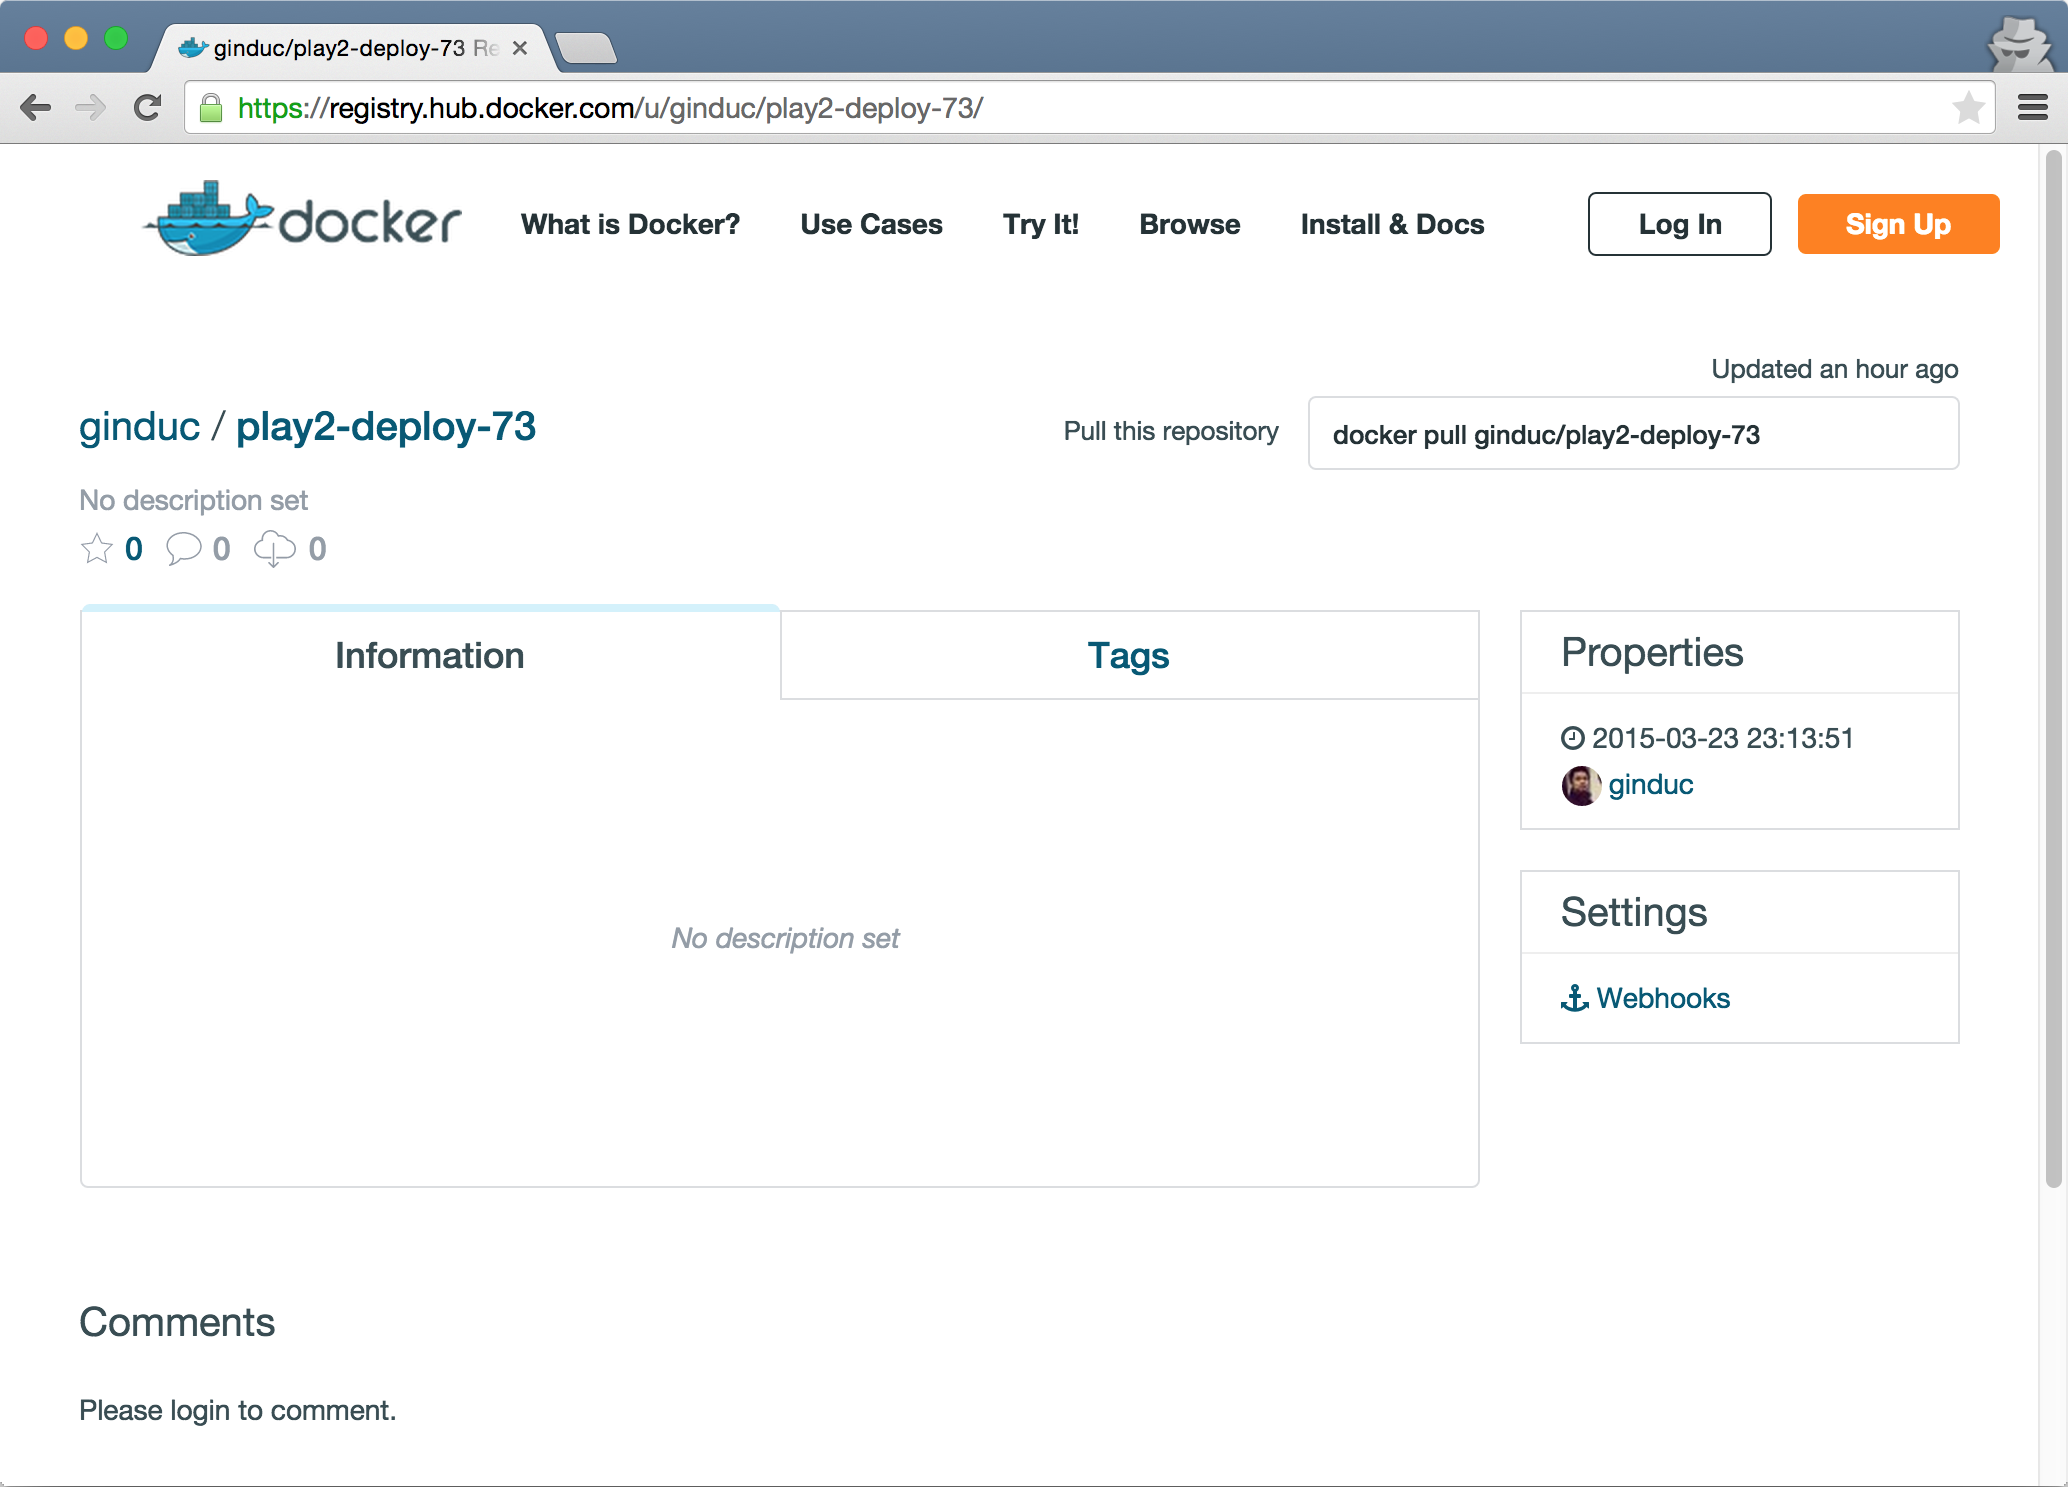
Create a new repository to house the play2-deploy-73 docker image that we will use for deployment:
Create a new Play 2 webapp using the activator template, computer-database-scala, and change into the project root:
activator new play2-deploy-73 computer-database-scala && cd play2-deploy-73
Edit conf/application.conf to enable automatic database evolutions:
applyEvolutions.default=true
Edit build.sbt to specify Docker settings for the web app:
import NativePackagerKeys._
import com.typesafe.sbt.SbtNativePackager._
name := """play2-deploy-73"""
version := "0.0.1-SNAPSHOT"
scalaVersion := "2.11.4"
maintainer := "<YOUR_DOCKERHUB_USERNAME HERE>"
dockerExposedPorts in Docker := Seq(9000)
dockerRepository := Some("YOUR_DOCKERHUB_USERNAME HERE ")
libraryDependencies ++= Seq(
jdbc,
anorm,
"org.webjars" % "jquery" % "2.1.1",
"org.webjars" % "bootstrap" % "3.3.1"
)
lazy val root = (project in file(".")).enablePlugins(PlayScala)
Next, we build the Docker image and publish it to Docker Hub:
$ activator clean docker:stage docker:publish
..
[info] Step 0 : FROM dockerfile/java
[info] ---> 68987d7b6df0
[info] Step 1 : MAINTAINER ginduc
[info] ---> Using cache
[info] ---> 9f856752af9e
[info] Step 2 : EXPOSE 9000
[info] ---> Using cache
[info] ---> 834eb5a7daec
[info] Step 3 : ADD files /
[info] ---> c3c67f0db512
[info] Removing intermediate container 3b8d9c18545e
[info] Step 4 : WORKDIR /opt/docker
[info] ---> Running in 1b150e98f4db
[info] ---> ae6716cd4643
[info] Removing intermediate container 1b150e98f4db
[info] Step 5 : RUN chown -R daemon .
[info] ---> Running in 9299421b321e
[info] ---> 8e15664b6012
[info] Removing intermediate container 9299421b321e
[info] Step 6 : USER daemon
[info] ---> Running in ea44f3cc8e11
[info] ---> 5fd0c8a22cc7
[info] Removing intermediate container ea44f3cc8e11
[info] Step 7 : ENTRYPOINT bin/play2-deploy-73
[info] ---> Running in 7905c6e2d155
[info] ---> 47fded583dd7
[info] Removing intermediate container 7905c6e2d155
[info] Step 8 : CMD
[info] ---> Running in b807e6360631
[info] ---> c3e1999cfbfd
[info] Removing intermediate container b807e6360631
[info] Successfully built c3e1999cfbfd
[info] Built image ginduc/play2-deploy-73:0.0.2-SNAPSHOT
[info] The push refers to a repository [ginduc/play2-deploy-73] (len: 1)
[info] Sending image list
[info] Pushing repository ginduc/play2-deploy-73 (1 tags)
[info] Pushing tag for rev [c3e1999cfbfd] on {https://cdn- registry-1.docker.io/v1/repositories/ginduc/play2-deploy-73/tags/0.0.2-SNAPSHOT}
[info] Published image ginduc/play2-deploy-73:0.0.2-SNAPSHOT
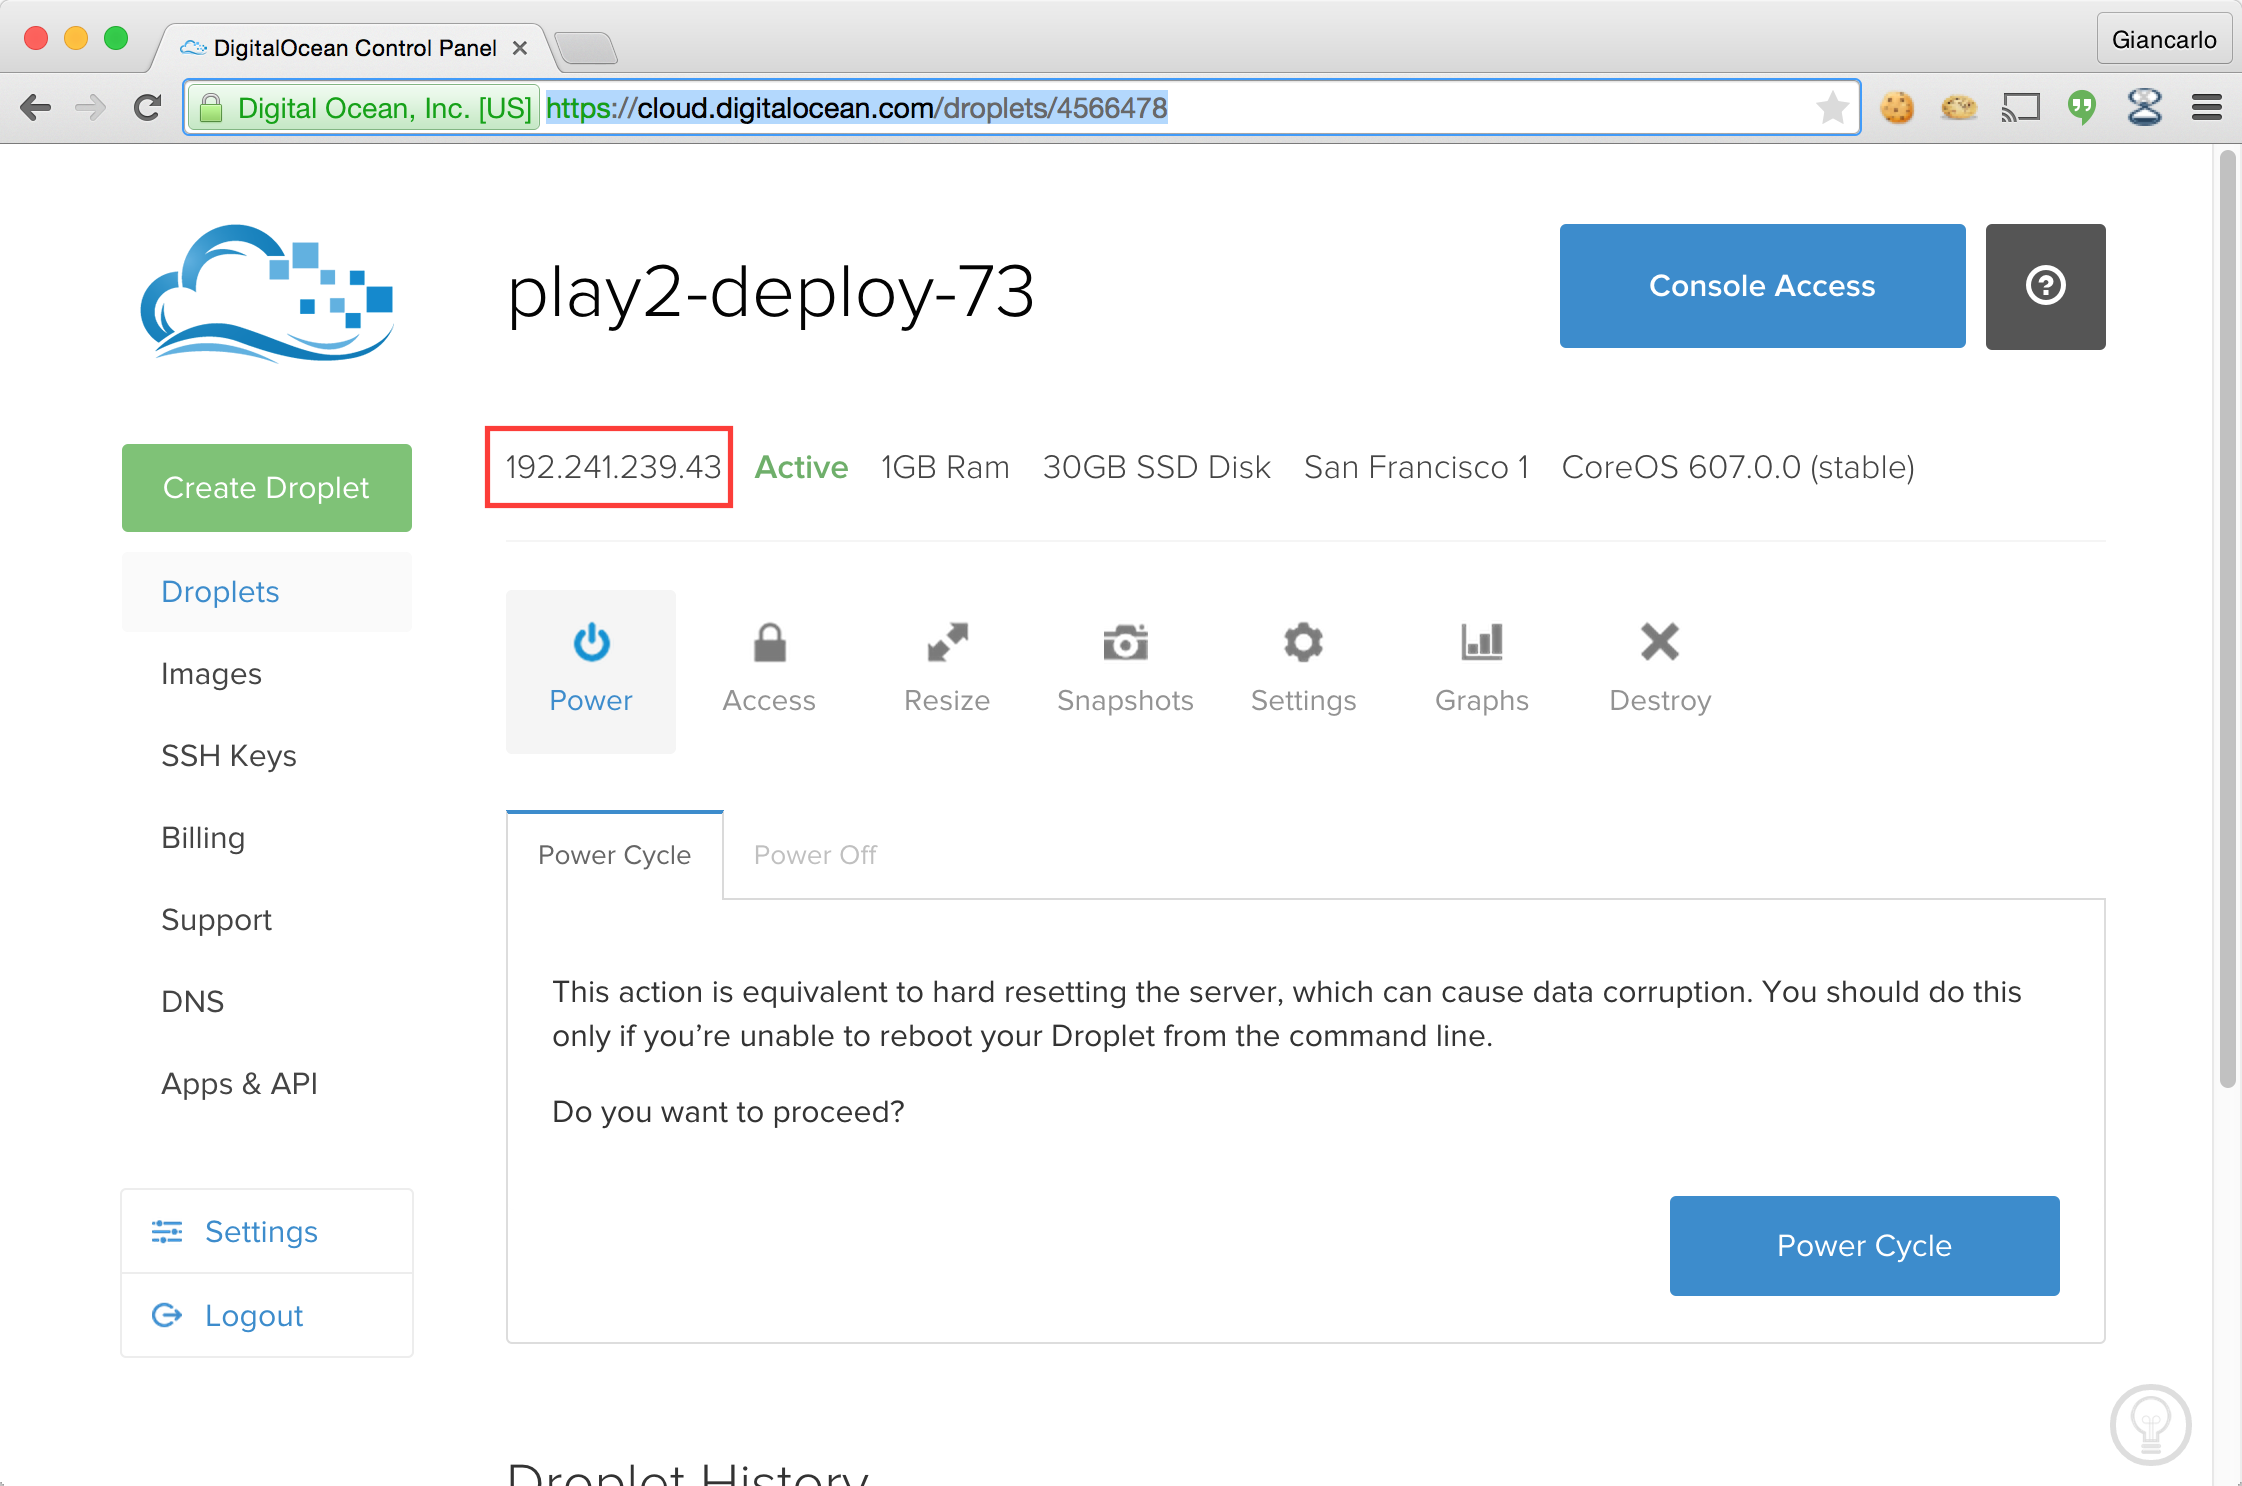
Once the Docker image has been published, log in to the Digital Ocean droplet using SSH to pull the uploaded docker image. You will need to use the core user for your CoreOS Droplet:
We are now ready to run our Docker image using the following docker command:
core@play2-deploy-73 ~ $ docker run -p 9000:9000 <YOUR_DOCKERHUB_USERNAME_HERE>/play2-deploy-73:0.0.1-SNAPSHOT
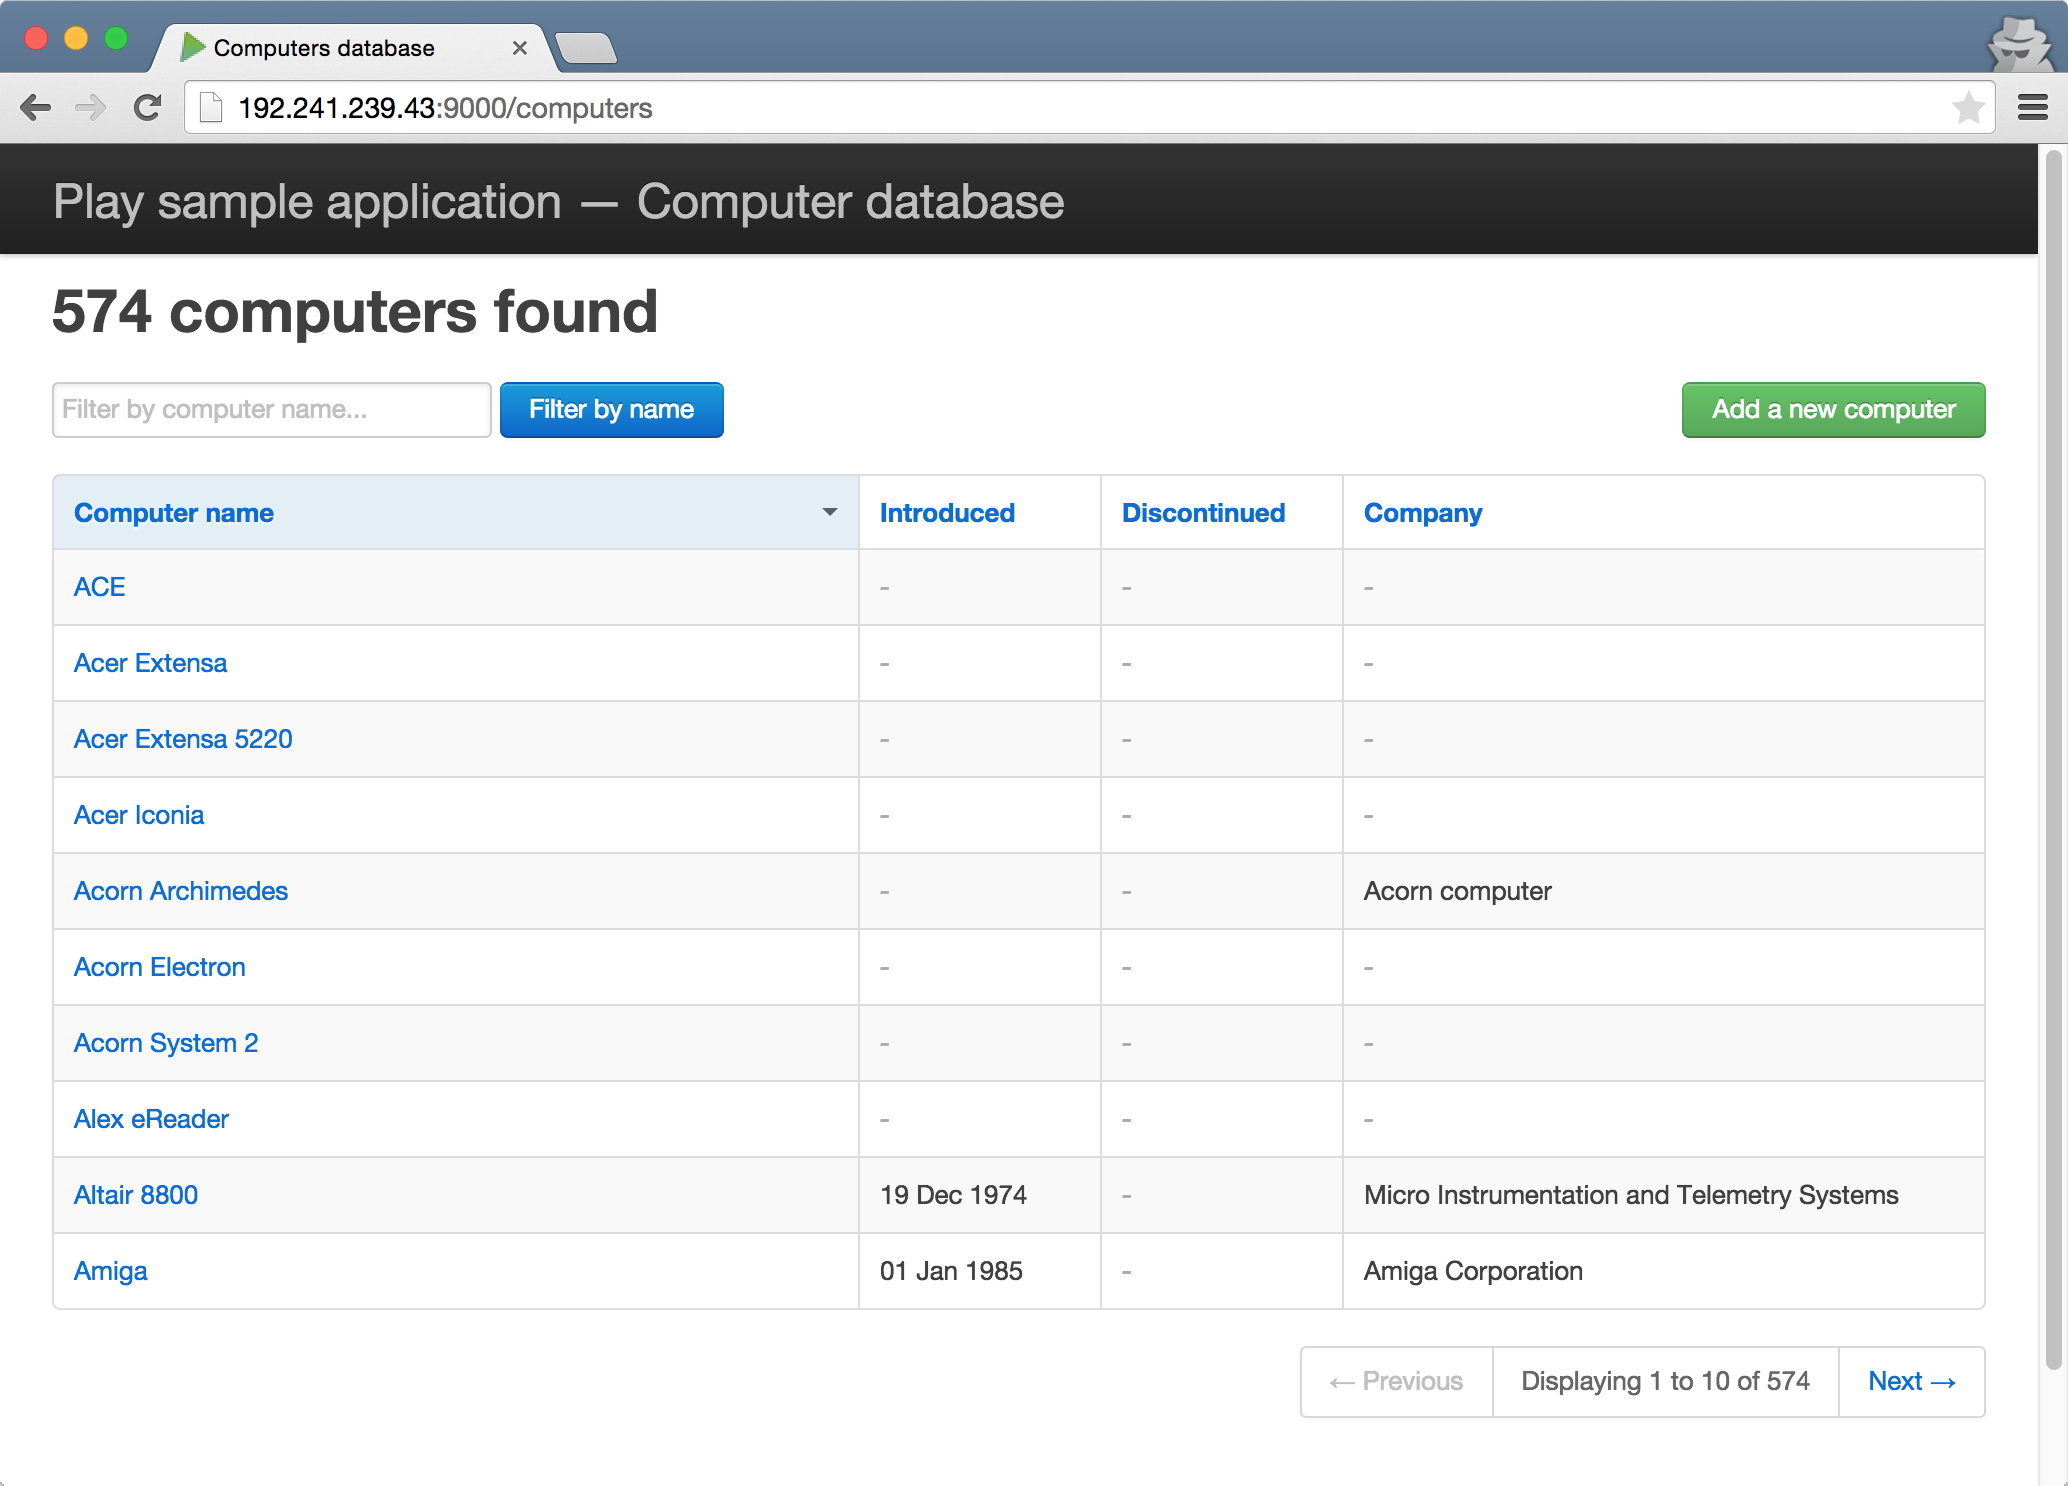
Using a web browser, access the computer-database webapp using the IP address we made note of in an earlier step of this recipe (http://192.241.239.43:9000/computers):
How it works...
In this recipe, we deployed a Play 2 web application by packaging it as a Docker image and then installing and running the same Docker image in a Digital Ocean Droplet. Firstly, we will need an account on DigitalOcean.com and Docker.com.
Unlock access to the largest independent learning library in Tech for FREE!
Get unlimited access to 7500+ expert-authored eBooks and video courses covering every tech area you can think of.
Renews at $19.99/month. Cancel anytime
Once our accounts are ready and verified, we create a CoreOS-based droplet. CoreOS has Docker installed by default, so all we need to install in the droplet is the Play 2 web app Docker image.
The Play 2 web app Docker image is based on the activator template, computer-database-scala, which we named play2-deploy-73.
We make two modifications to the boilerplate code. The first modification in conf/application.conf:
applyEvolutions.default=true
This setting enables database evolutions by default. The other modification is to be made in build.sbt. We import the required packages that contain the Docker-specific settings:
The next settings are to specify the repository maintainer, the exposed Docker ports, and the Docker repository in Docker.com; in this case, supply your own Docker Hub username as the maintainer and Docker repository values:
In this recipe, we deployed a Play 2 web application by packaging it as a Docker image and then installing and running the same Docker image in a Digital Ocean Droplet.

 United States
 Great Britain
 India
India
 Germany
 France
 Canada
 Russia
 Spain
Spain
 Brazil
 Australia
 Singapore
 Canary Islands
 Hungary
 Ukraine
 Luxembourg
 Estonia
 Lithuania
 South Korea
 Turkey
 Switzerland
 Colombia
 Taiwan
 Chile
Chile
 Norway
 Ecuador
 Indonesia
 New Zealand
 Cyprus
 Denmark
 Finland
 Poland
 Malta
Malta
 Czechia
 Austria
 Sweden
 Italy
Italy
 Egypt
Egypt
 Belgium
 Portugal
 Slovenia
 Ireland
 Romania
 Greece
 Argentina
 Netherlands
 Bulgaria
 Latvia
 South Africa
 Malaysia
 Japan
Japan
 Slovakia
 Philippines
 Mexico
 Thailand