In this article by Kirill Shirinkin, the author of the book Getting Started with Terraform, we will know how we can proceed to learning how exactly Terraform works and how to use it. In this we will learn a bit about Terraform history, install it on our workstation, prepare working environment and run the tool for the first time. After having everything ready for work we will figure out what is a Terraform provider and then we will take a quick tour of what AWS and EC2 is. With this knowledge in place, we will first create an EC2 instance by hand (just to understand the pain that Terraform will eliminate) and then we will do exactly the same with the help of Terraform template. That will allow us to study the nature of Terraform state file.
(For more resources related to this topic, see here.)
History of Terraform
Terraform was first released in July 2014 by a company called Hashicorp. That is the same company that brought us tools like Vagrant, Packer, Vault and some others. Being the fifth tools in Hashicorp stack, it was focused on describing the complete infrastructure as code.
… From physical servers to containers to SaaS products, Terraform is able to create and compose all the components necessary to run any service or application.
With Terraform, you describe your complete infrastructure as code, even as it spans multiple service providers. Your servers may come from AWS, your DNS may come from CloudFlare, and your database may come from Heroku. Terraform will build all these resources across all these providers in parallel.
Terraform codifies knowledge about your infrastructure unlike any other tool before, and provides the workflow and tooling for safely changing and updating infrastructure. - https://www.hashicorp.com/blog/terraform.html
Terraform is an open source tool released under Mozilla public license, version 2.0. The code is stored (as all other tools by Hashicorp) on GitHub and anyone can contribute to its development.
As part of its Atlas product Hashicorp also offers hosted Terraform Enterprise services, which solves some of the problems, which open source version doesn't. This includes central facility to run Terraform from, access control policies, remote state file storage, notifications, built-in GitHub integration and more.
Despite support of over 40 various providers, the main focus of Hashicorp developers is on Amazon Web Services, Google Cloud and Microsoft Azure. All other providers are developed and supported by community, meaning that if you are not using the main three than you might have to contribute to the codebase yourself.
The code of Terraform is written in Go programming language and is released as a single binary for all major operating systems. Windows, Mac OS X, FreeBSD, OpenBSD, Salaris and any Linux are supported in both 32-bit and 64-bit versions.
Terraform is still a relatively new piece of tech, being just a bit over two years old. It changes a lot over time and gets new features with every release.
After learning these facts, let's finally proceed to installing Terraform and setting up our workplace.
Preparing work environment
In this we will focus on using Terraform in a Linux environment. The general usage of the tool should be the same on all platforms, though some advanced topics and practices.
As mentioned in previous section, Terraform is distributed as a single binary, packaged inside Zip archive. Unfortunately, Hashicorp does not provide native packages for operating systems. That means the first step is too install unzip. Depending on your package manager it could be done by running sudo yum install unzip or sudo apt-get install unzip or might be even already installed. In any case, after making sure that you can un-archive Zip files, proceed to downloading Terraform from official website: https://www.terraform.io/downloads.html.
Unzip it to any convenient folder. Make sure that this folder is available in your PATH environment variable. Full installation commands sequence could look like this:
That will extract Terraform binary to /usr/local/bin, which is already available in PATH on Linux systems.
Finally, let's verify our installation:
$> terraform -v
Terraform v0.7.2
We have a working Terraform installation now. We are ready to write our first template. First, create an empty directory and name it packt-terraform and enter it:
$> mkdir packt-terraform && cd packt-terraform
When you run terraform commands it looks for files with .tf extension in a directory you run it from. Be careful: Terraform will load all files with .tf extension if you run it without arguments.
Let's create our very first, not very useful yet template:
$> touch template.tf
To apply template you need to run terraform apply command. What does this applying mean? In Terraform, when you run apply, it will read your templates and it will try to create an infrastructure exactly as it's defined in your templates.
After each run is finished you get a number of resources that you've added, changed and destroyed. In this case, it did nothing, as we just have an empty file instead of a real template.
To make Terraform do something useful we first need to configure our provider, and even before that we need to find out what is provider.
What are the many Terraform Providers
Provider is something you use to configure access to the service you create resources for. For example, if you want to create AWS resources, you need to configure AWS provider, which would specify credentials to access APIs of many AWS services.
At the moment of writing Terraform has 43 providers. This impressive list includes not only major cloud providers like AWS and Google Cloud, but also a smaller services, like Fastly, a Content Delivery Network (CDN) provider.
Not every provider requires explicit configuration. Some of them do not even deal with external services. Instead, they provide resources for local entities. For example, you could use TLS provider to generate keys and certificates.
But still, most of providers are dealing with one or another external API and requires configuration. In this we will be using AWS provider. Before we configure it, let's have a short introduction to AWS. If you are already familiar to this platform, feel free to skip next session and proceed directly to Configuring AWS provider.
Short introduction to AWS
Amazon Web Services is a cloud offering from Amazon, an online retail giant. Back in early 2000s, Amazon invested money into an automated platform, which would provide services for things like network, storage and computation to developers. Developers then don't need to manage underlying infrastructure. Instead, they would use provided services via APIs to provision virtual machines, storage buckets and so on.
The platform, initially built to power Amazon itself, was open for public usage in 2006. The first two services: Simple Storage Service (S3) and Elastic Compute Cloud (EC2) were released and anyone could pay for using them.
Fast forward 10 years. AWS has now over 70 different services, covering practically everything modern infrastructure would need. It has services for virtual networking, queue processing, transactional emails, storage, DNS, relational databases and many many others. Businesses like Netflix completely moved away from in-house hardware and instead are building new type of infrastructure on top of cloud resources, getting significant benefits in terms of flexibility and cost-savings and focusing on working on a product, rather than scaling and maturing own data center.
With such an impressive list of services, it becomes increasingly hard to juggle all involved components via AWS Management Console: in-browser interface for working with AWS. Of course, AWS provides APIs for every service it has, but ones again: the number and intersection of them can be very high, and it only grows as you keep relying on the cloud. This led exactly to the problems you end either with intense ClickOps practices or you script everything you can.
These problems make AWS perfect candidate for exploring Terraform, as we can fully understand the pain caused by direct usage of its services. Of course, AWS is not free to use, but luckily for a long time now they provide Free Tier. Free Tier allows you to use lots of (but not all) services for free with certain limitations. For example, you can use single EC2 instance for 750 hours a month for 12 months for free, as long as it has t2.micro type.
EC2 instances are, simply, virtual servers. You pay for them per-hour of usage, and you can choose from a pre-defined list of types. Types are just different combinations of characteristics. Some are optimized for high memory usage, others were created for processor-heavy tasks.
Let's create a brand new AWS account for our Terraform learning goals, as following:
Open https://aws.amazon.com/free/ and click Create a free account.
Follow on-screen instructions to complete registration.
Please notice, that in order to use Free Tier you have to provide your credit card details. But you won't be charged unless you exceed your free usage limit.
Using Elastic Compute Cloud
Creating an instance through management console
Just to get a feel of AWS Management Console and to fully understand how much Terraform simplifies working with AWS, let's create a single EC2 instance manually.
Login to the console and choose EC2 from the list of services:
Unlock access to the largest independent learning library in Tech for FREE!
Get unlimited access to 7500+ expert-authored eBooks and video courses covering every tech area you can think of.
Renews at $19.99/month. Cancel anytime
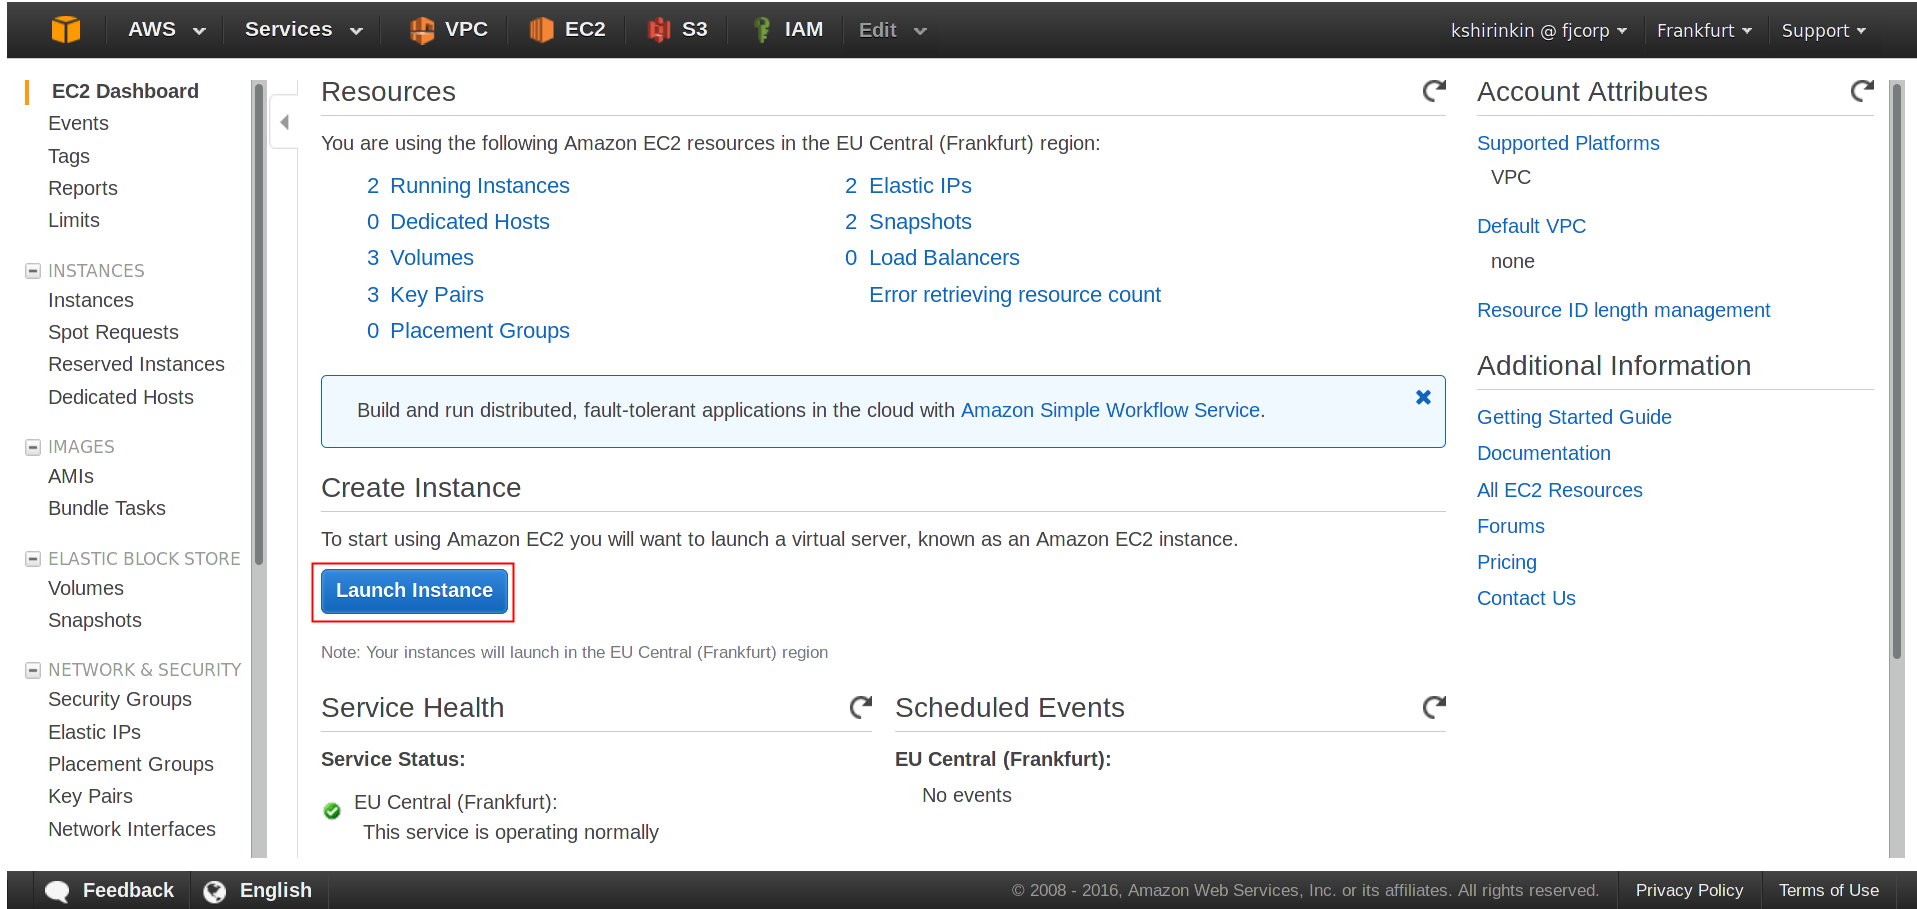
Click on Launch Instance:
Choose AWS Marketplace from left sidebar, type Centos in search box and click Select button for first search result:
On each of the next pages just click Next till you reach the end of the process.
As you see, it's not really a fast process to create a single virtual server on EC2. You have to choose AMI, instance type, configure network details and permissions, select or generate an SSH-key, properly tag it, pick right security groups and add storage. Imagine, if your day would consist only of manual tasks like this. What a boring job would it be?
AMI is a source image, an instance is created from. You can create your own AMIs, use the ones provided by AWS or select one from community at AWS Marketplace.
Security Group (SG) is like a Firewall. You can attach multiple SGs to an instance and define inbound and outbound rules. It allows you to configure access not only for IP ranges, but also for other security groups.
And, of course, we looked at only a single service, EC2. And as you know already, there are over 70 of them, each with its own interface to click through. Let's take a look now how to achieve the same with AWS CLI.
Creating an instance with AWS CLI
AWS provides a CLI to interact with its APIs. It's written in Python. You can follow installation instructions from the official guide to get started: https://aws.amazon.com/cli/
Perhaps, the most important part of setting up AWS CLI is to configure access keys. We will also need these keys for Terraform. To get them, click on your username in top right part of AWS Management Console, click on Security Credentials and then download your keys from Access Keys (Access Key ID and Secret Access Key) menu.
Warning: using root account access keys is considered a bad practice when working with AWS. You should use IAM users and per-user keys. For the needs of this root keys are okay, but as soon as you move production systems to AWS, consider using IAM and reduce root account usage to minimum.
Once AWS CLI is installed, run aws configure command. It will prompt you for your access keys and region. Once you are finished, you can use it to talk to AWS API. Creating an EC2 instance will look like this:
While already much better, than doing it from Management Console, it's still a long command to execute, and it covers only creation. For tracking, if instance is still there, updating it and destroying you need to construct similar long from command line calls. Let's finally do it properly: with Terraform.
Configuring AWS Provider
Before using Terraform to create an instance we need to configure AWS provider. This is the first piece of code we will write in our template. Templates are written in special language called Hashicorp Configuration Language (HCL) https://github.com/hashicorp/hcl. You can also write your templates in JSON, but it is recommended only if template itself is generated by a machine.
There are four different ways to configure credentials:
Static credentials
With this method, you just hard-code your access keys write inside your template. It looks like this:
Though the simplest one, it is also a least flexible and secured one. You don't want to give your credentials just like this to everyone in the team. Rather, each team member should use his or her own keys.
Environment variables
If not specified in the template, Terraform will try to read configuration from environment variables AWS_ACCESS_KEY_ID and AWS_SECRET_ACCESS_KEY. You can also set your region with AWS_DEFAULT_REGION variable. In this case, complete configuration goes down to:
provider "aws" {}
Credentials file
If Terraform won't find keys in the template or environment variables, it will try to fetch them from credentials file, which is typically stored in ~/.aws/credentials. If you previously installed and configured AWS CLI, then you already have credentials file generated for you. If you did not do it, then you can add it yourself, with content like this:
You should always avoid setting credentials directly in the template. It's up to you if you use environment variables or credentials file. Whichever method you picked, let's add following configuration to template.tf:
provider "aws" {
region = "eu-central-1"
}
Running terraform apply still won't do anything, because we did not specify any resources we want our infrastructure to have. Let's do it.
Creating EC2 instance with Terraform
Resources are components of your infrastructure. It can be something as complex as complete virtual server, or something as simple as DNS record. Each resource belongs to a provider and type of the resource is suffixed with provider name. Configuration of a resource takes this form then:
There are three types of things you can configure inside resource block: resource-specific parameters, meta-parameters and provisioners. For now, let's focus on resource-specific parameters. They are unique to each resource type.
We will create an EC2 instance, which is created with aws_instance resource. To create an instance we need to set at least two parameters: ami and instance_type. Some parameters are required, while others are optional, ami and instance_type being the required ones.
You can always check the complete list of available parameters in the docs, on the page dedicated to the particular resource. For example, to get the list and description of all aws_instance resource parameters check out https://www.terraform.io/docs/providers/aws/r/instance.html.
We'll be using official Centos 7 AMI. As we configured AWS region to eu-central-1, then need AMI with id ami-9bf712f4. We will use t2.micro instance type, as it's the cheapest one and available as part of Free Tier offering.
Update the template to look like this:
# Provider configuration
provider "aws" {
region = "eu-central-1"
}
# Resource configuration
resource "aws_instance" "hello-instance" {
ami = "ami-378f925b"
instance_type = "t2.micro"
tags {
Name = "hello-instance"
}
}
You might also need to specify subnet_id parameter, in case you don't have a default VPC. For this you will need to create a VPC and a subnet. You can either do it now yourself.
As you noticed, HCL allows commenting your code using hash sign in front of the text you want to be commented.
There is another thing to look at: tags parameter. Terraform is not limited to simple string values. You can also have numbers, boolean values (true, false), lists (["elem1", "elem2", "elem3"])and maps. tags parameter is a map of tags for the instance.
Let's apply this template!
$> terraform apply
aws_instance.hello-instance: Creating...
ami: "" => "ami-378f925b"
< ……………………. >
instance_type: "" => "t2.micro"
key_name: "" => "<computed>"
< ……………………. >
tags.%: "" => "1"
tags.Name: "" => "hello-instance"
tenancy: "" => "<computed>"
vpc_security_group_ids.#: "" => "<computed>"
aws_instance.hello-instance: Still creating... (10s elapsed)
aws_instance.hello-instance: Still creating... (20s elapsed)
aws_instance.hello-instance: Still creating... (30s elapsed)
aws_instance.hello-instance: Creation complete
Apply complete! Resources: 1 added, 0 changed, 0 destroyed.
The state of your infrastructure has been saved to the path
below. This state is required to modify and destroy your
infrastructure, so keep it safe. To inspect the complete state
use the terraform show` command.
State path: terraform.tfstate
Wow, that's a lot of output for a simple command creating a single instance. Some parts of it were replaced with arrows-wrapped dots, so don't be surprised when you will see even more parameters values when you actually run the command. Before digging into the output, let's first verify that the instance was really created, in AWS Management Console.
With just 12 lines of code and single Terraform command invocation we got our EC2 instance running. So far the result we got is not that different from using AWS CLI though: we only created a resource. What is of more interest is how do we update and destroy this instance using the same template. And to understand how Terraform does it we need to learn what the state file is.
Summary
In this article we learned that how to update our server using the same template and, finally, destroy it. We will already have a solid knowledge of Terraform basics and we will be ready to template your existing infrastructure.

 United States
 Great Britain
 India
India
 Germany
 France
 Canada
 Russia
 Spain
Spain
 Brazil
 Australia
 Singapore
 Canary Islands
 Hungary
 Ukraine
 Luxembourg
 Estonia
 Lithuania
 South Korea
 Turkey
 Switzerland
 Colombia
 Taiwan
 Chile
Chile
 Norway
 Ecuador
 Indonesia
 New Zealand
 Cyprus
 Denmark
 Finland
 Poland
 Malta
Malta
 Czechia
 Austria
 Sweden
 Italy
Italy
 Egypt
Egypt
 Belgium
 Portugal
 Slovenia
 Ireland
 Romania
 Greece
 Argentina
 Netherlands
 Bulgaria
 Latvia
 South Africa
 Malaysia
 Japan
Japan
 Slovakia
 Philippines
 Mexico
 Thailand