


I previously wrote about app containerization using Docker, and if you’re unfamiliar with that concept, please read that post first. In this post, I’m going to pick up where I left off, with a fully containerized frontend ember application showcasing my music that I now want to share with the world.
Speaking of that app in part 1—provided you don’t have a firewall blocking port 80 inbound—if you’ve come straight over from the previous post, you’re serving a web app to everyone on your internal network right now. You should, of course, map it to only allow 127.0.0.1 on port 80 instead of 0.0.0.0 (everyone).
In this post I am going to focus on my mainstream cloud platform of choice, Google Cloud Platform (GCP). It will only cost ~$5/month, with room to house more similarly simple apps—MVPs, proofs of concept and the like. Go ahead and sign up for the free GCP trial, and create a project. Templates are useful for rapid scaling and minimizing the learning curve; but for the purpose of learning, how this actually works, and for minimizing financial impact, they’re next to useless.
First, you need to get the container into the private registry that comes with every GCP project. Okay, let’s get started. You need to tag the image so that Google Cloud Platform knows where to put it. Then you’re going to use the gcloud command-line tool to push it to that cloud registry.
$ docker tag docker-demo us.gcr.io/[YOUR PROJECT ID HERE]/docker-demo
$ gcloud docker push us.gcr.io/[YOUR PROJECT ID HERE]/docker-demo
Congratulations, you have your first container in the cloud! Now let’s deploy it. We’re going to use Google’s Compute Engine, not their Container Engine (besides the registry, but no cluster templates for us). Refer to this article, and if you’re using your own app, you’ll have to write up a container manifest. If you’re using the docker-demo app from the first article, make sure to run a git pull to get an up-to-date version of the repo and notice that a containers.yaml manifest file has been added to the root of the application.
containers.yaml
apiVersion: v1
kind: Pod
metadata:
    name: docker-demo
spec:
    containers:
      - name: docker-demo
        image: us.gcr.io/[YOUR PROJECT ID HERE]/docker-demo
        imagePullPolicy: Always
        ports:
          - containerPort: 80
            hostPort: 80
That file instructs the container-vm (purpose-built for running containers)-based VM we’re about to create to pull the image and run it. Now let’s run the gcloud command to create the VM in the cloud that will host the image, telling it to use the manifest.
$ gcloud config set project [YOUR PROJECT ID HERE]
$ gcloud compute instances create docker-demo
--image container-vm
--metadata-from-file google-container-manifest=containers.yaml
--zone us-central1-a
--machine-type f1-micro
Launch the GCP Developer Console and set the firewall on your shiny new VM to ‘Allow HTTP traffic’. Or run the following command.
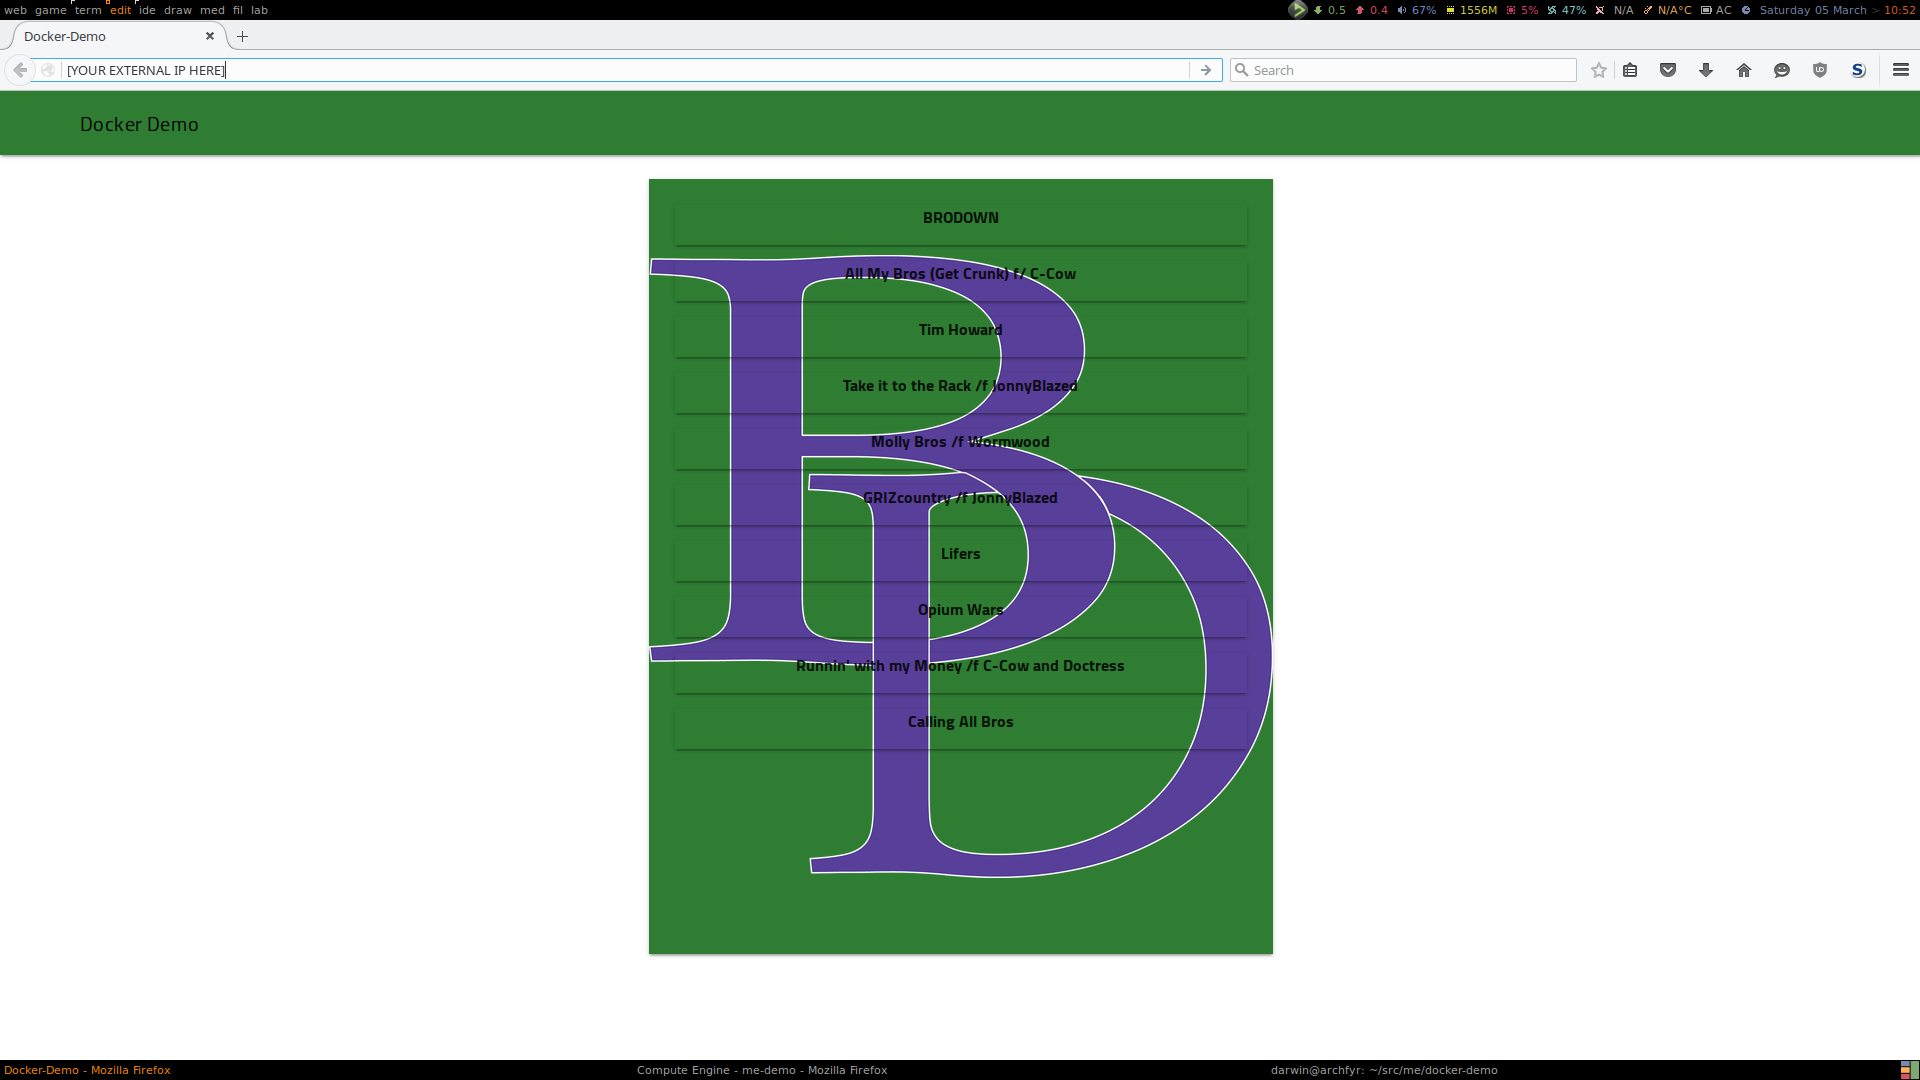
$ gcloud compute instances add-tags docker-demo --tags http-server --zone us-central1-aEither way, the previous gcloud compute instances create command should’ve given you the External (Public) IP of the VM, and navigating there from your browser will show the app.
Congrats, you’ve now deployed a fully containerized web application to the cloud! If you’re leaving this up, remember to reserve a static IP for your VM. I recommend consulting some of the documentation I’ve referenced here to monitor VM and container health as well.
About the Author
Darwin Corn is a systems analyst for the Consumer Direct Care Network. He is a mid-level professional with diverse experience in the information technology world.