In this article by Marco Schwartz, author of the book Intel Galileo Networking Cookbook, we will cover the recipe, Reading pins via a web server.
(For more resources related to this topic, see here.)
Reading pins via a web server
We are now going to see how to use a web server for useful things. For example, we will see here how to use a web server to read the pins of the Galileo board, and then how to display these readings on a web page.
Getting ready
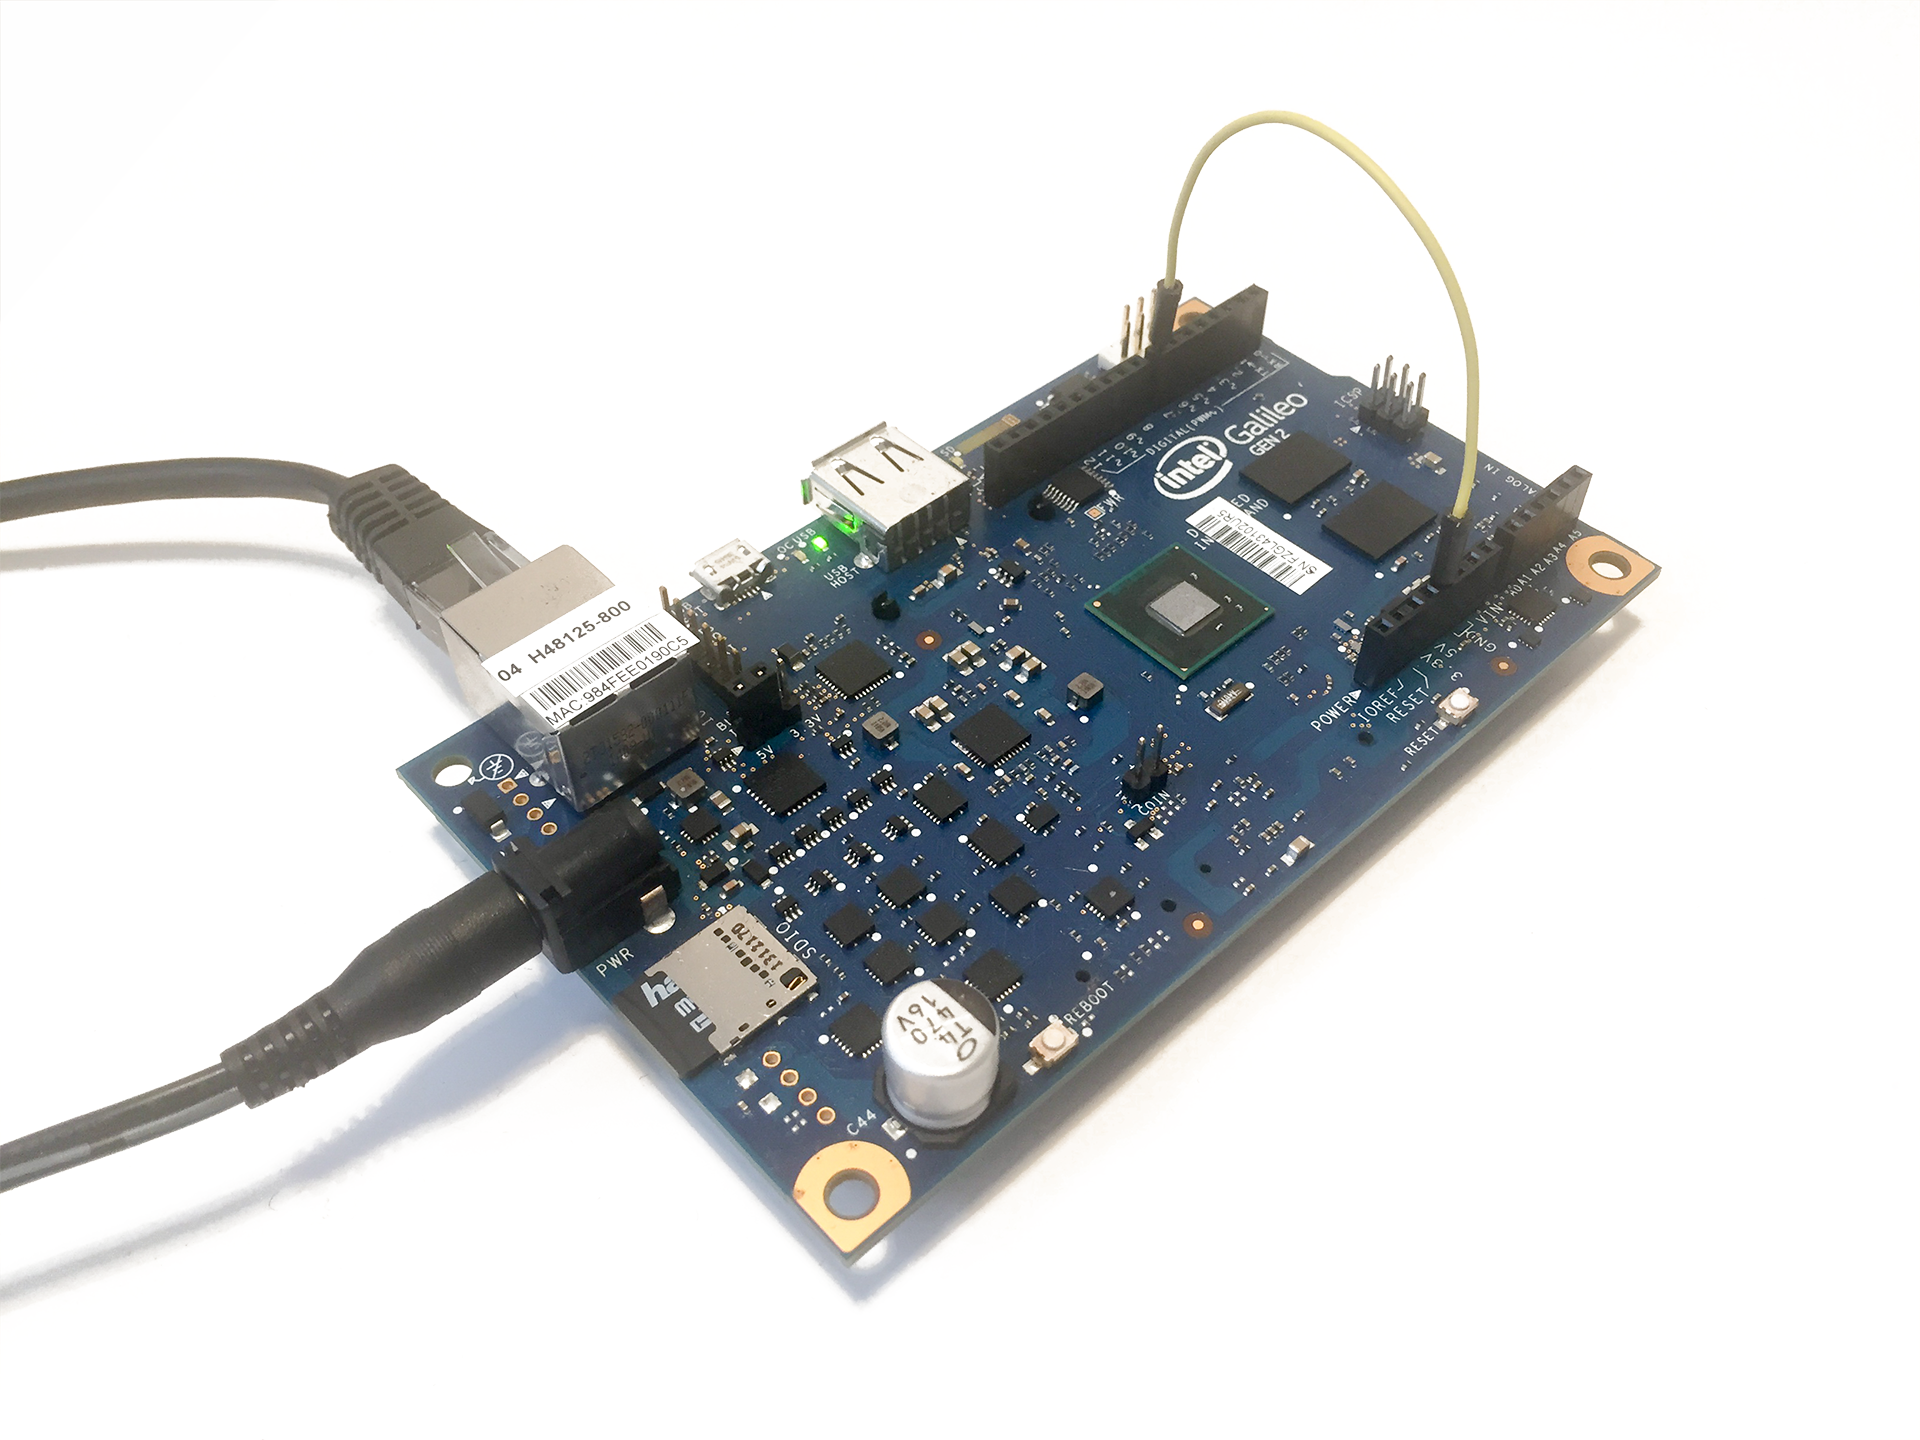
For this chapter, you won't need to do much with your Galileo board, as we just want to see if we can read the state of a pin from a web server. I simply connected pin number 7 of the Galileo board to the VCC pin, as shown in this picture:
How to do it...
We are now going to see how to read the state from pin number 7, and display this state on a web page. This is the complete code:
// Required modules
var m = require("mraa");
var util = require('util');
var express = require('express');
var app = express();
// Set input on pin 7
var myDigitalPin = new m.Gpio(7);
myDigitalPin.dir(m.DIR_IN);
// Routes
app.get('/read', function (req, res) {
var myDigitalValue = myDigitalPin.read();
res.send("Digital pin 7 value is: " + myDigitalValue);
});
// Start server
var server = app.listen(3000, function () {
console.log("Express app started!");
});
You can now simply copy this code and paste it inside a blank Node.js project. Also make sure that the package.json file includes the Express module.
Then, as usual, upload, build, and run the application using Intel XDK. You should see the confirmation message inside the XDK console.
Then, use a browser to access your board on port 3000, at the /read route. You should see the following message, which is the reading from pin number 7:
Unlock access to the largest independent learning library in Tech for FREE!
Get unlimited access to 7500+ expert-authored eBooks and video courses covering every tech area you can think of.
Renews at $19.99/month. Cancel anytime
If you can see this, congratulations, you can now read the state of the pins on your board, and display this on your web server!
How it works...
In this recipe, we combined two things that we saw in previous recipes. We again used the mraa module to read from pins, here from pin number 7 of the board. You can find out more about the mraa module at:
https://github.com/intel-iot-devkit/mraa
Then, we combined this with a web server using the Express framework, and we defined a new route called /read that reads the state of the pin, and sends it back so that it can be displayed inside a web browser, with this code:
app.get('/read', function (req, res) {
var myDigitalValue = myDigitalPin.read();
res.send("Digital pin 7 value is: " + myDigitalValue);
});
See also
You can now check the next recipe to see how to control a pin from the Node.js server running on the Galileo board.
Summary
In this recipe, we saw how to read the state from pin number 7, and display this state on a web page. If you liked this article please buy the book Intel Galileo Networking Cookbook, Packt Publishing, to learn over 45 Galileo recipes.

 United States
 Great Britain
 India
India
 Germany
 France
 Canada
 Russia
 Spain
Spain
 Brazil
 Australia
 Singapore
 Canary Islands
 Hungary
 Ukraine
 Luxembourg
 Estonia
 Lithuania
 South Korea
 Turkey
 Switzerland
 Colombia
 Taiwan
 Chile
Chile
 Norway
 Ecuador
 Indonesia
 New Zealand
 Cyprus
 Denmark
 Finland
 Poland
 Malta
Malta
 Czechia
 Austria
 Sweden
 Italy
Italy
 Egypt
Egypt
 Belgium
 Portugal
 Slovenia
 Ireland
 Romania
 Greece
 Argentina
 Netherlands
 Bulgaria
 Latvia
 South Africa
 Malaysia
 Japan
Japan
 Slovakia
 Philippines
 Mexico
 Thailand