Android application with Kotlin is an area which shines. Before getting started on this journey, we must set up our systems for the task at hand. A major necessity for developing Android applications is a suitable IDE – it is not a requirement but it makes the development process easier. Many IDE choices exist for Android developers. The most popular are:
- Android Studio
- Eclipse
- IntelliJ IDE
Android Studio is by far the most powerful of the IDEs available with respect to Android development. As a consequence, we will be utilizing this IDE in all Android-related chapters in this book.
Setting up Android Studio

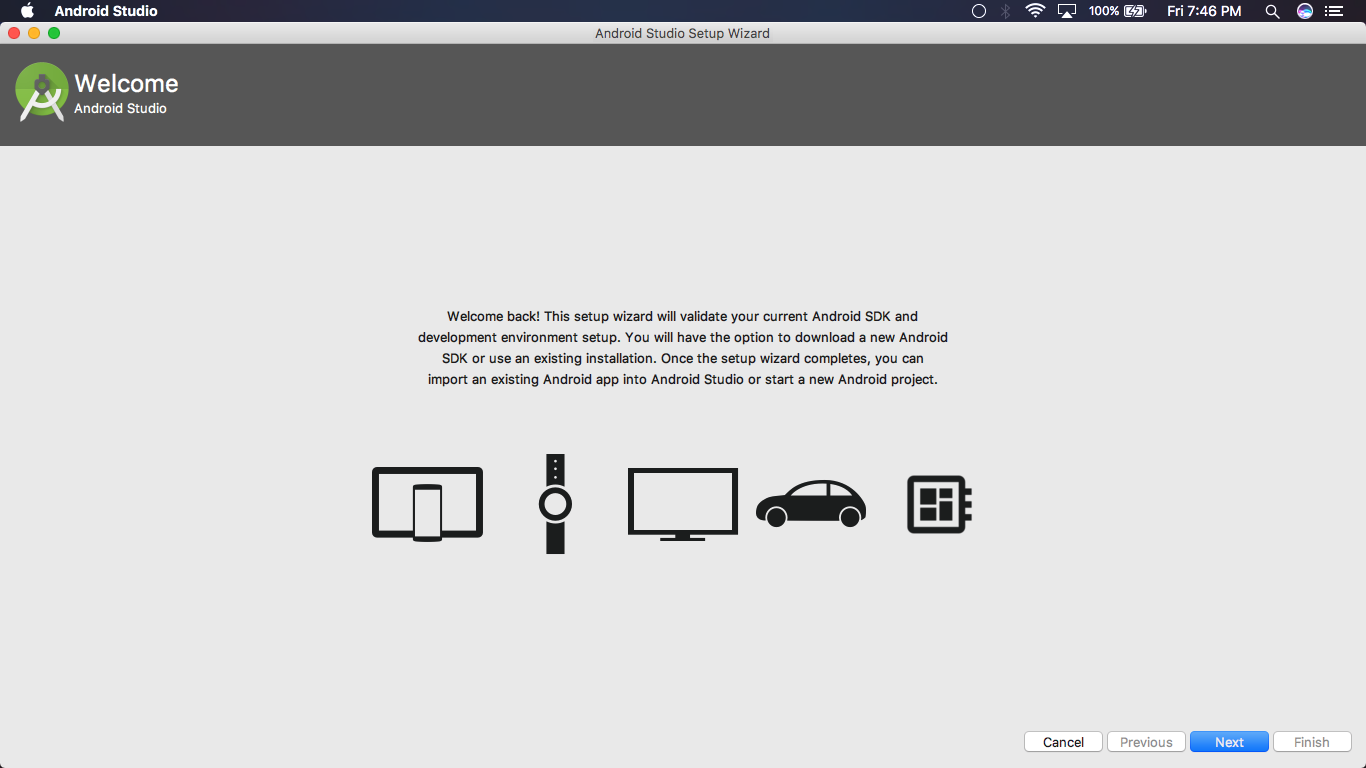
At the time of writing, the version of Android Studio that comes bundled with full Kotlin support is Android Studio 3.0. The canary version of this software can be downloaded from this website. Once downloaded, open the downloaded package or executable and follow the installation instructions. A setup wizard exists to guide you through the IDE setup procedure:
Continuing to the next setup screen will prompt you to choose which type of Android Studio setup you’d like:
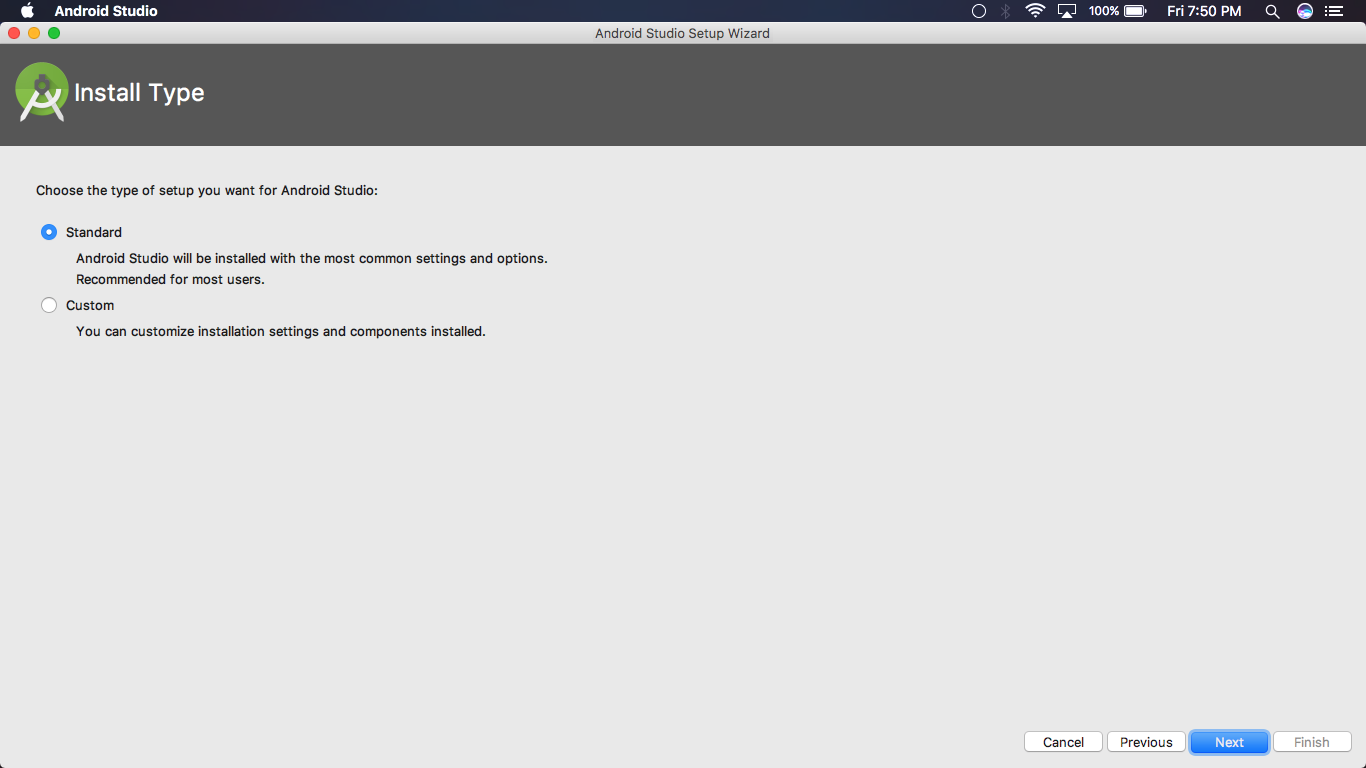
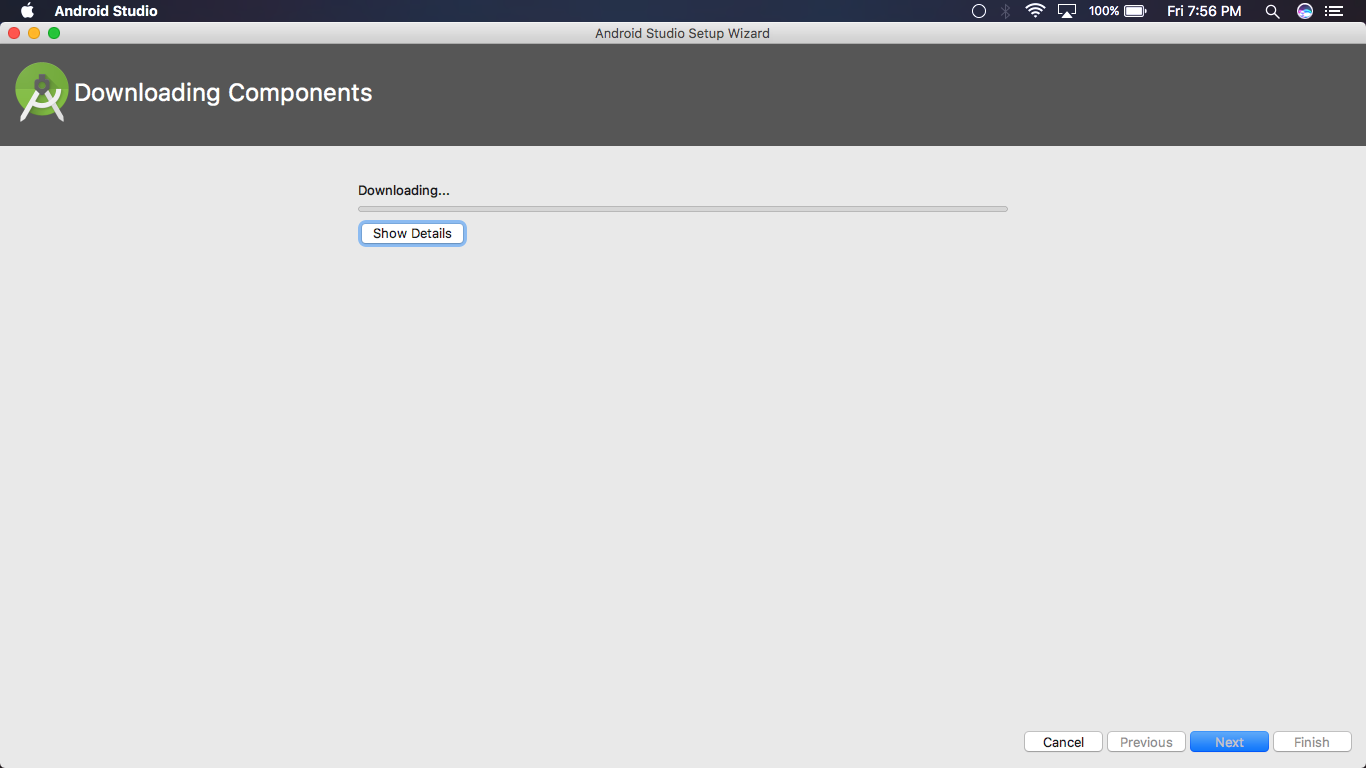
Select the Standard setup and continue to the next screen. Click Finish on the Verify Settings screen. Android Studio will now download the components required for your setup. You will need to wait a few minutes for the required components to download:
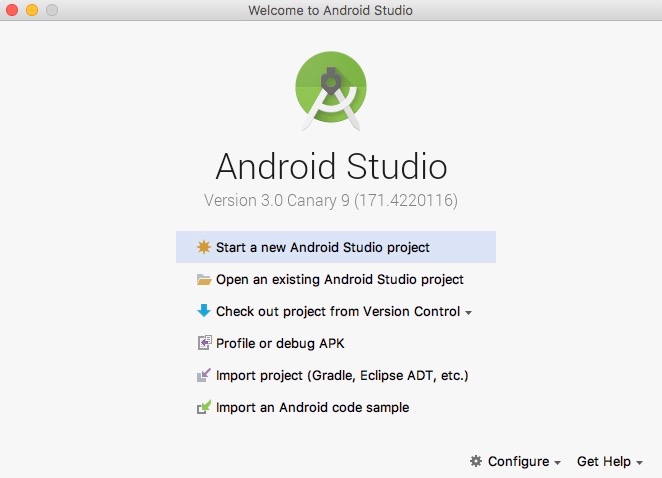
Click Finish once the component download has completed. You will be taken to the Android Studio landing screen. You are now ready to use Android Studio:
[box type=”note” align=”” class=”” width=””]You may also want to read Benefits of using Kotlin Java for Android programming.[/box]
Building your first Android application with Kotlin
Without further ado, let’s explore how to create a simple Android application with Android Studio. We will be building the HelloApp. The HelloApp is an app that displays Hello world! on the screen upon the click of a button.
On the Android Studio landing screen, click Start a new Android Studio project. You will be taken to a screen where you will specify some details that concern the app you are about to build, such as the name of the application, your company domain, and the location of the project.
Type in HelloApp as the application name and enter a company domain. If you do not have a company domain name, fill in any valid domain name in the company domain input box – as this is a trivial project, a legitimate domain name is not required. Specify the location in which you want to save this project and tick the checkbox for the inclusion of Kotlin support.
After filling in the required parameters, continue to the next screen:
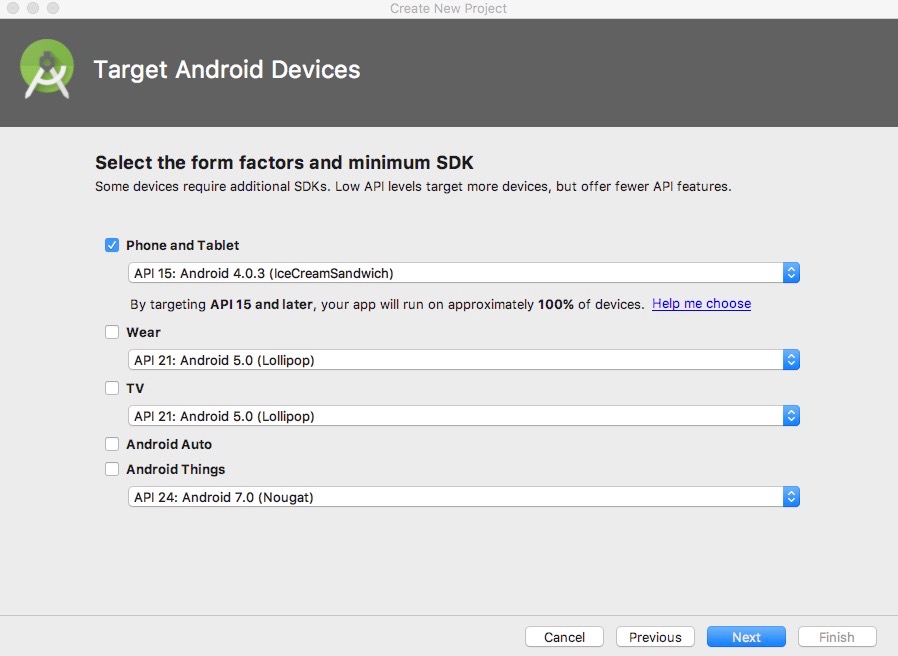
Here, we are required to specify our target devices. We are building this application to run on smartphones specifically, hence tick the Phone and Tablet checkbox if it’s not already ticked. You will notice an options menu next to each device option. This dropdown is used to specify the target API level for the project being created. An API level is an integer that uniquely identifies the framework API division offered by a version of the Android platform. Select API level 15 if not already selected and continue to the next screen:
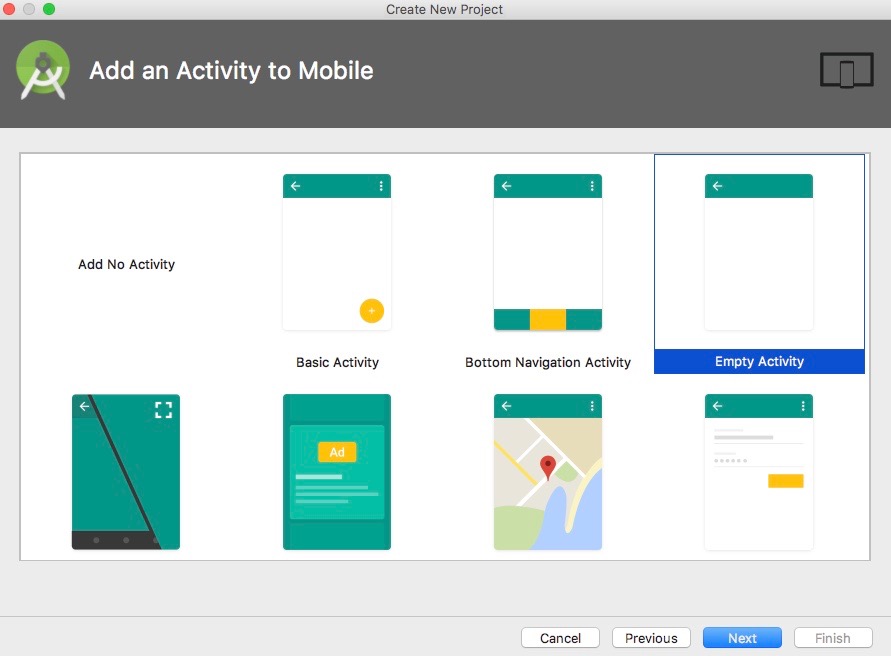
On the next screen, we are required to select an activity to add to our application. An activity is a single screen with a unique user interface—similar to a window. We will discuss activities in more depth in Chapter 2, Building an Android Application – Tetris. For now, select the empty activity and continue to the next screen.
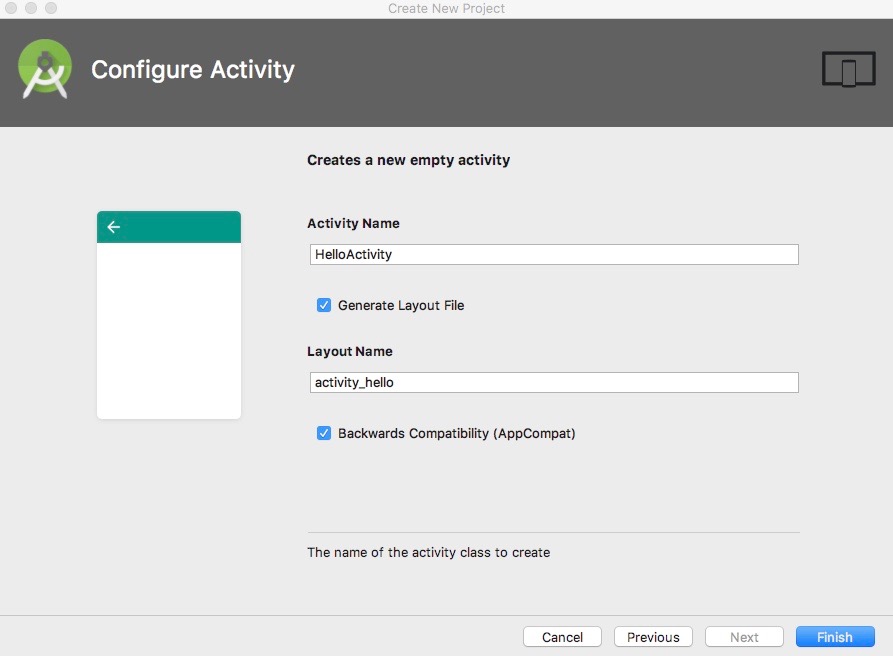
Now, we need to configure the activity that we just specified should be created. Name the activity HelloActivityand ensure the Generate Layout File and Backwards Compatibility checkboxes are ticked:
Now, click the Finish button. Android Studio may take a few minutes to set up your project. Once the setup is complete, you will be greeted by the IDE window containing your project files.
[box type=”note” align=”” class=”” width=””]Errors pertaining to the absence of required project components may be encountered at any point during project development. Missing components can be downloaded from the SDK manager. [/box]
Make sure that the project window of the IDE is open (on the navigation bar, select View | Tool Windows | Project) and the Android view is currently selected from the drop-down list at the top of the Project window. You will see the following files at the left-hand side of the window:
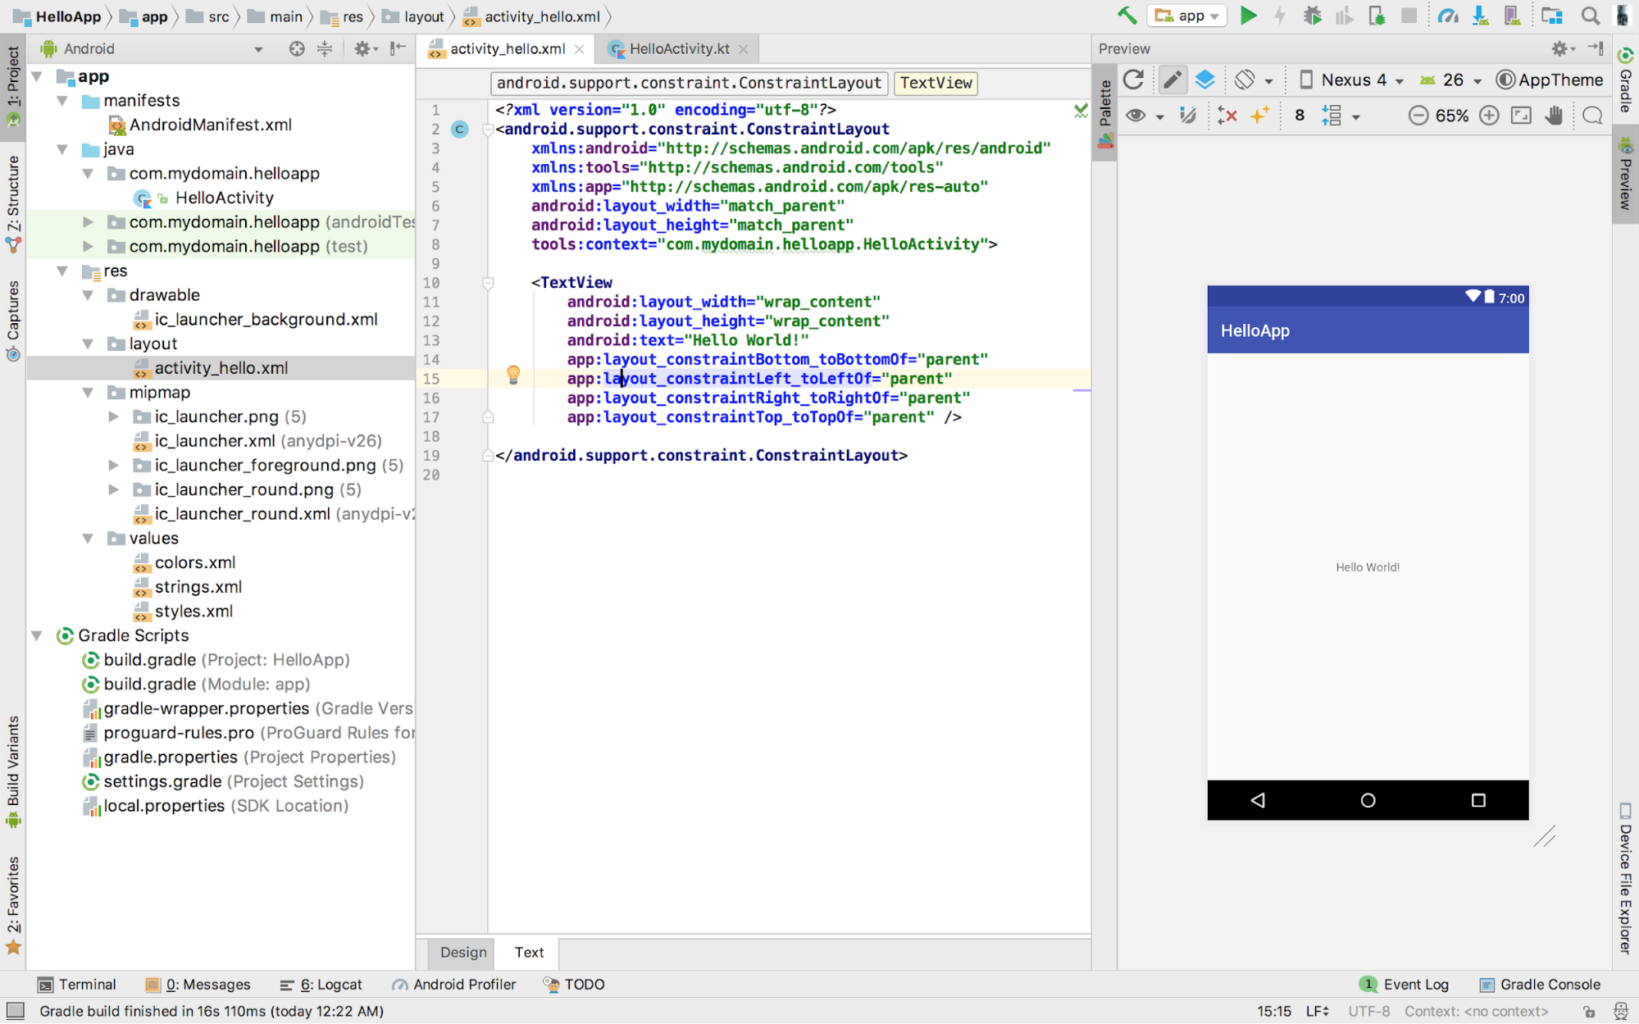
app | java | com.mydomain.helloapp | HelloActivity.java: This is the main activity of your application. An instance of this activity is launched by the system when you build and run your application:app | res | layout | activity_hello.xml: The user interface for HelloActivity is defined within this XML file. It contains a TextView element placed within the ViewGroup of a ConstraintLayout. The text of the TextView has been set to Hello World!app | manifests | AndroidManifest.xml: The AndroidManifest file is used to describe the fundamental characteristics of your application. In addition, this is the file in which your application’s components are defined.Gradle Scripts | build.gradle: Two build.gradle files will be present in your project. The first build.gradle file is for the project and the second is for the app module. You will most frequently work with the module’s build.gradle file for the configuration of the compilation procedure of Gradle tools and the building of your app.
[box type=”note” align=”” class=”” width=””]Gradle is an open source build automation system used for the declaration of project configurations. In Android, Gradle is utilized as a build tool with the goal of building packages and managing application dependencies. [/box]
Creating a user interface
A user interface (UI) is the primary means by which a user interacts with an application. The user interfaces of Android applications are made by the creation and manipulation of layout files. Layout files are XML files that exist in app | res | layout.
To create the layout for the HelloApp, we are going to do three things:
- Add a LinearLayout to our layout file
- Place the TextView within the LinearLayout and remove the android:text attribute it possesses
- Add a button to the LinearLayout
Open the activity_hello.xml file if it’s not already opened. You will be presented with the layout editor. If the editor is in the Design view, change it to its Text view by toggling the option at the bottom of the layout editor. Now, your layout editor should look similar to that of the following screenshot:
ViewGroup that arranges child views in either a horizontal or vertical manner within a single column. Copy the code snippet of our required LinearLayout from the following block and paste it within the ConstraintLayout preceding the TextView:
<LinearLayout
android:id="@+id/ll_component_container"
android:layout_width="match_parent"
android:layout_height="match_parent"
android:orientation="vertical"
android:gravity="center">
</LinearLayout>
Now, copy and paste the TextView present in the activity_hello.xml file into the body of the LinearLayout element and remove the android:text attribute:
<LinearLayout
android:id="@+id/ll_component_container"
android:layout_width="match_parent"
android:layout_height="match_parent"
android:orientation="vertical"
android:gravity="center">
<TextView
android:id="@+id/tv_greeting"
android:layout_width="wrap_content"
android:layout_height="wrap_content"
      android:textSize="50sp" />
</LinearLayout>
Lastly, we need to add a button element to our layout file. This element will be a child of our LinearLayout. To create a button, we use the Button element:
<LinearLayout
android:id="@+id/ll_component_container"
android:layout_width="match_parent"
android:layout_height="match_parent"
android:orientation="vertical"
android:gravity="center">
<TextView
android:id="@+id/tv_greeting"
android:layout_width="wrap_content"
android:layout_height="wrap_content"
      android:textSize="50sp" />
<Button
      android:id="@+id/btn_click_me"
android:layout_width="wrap_content"
android:layout_height="wrap_content"
android:layout_marginTop="16dp"

android:text="Click me!"/>
</LinearLayout>
Toggle to the layout editor’s design view to see how the changes we have made thus far translate when rendered on the user interface:
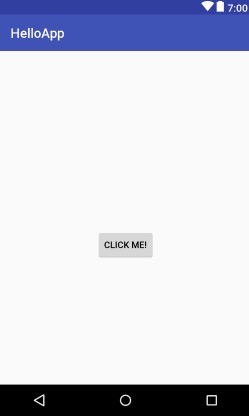
Now we have our layout, but there’s a problem. Our CLICK ME! button does not actually do anything when clicked. We are going to fix that by adding a listener for click events to the button. Locate and open the HelloActivity.java file and edit the function to add the logic for the CLICK ME! button’s click event as well as the required package imports, as shown in the following code:
package com.mydomain.helloapp
import android.support.v7.app.AppCompatActivity
import android.os.Bundle
import android.text.TextUtils
import android.widget.Button
import android.widget.TextView
import android.widget.Toast

class HelloActivity : AppCompatActivity() {

override fun onCreate(savedInstanceState: Bundle?) {
super.onCreate(savedInstanceState)
setContentView(R.layout.activity_hello)
val tvGreeting = findViewById<TextView>(R.id.tv_greeting)
val btnClickMe = findViewById<Button>(R.id.btn_click_me)

btnClickMe.setOnClickListener {
if (TextUtils.isEmpty(tvGreeting.text)) {
tvGreeting.text = "Hello World!"
} else {
Toast.makeText(this, "I have been clicked!",
                      Toast.LENGTH_LONG).show()
}
}
}
}
In the preceding code snippet, we have added references to the TextView and Button elements present in our activity_hello layout file by utilizing the findViewById function. The findViewById function can be used to get references to layout elements that are within the currently-set content view. The second line of the onCreate function has set the content view of HelloActivity to the activity_hello.xml layout.
Next to the findViewById function identifier, we have the TextView type written between two angular brackets. This is called a function generic. It is being used to enforce that the resource ID being passed to the findViewById belongs to a TextView element.
After adding our reference objects, we set an onClickListener to btnClickMe. Listeners are used to listen for the occurrence of events within an application. In order to perform an action upon the click of an element, we pass a lambda containing the action to be performed to the element’s setOnClickListener method.
When btnClickMe is clicked, tvGreeting is checked to see whether it has been set to contain any text. If no text has been set to the TextView, then its text is set to Hello World!, otherwise a toast is displayed with the I have been clicked! text.
Running the Android application
In order to run the application, click the Run ‘app’ (^R) button at the top-right side of the IDE window and select a deployment target. The HelloApp will be built, installed, and launched on the deployment target:

You may use one of the available prepackaged virtual devices or create a custom virtual device to use as the deployment target. You may also decide to connect a physical Android device to your computer via USB and select it as your target. The choice is up to you. After selecting a deployment device, click OK to build and run the application.
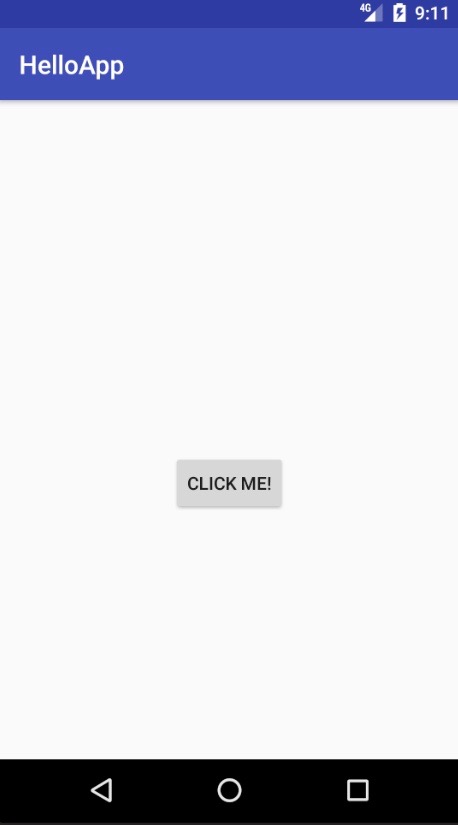
Upon launching the application, our created layout is rendered:
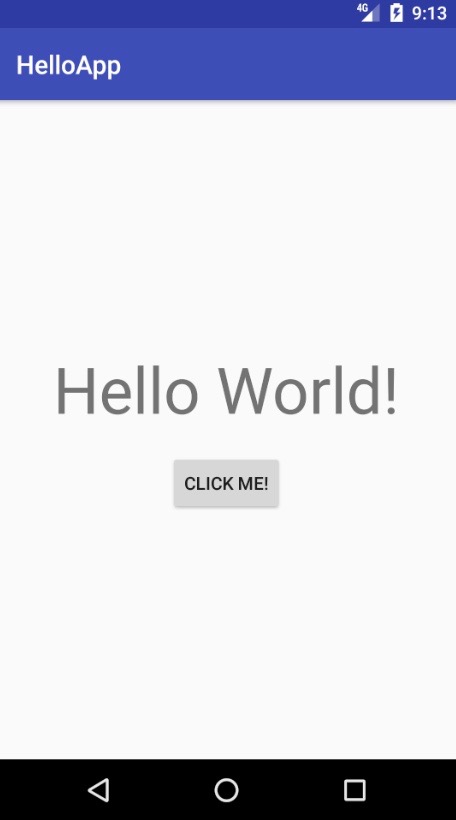
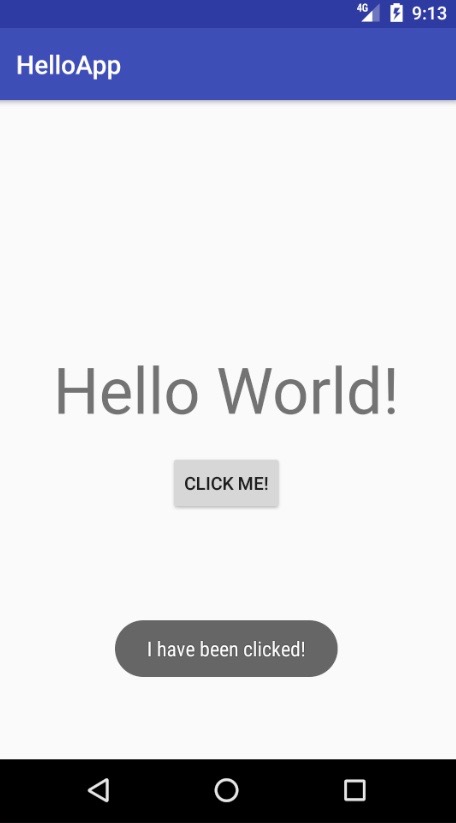
When CLICK ME! is clicked, Hello World! is shown to the user:
Subsequent clicks of the CLICK ME! button display a toast message with the text I have been clicked!:
You enjoyed an excerpt from the book, Kotlin Programming By Example by Iyanu Adelekan. Start building and deploying Android apps with Kotlin using this book.
Check out other related posts:
Creating a custom layout implementation for your Android app
Top 5 Must-have Android Applications
OpenCV and Android: Making Your Apps See