(For more resources related to this topic, see here.)
Now it's finally time to start modeling.
Ordinarily, we would create an Extrude generator, place it in the hierarchy, and parent the spline to it. Here, we'll use a special trick to extrude each spline in half the time it would normally take.
-
With a path selected, hold the Alt/Option key when you create the Extrude object. This works whether you create the Extrude generator through the menu or through the top Command palette. You'll notice that the path is automatically parented to the Extrude generator, and that the Extrude generator's pivot is set up properly.
-
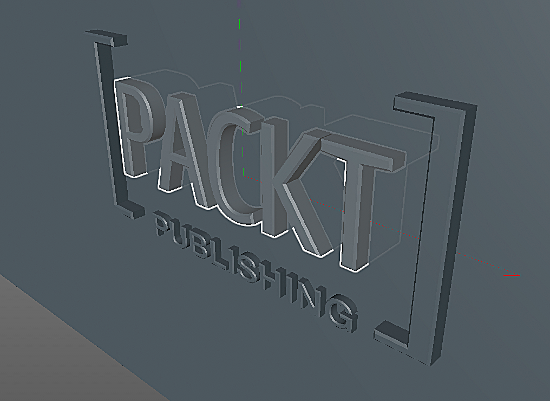
For your logo, set up all of the extrusions that you'll need. In our case, we set up one extrude for the PACKT text, one for the PUBLISHING text, and one for the box brackets.
-
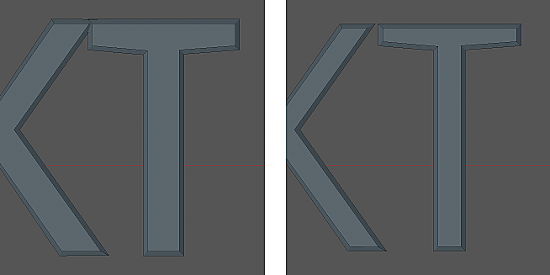
Edit the properties of the different extrusions until you are happy with them. To add bevels to your extrusions, navigate to the Caps tab in the Attribute Editor and change the Start and End properties to Fillet Cap. You can then edit additional properties to get the type of bevels that you'd like.
There is one very important thing to note about bevels. By default, bevels grow outward from your original path. In many cases this can have an undesired effect since the overall thickness of your logo will increase and it will look different from the original vector art. To fix this, turn on the Constrain option in the Caps section of the extrude generator's attributes.

We now have our shapes the way we like them. The logo is extruded and our bevels are set up nicely. Also, most of the extrusion slides into a compound shape that fills our background.

Now let's create and assign materials to different parts of the logo.
-
Create a material in the Material Editor window, either by double-clicking on the empty space or through the Material Editor window's menu (Create | New Material).
-
Assign the material to an object by dragging the material from the Material Editor onto the Extrude generator. Notice that the Extrude generator now has a Texture tag assigned to it.
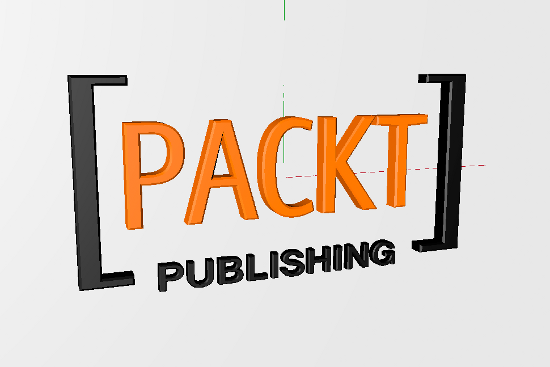
Edit the material as you want. You can select the material in the Material Editor, or double-click the Texture tag in the Object Manager palette. In the Basic tab of the material, you can turn different surface properties on or off, such as Specular, Reflection, and so on. Once a surface property is enabled, a tab appears for that property for further editing.

Step 3 – shatter the logo
Now it's time to shatter the logo using Nitro4Ds Thrausi plugin. Follow these steps to shatter the logo:
-
Select the object you wish to shatter.
-
Launch the Thrausi interface, through the main menu (Plugins | Thrausi 1.22 R12 | Thrausi). If you have the NitroBlast plugin, you can use that plugin instead.
-
Set the value in the Pieces field to the number of actual pieces you'd like to generate.
-
Select the type of shatter you'd like to perform. Here, we chose Voronoi.
-
Click the Break Now button at the bottom of the Thrausi interface. It may take a few minutes to calculate the shatter.
-
For the sake of this tutorial, delete the Rigid Body simulation tags on the resulting Fracture groups.

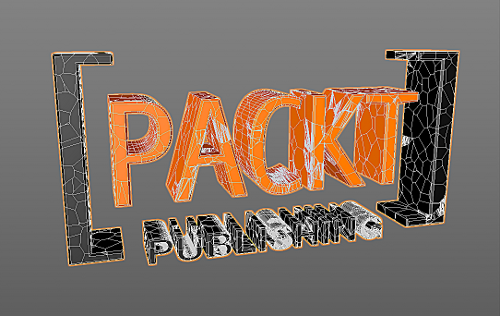
Each letter has been shattered and put into a MoGraph Fracture group. This is a special group that will allow us to assign MoGraph effectors to the shards. If you'd like to regroup the shards into different Fracture objects to better organize your scene, it's perfectly safe to do so.
Unlock access to the largest independent learning library in Tech for FREE!
Get unlimited access to 7500+ expert-authored eBooks and video courses covering every tech area you can think of.
Renews at $19.99/month. Cancel anytime
Since we're not using dynamics for this tutorial, we deleted the Rigid Body tags from the Fracture groups. If you wanted to use dynamics to animate the shards, you could leave these tags for a start.
One thing you may notice is that the bevels of the logo no longer have sharp edges. That's because the phong shading angle is too high. If the phong angle is 80 degrees, then any polygonal edge with 80 degrees or less between adjacent face normal will appear smoothed. These properties are controlled by the Phong tag.
Now let's edit the phong tags on the shards:
-
Select all of the Phong tags of the shards. You can do so by dragging a selection marquee in the Object Manager palette. You can also select the Phong tag of the first object in the list, then press the Shift key as you select the Phong tag of the last object. All of the Phong tags will be selected.
-
Set the value of the Phong Angle field to something less than 45 degrees, such as 30.

For the purposes of this tutorial, we'll be using MoGraph effectors to move the shards instead of dynamics.
Now we'll create a Plain effector to spread out the shards. Just follow the subsequent steps to create a Plain effector:
-
Select all of the MoGraph Fracture groups.
-
Create a Plain effector through the main menu (MoGraph | Effectors | Plain). Since the Fracture groups are selected, the Plain effector is automatically assigned to them.
-
In the Parameter tab of the Plain effector attributes, set the P.X, P.Y, and P.Z attributes to 0, 0, and -500 respectively.
-
Also in the Parameter tab, set the Weight Transform attribute to 100%. This adds an invisible weight value per shard that can be inherited by other effectors later on.
-
In the Falloff tab, set the Falloff property to Linear. Note that the falloff property's orientation is set to Z, and that falloff controls are now visible in the 3D view.
-
Set the Falloff attribute to 100%.
-
Move the Plain effector on the z axis, and adjust the falloff's Size Z until the Plain effector's falloff barely encompasses the logo.

-
Turn on the Fracture groups. You can click on the little red cross next to the Fracture groups in the Object Manager palette, or turn on the Enabled checkbox in the Basic tab of the Fracture group's attributes.
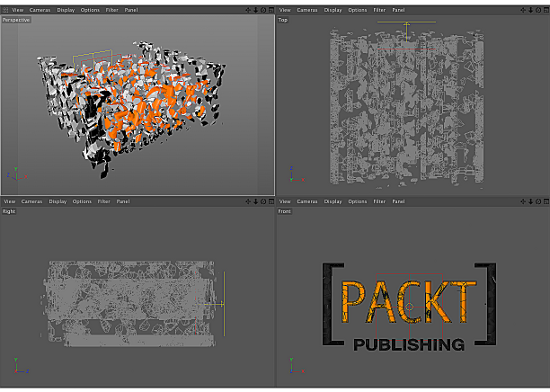
If everything is done correctly, you should see all your pieces floating forward. The Plain effector's linear falloff ensures that pieces closer to the front of the logo come out further as shown in the following screenshot:

Summary
We came across a few techniques in this article with which you can create brilliant animations out of simple images, there is a whole new world of features provided within Cinema 4D which have been described in the book. So buckle up and spread your wings of creativity.
Resources for Article :
Further resources on this subject:
 United States
 Great Britain
 India
India
 Germany
 France
 Canada
 Russia
 Spain
Spain
 Brazil
 Australia
 Singapore
 Canary Islands
 Hungary
 Ukraine
 Luxembourg
 Estonia
 Lithuania
 South Korea
 Turkey
 Switzerland
 Colombia
 Taiwan
 Chile
Chile
 Norway
 Ecuador
 Indonesia
 New Zealand
 Cyprus
 Denmark
 Finland
 Poland
 Malta
Malta
 Czechia
 Austria
 Sweden
 Italy
Italy
 Egypt
Egypt
 Belgium
 Portugal
 Slovenia
 Ireland
 Romania
 Greece
 Argentina
 Netherlands
 Bulgaria
 Latvia
 South Africa
 Malaysia
 Japan
Japan
 Slovakia
 Philippines
 Mexico
 Thailand

